INTRODUCTION
Hello! I am a 35-year-old 3D fanatic from the Czech Republic. My ardour is generally environments and exhausting floor props. I have been utilizing Blender since model 2.79 and I am fully self-taught.
That is my second article on Blender Nation. The earlier article was on my art work Outdated Gasoline Station 1966.
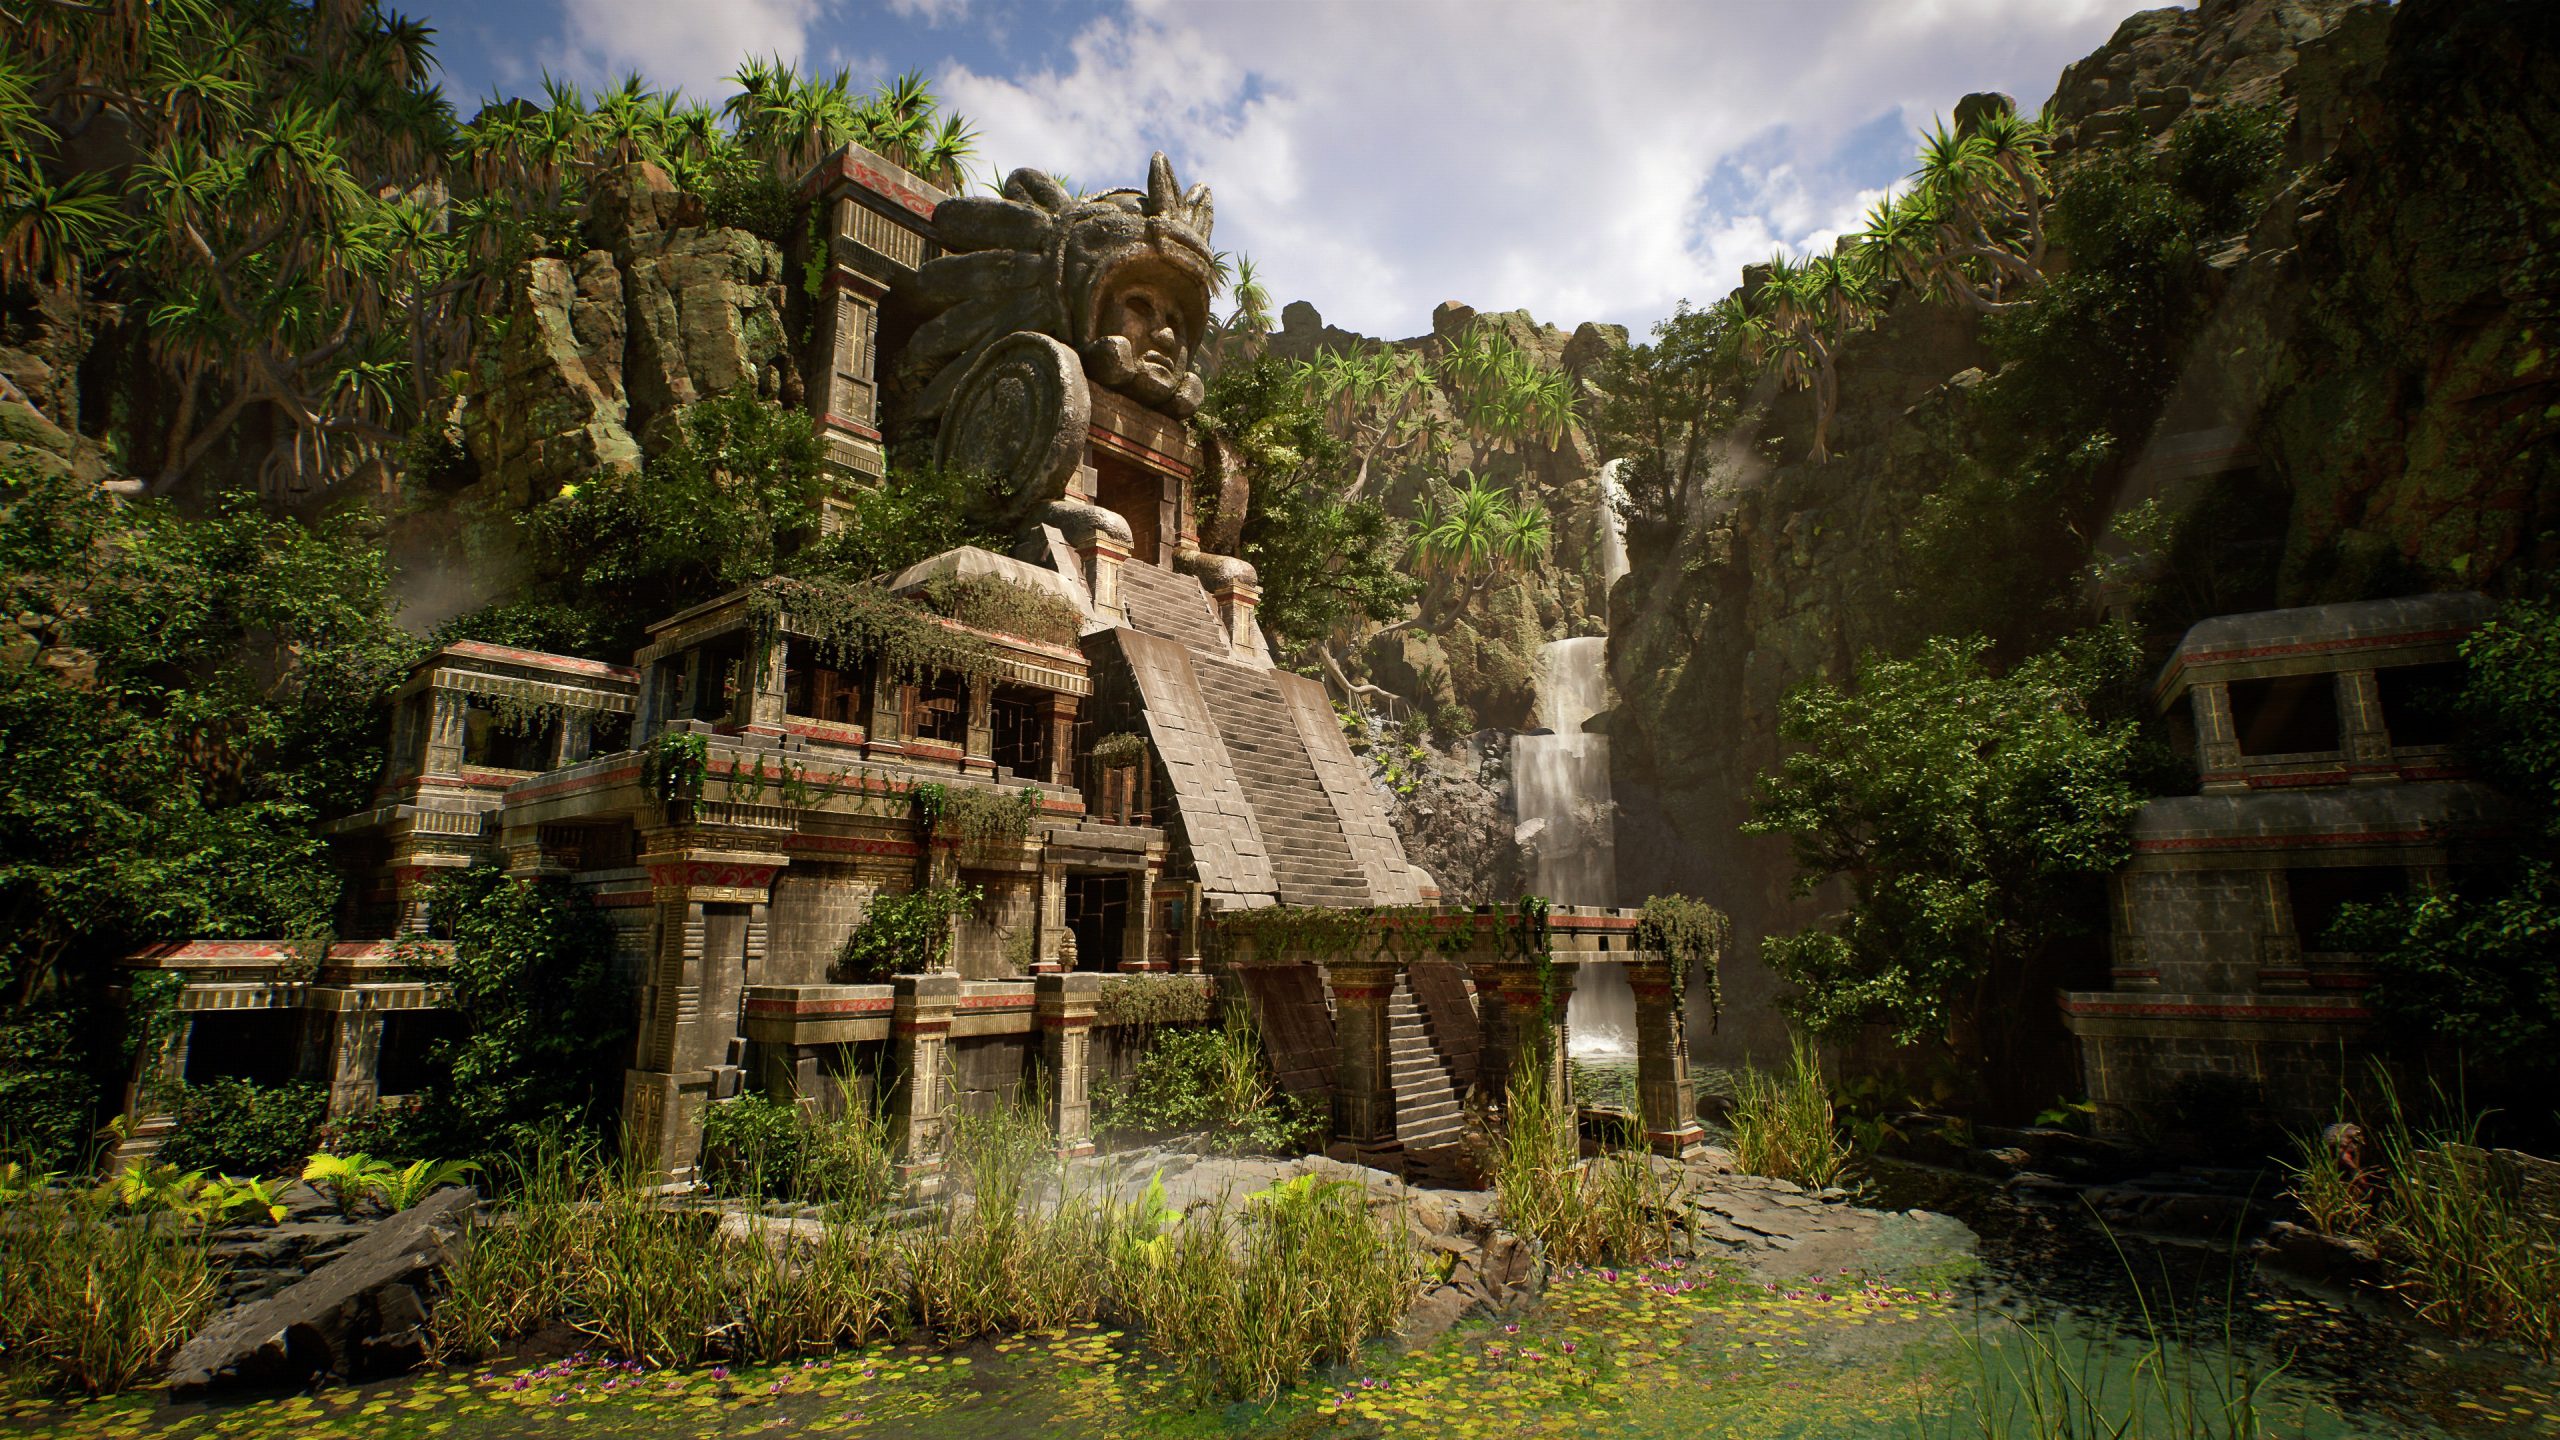
INSPIRATION
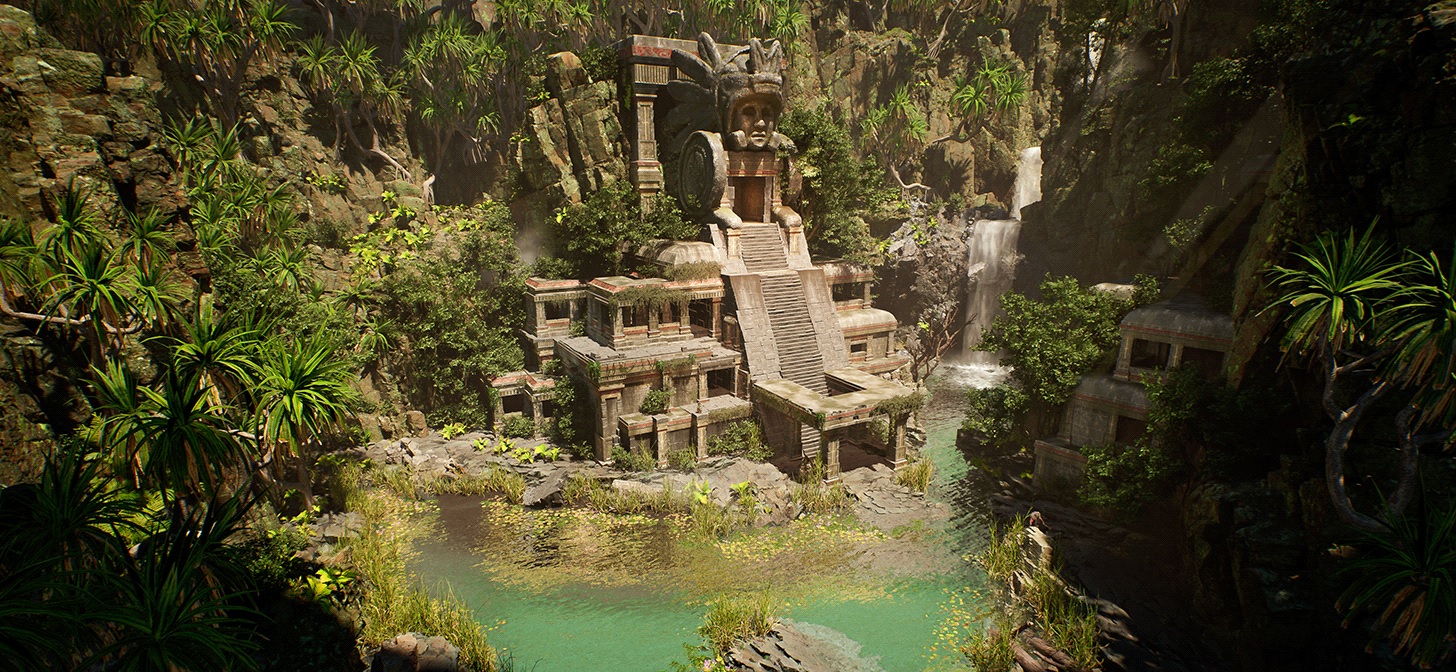
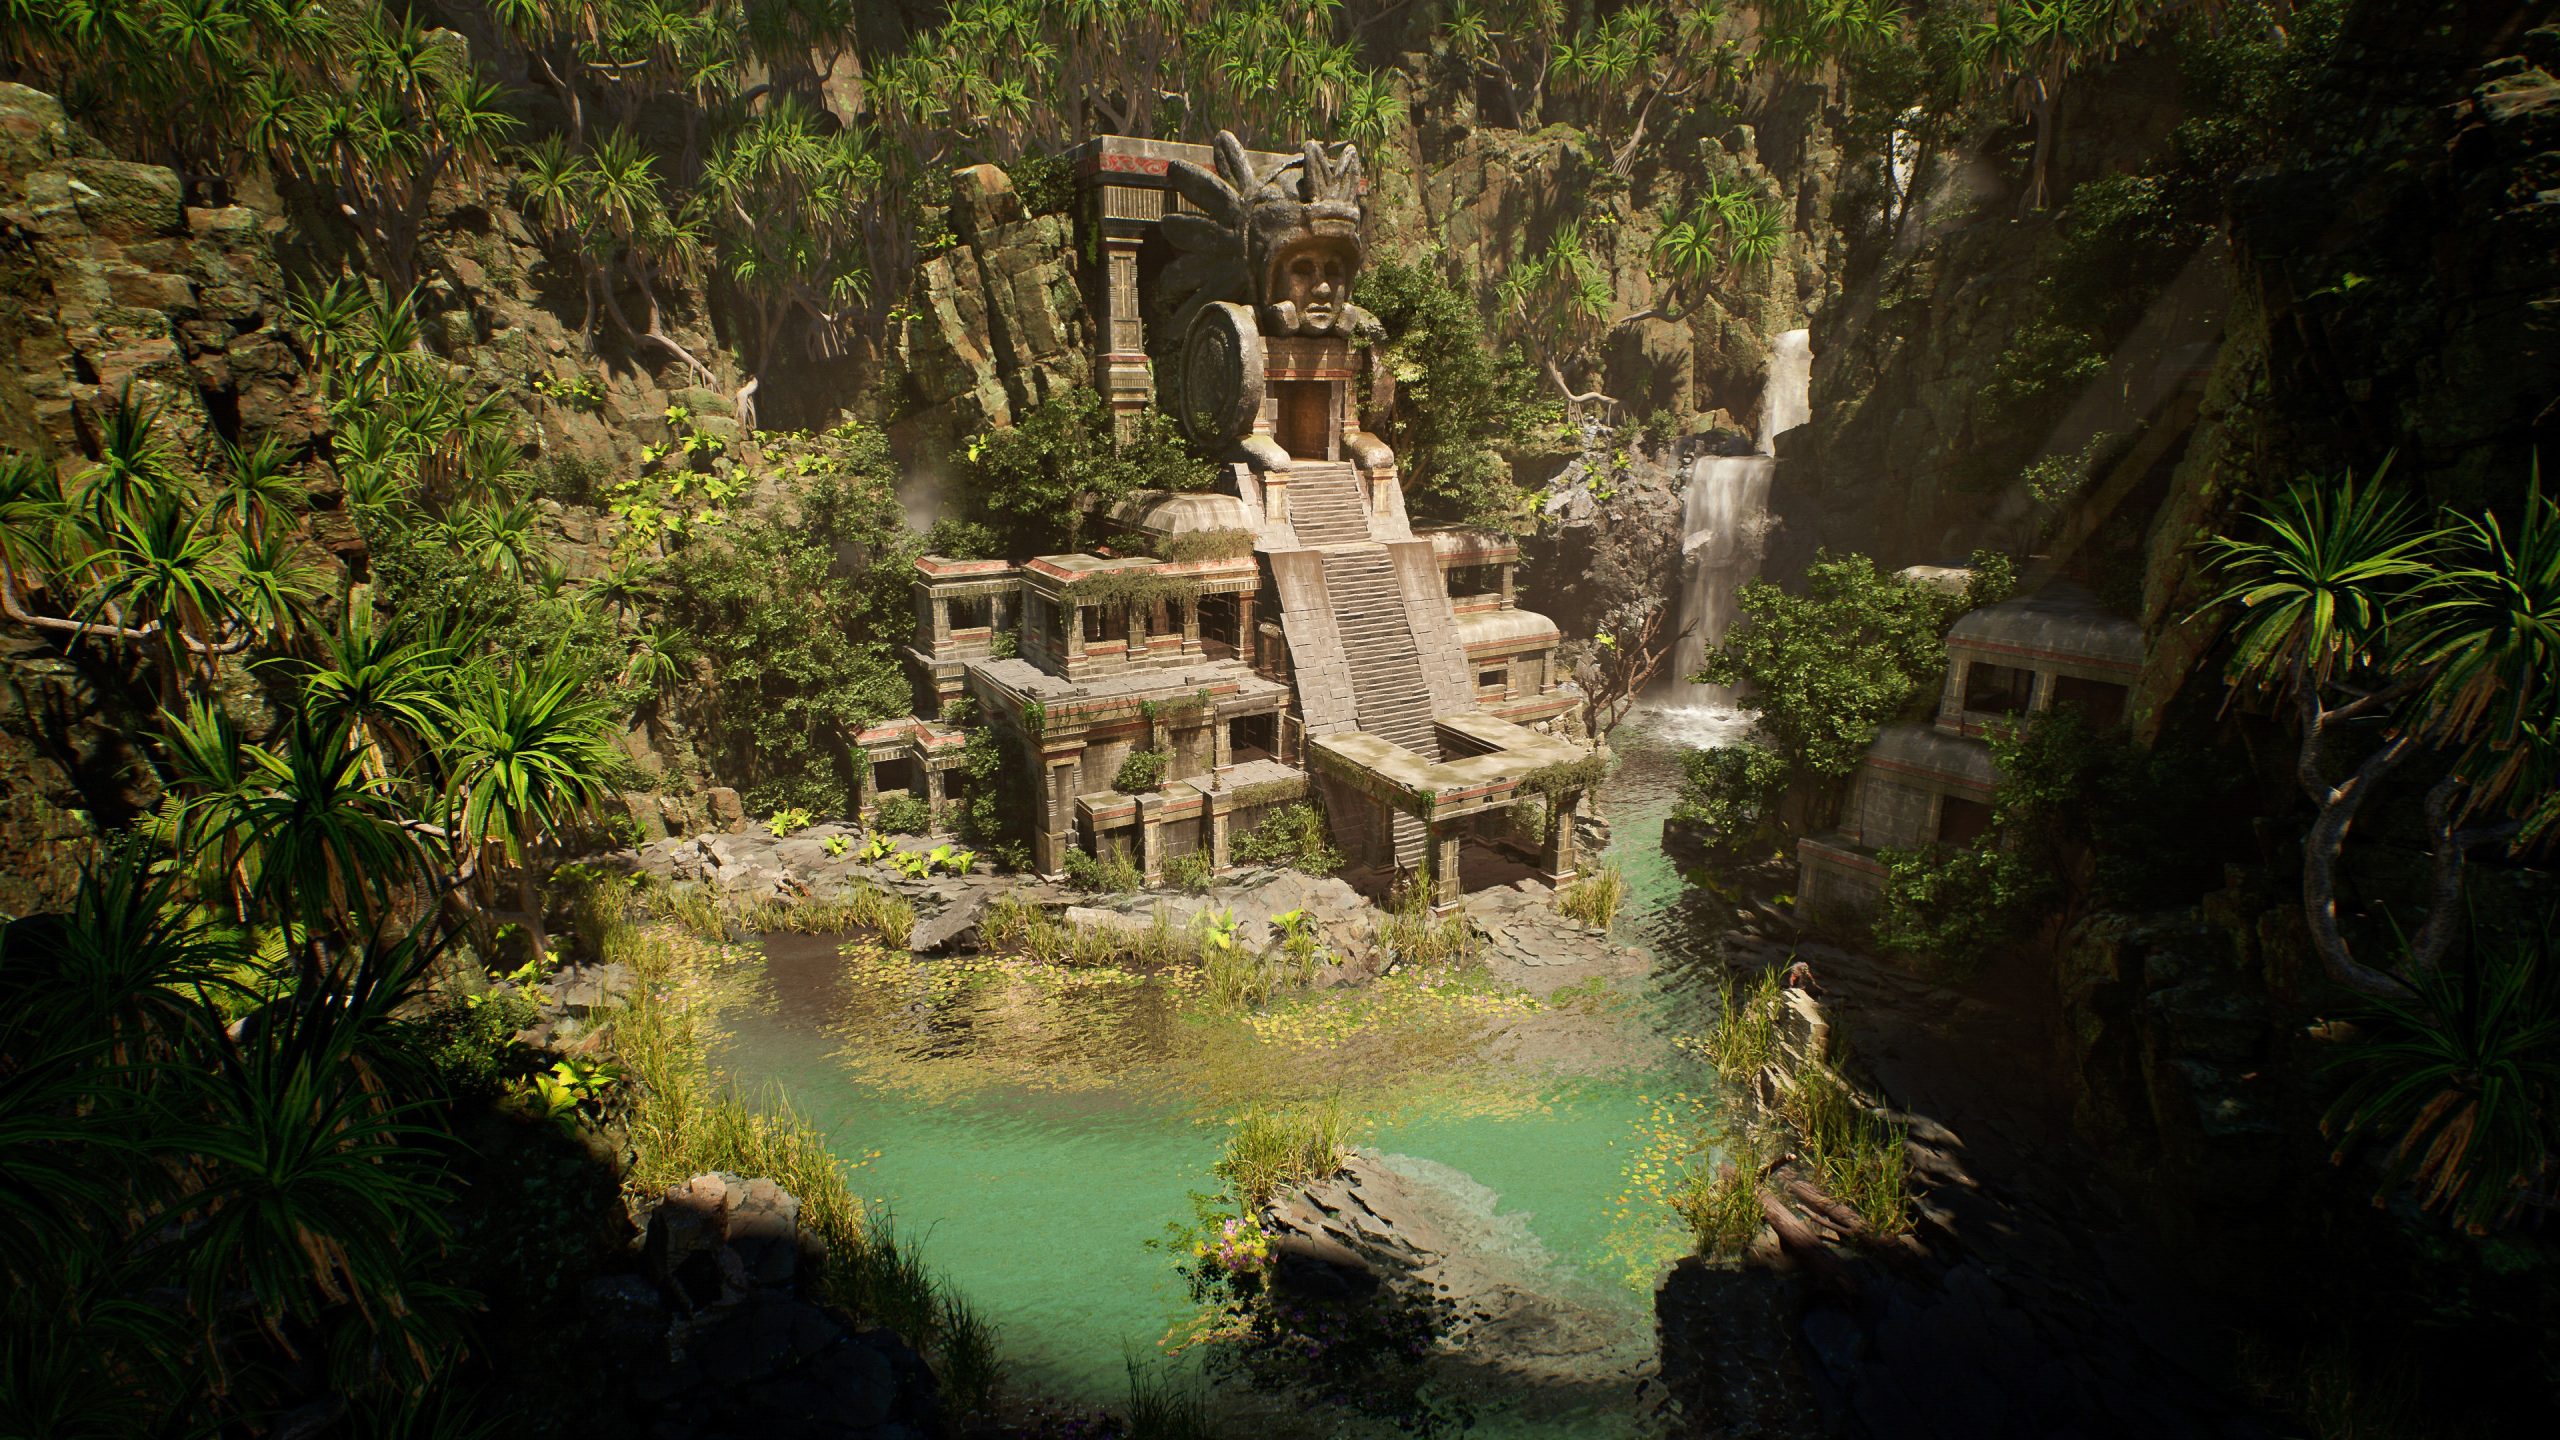
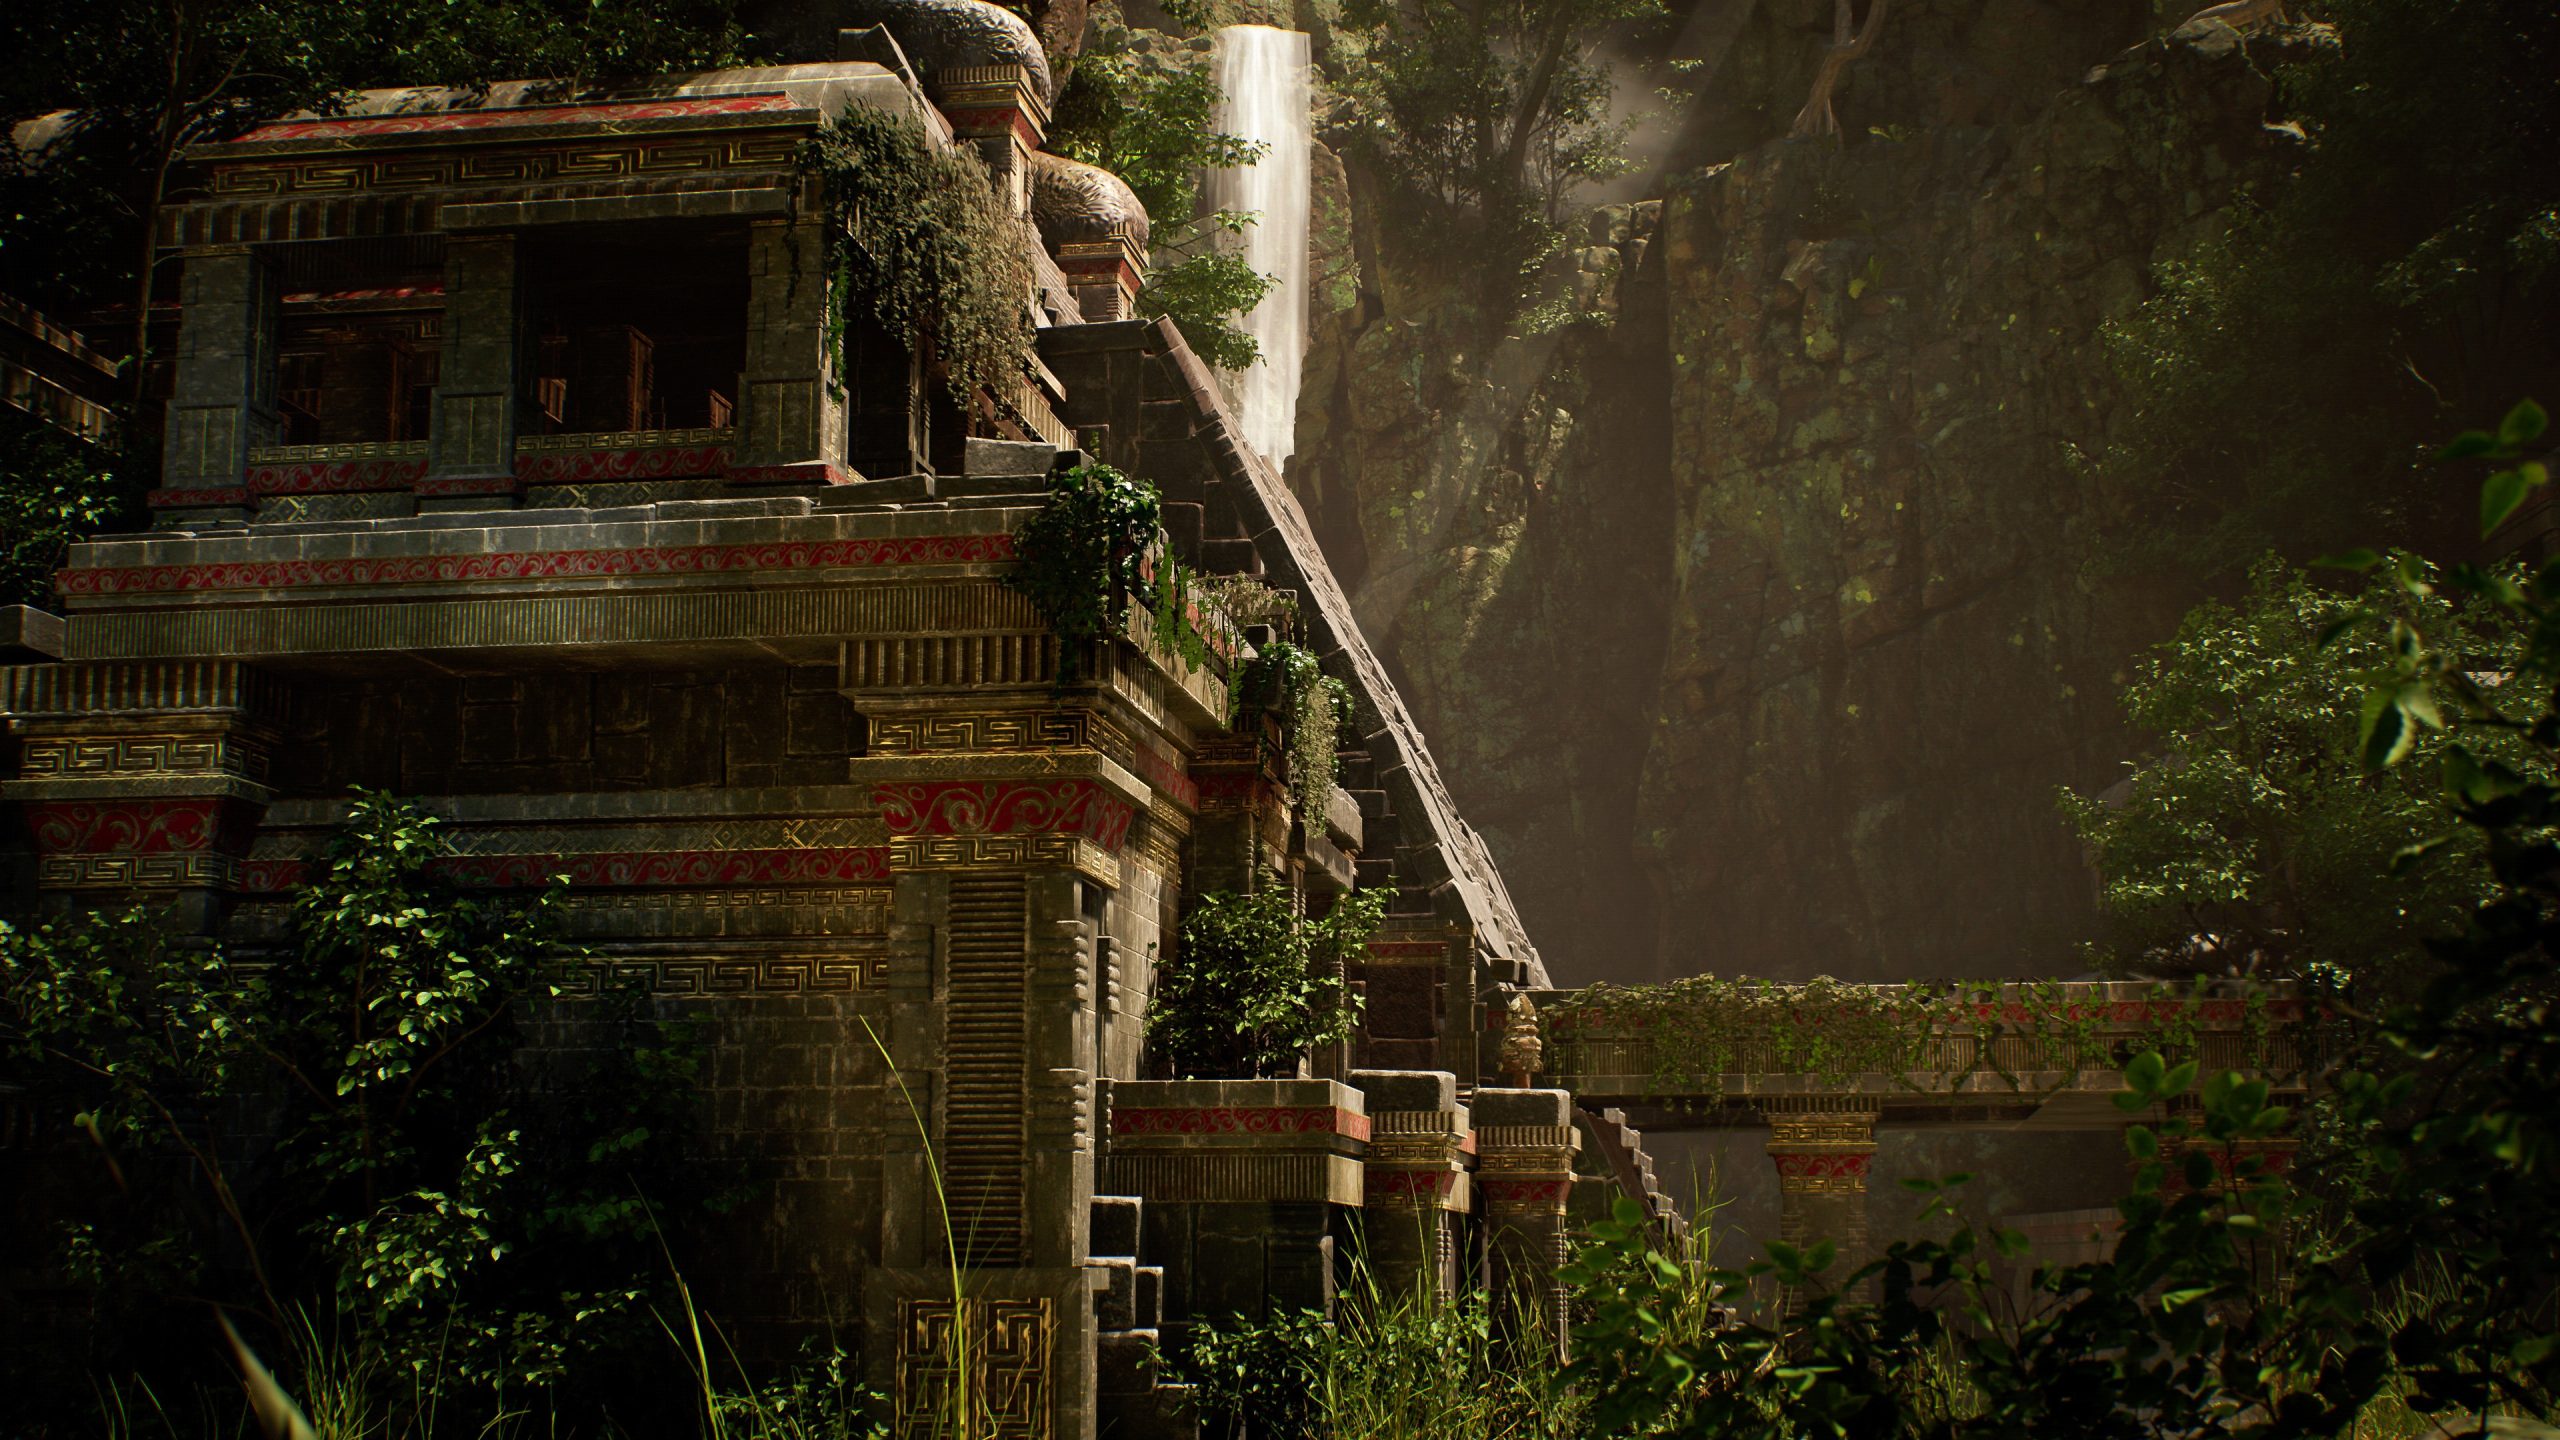
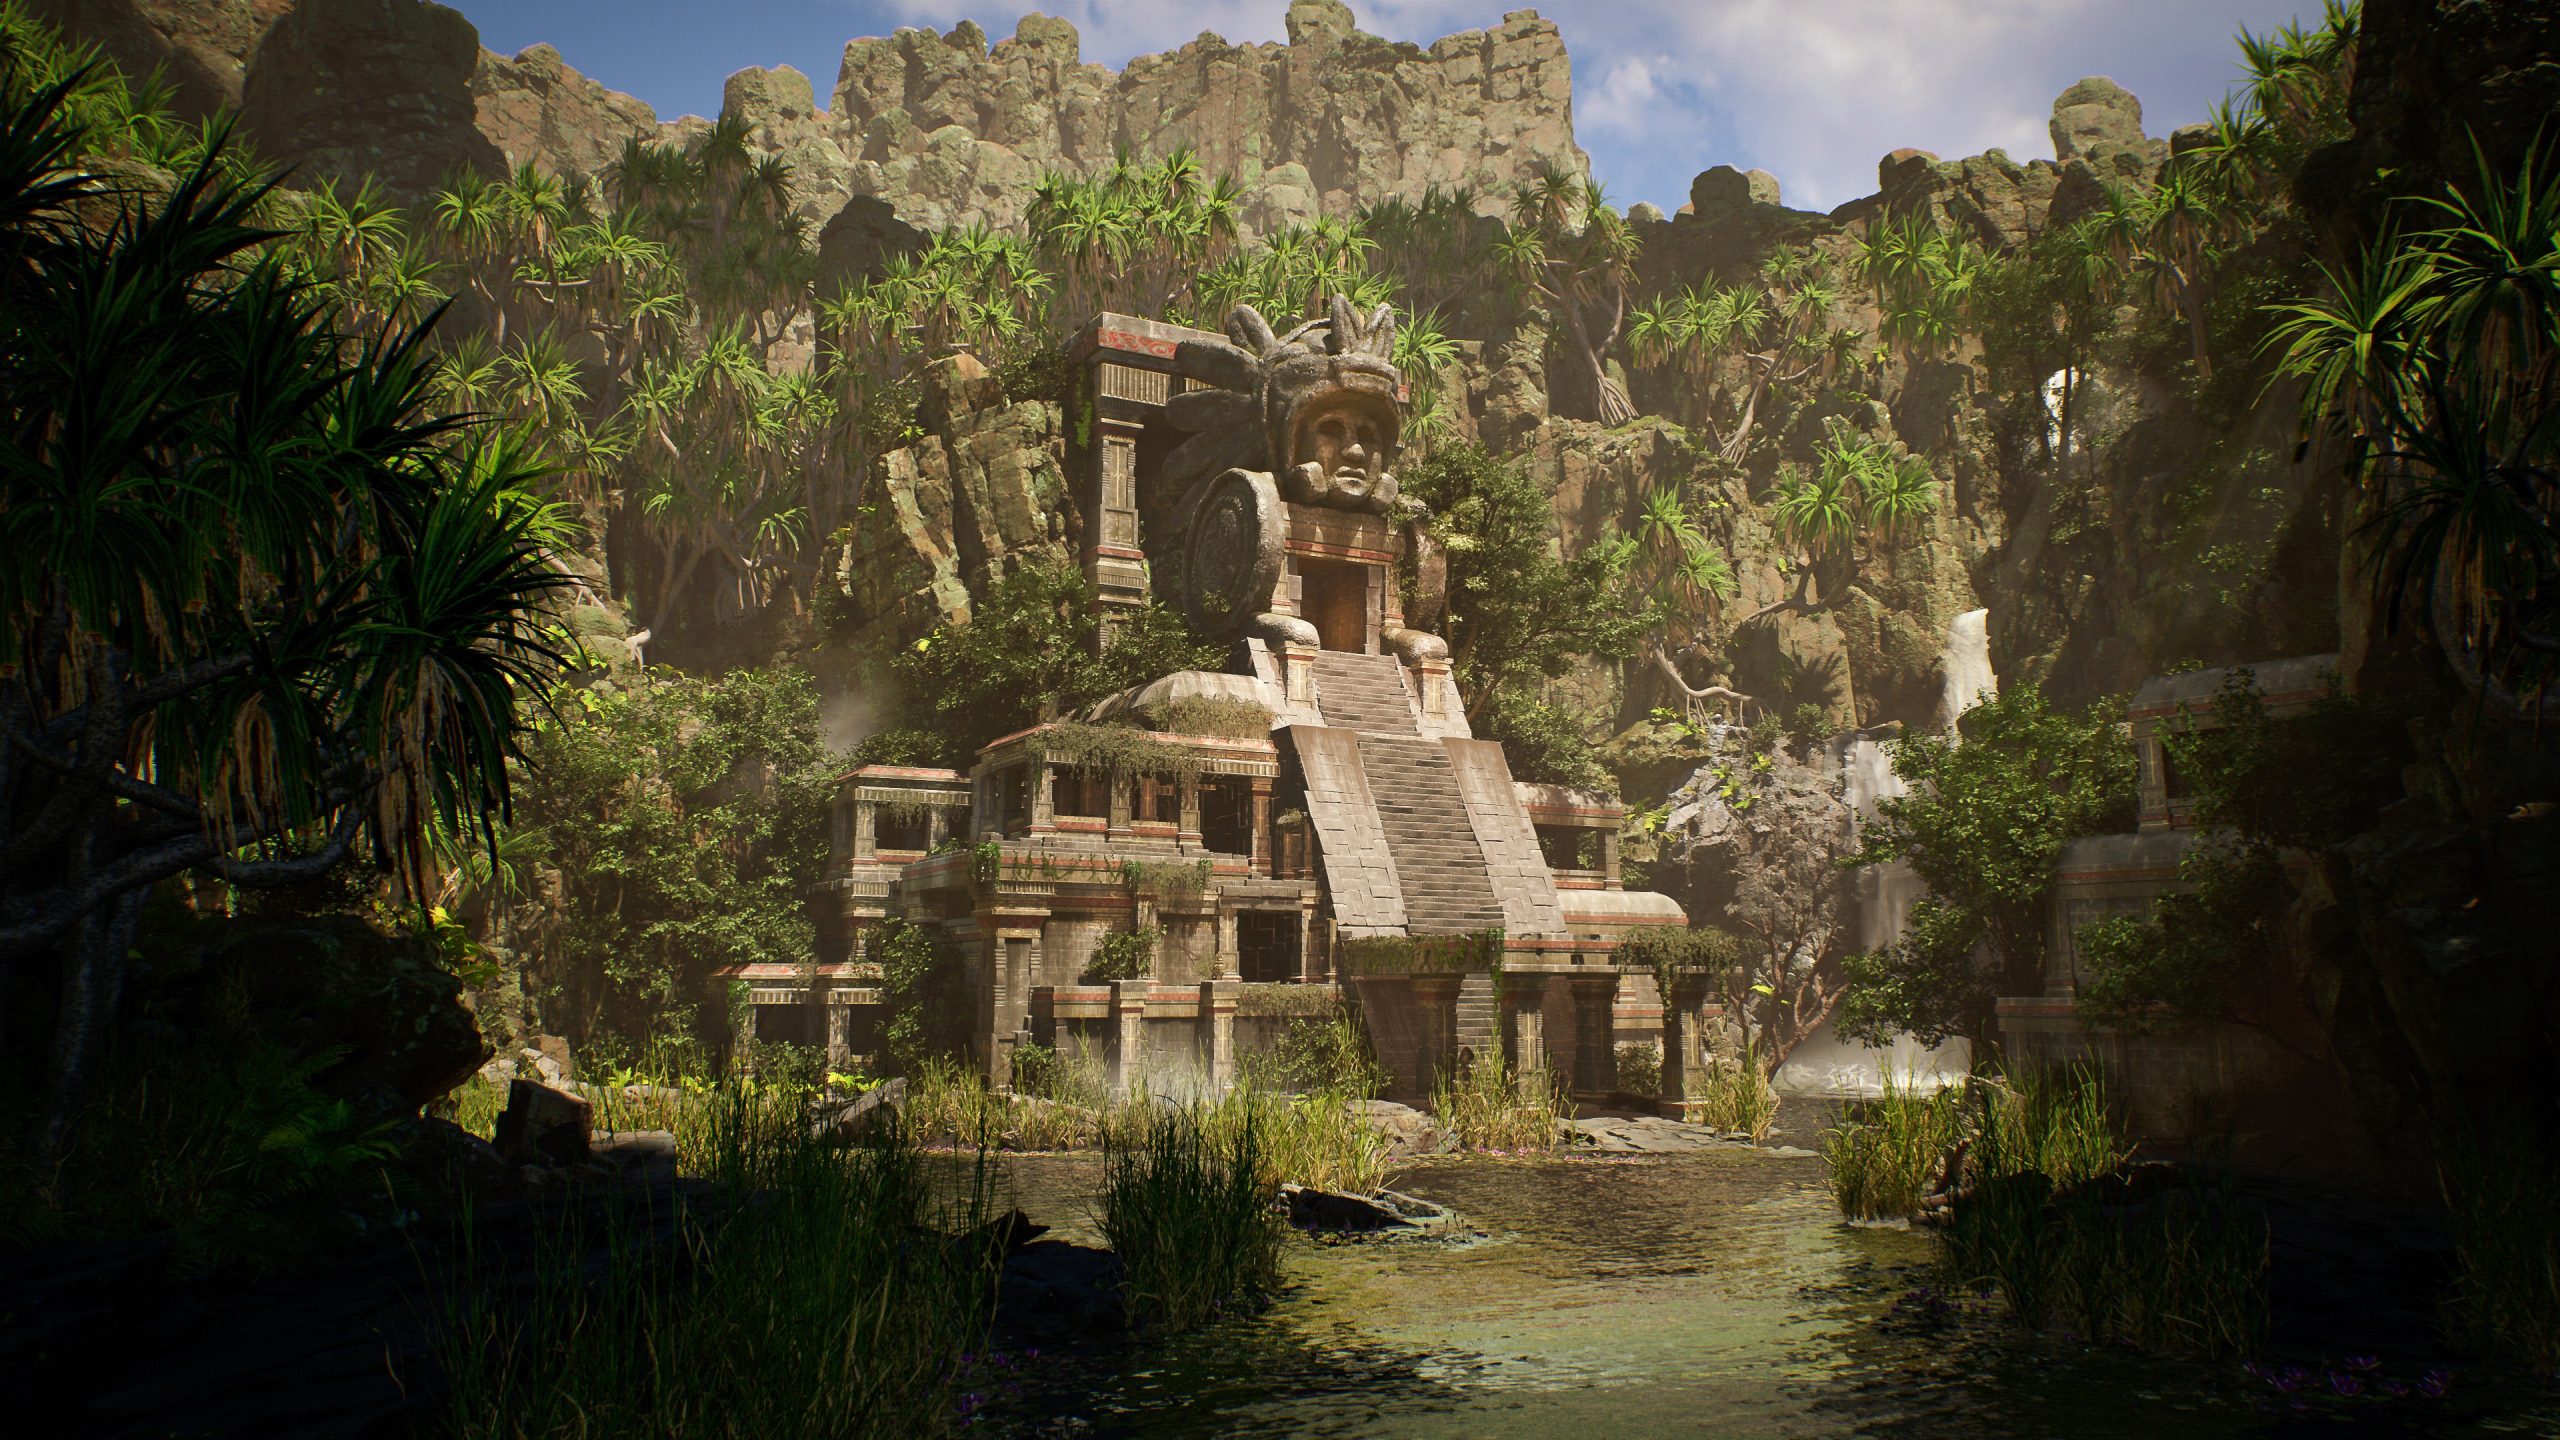
For this art work, I had an outdated pyramid/ziggurat temple in thoughts. I imagined it as a chunk of jungle, bordered by cliffs with some water and waterfalls, palms and timber.
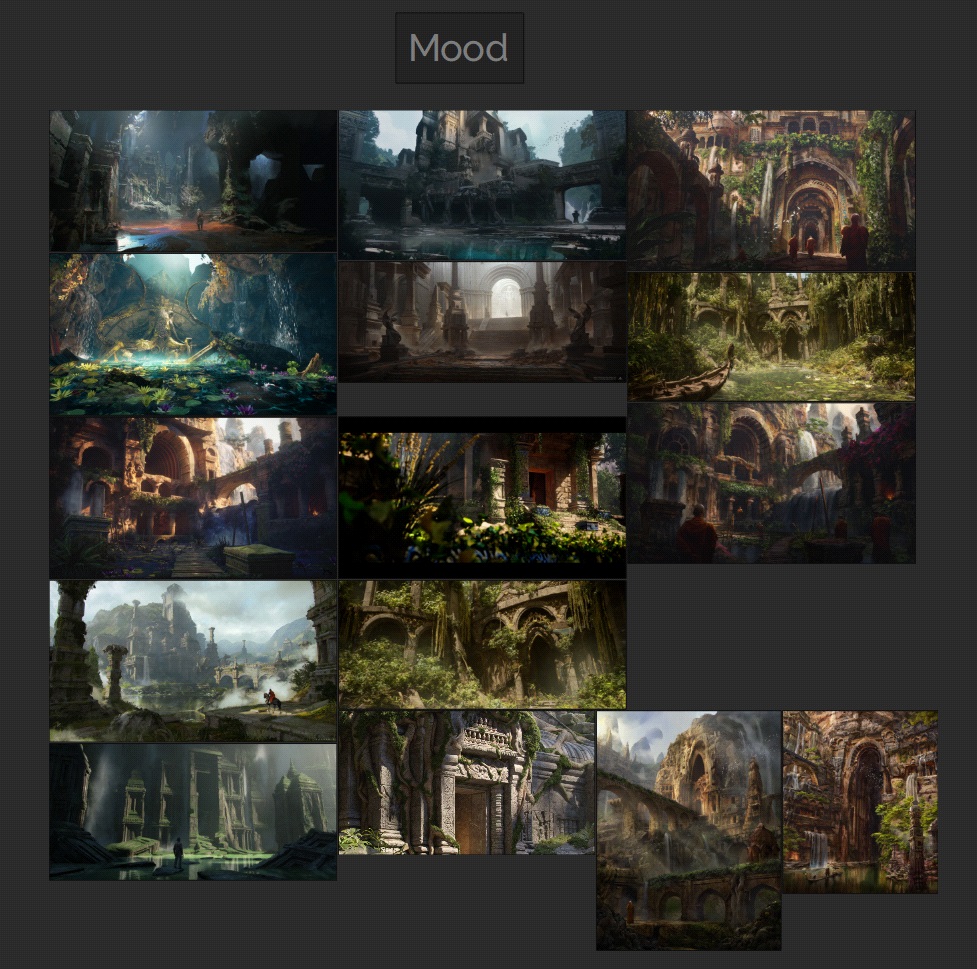
I checked out some photos primarily on Artstation to get an general ambiance and with this in thoughts, I waited a number of days to create a psychological image of the scene.
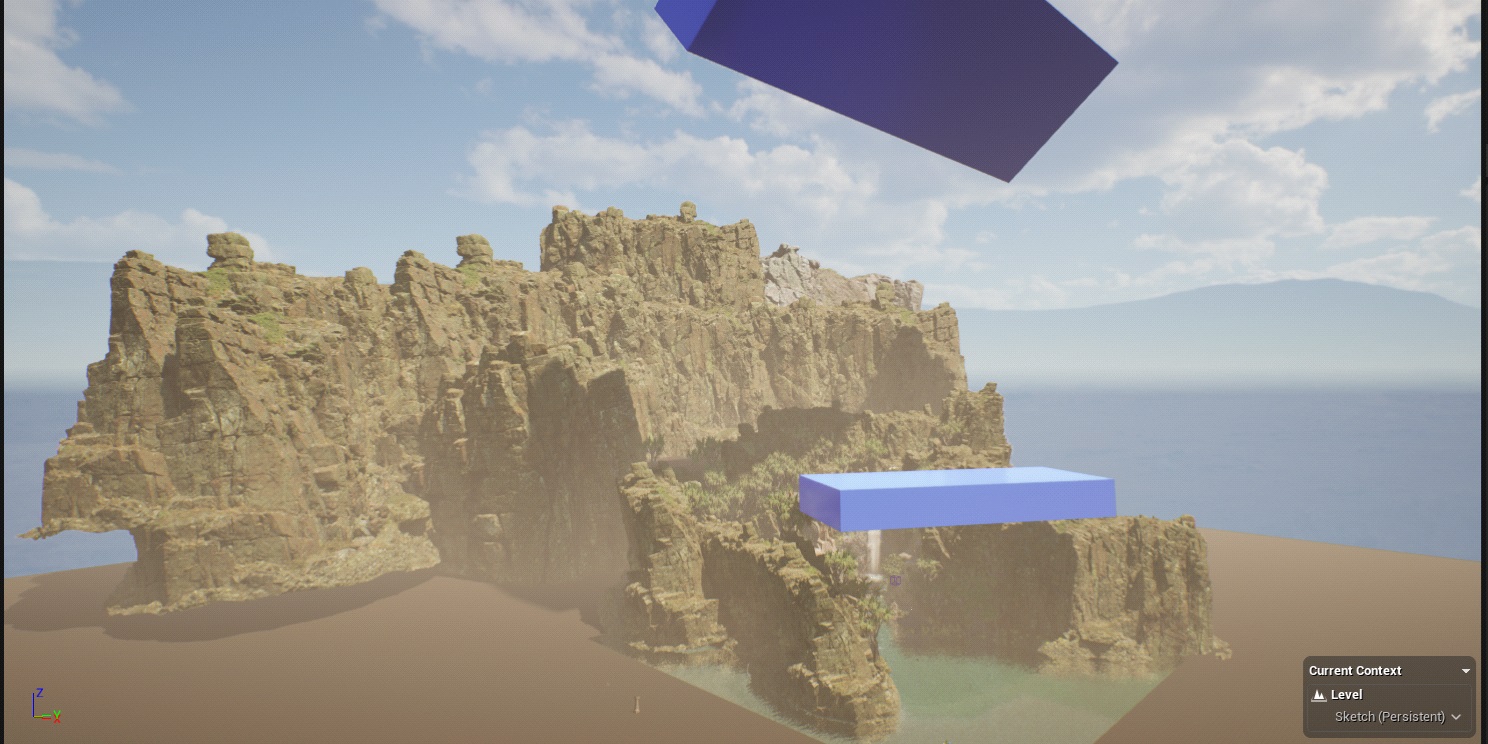
BLOCK-OUT
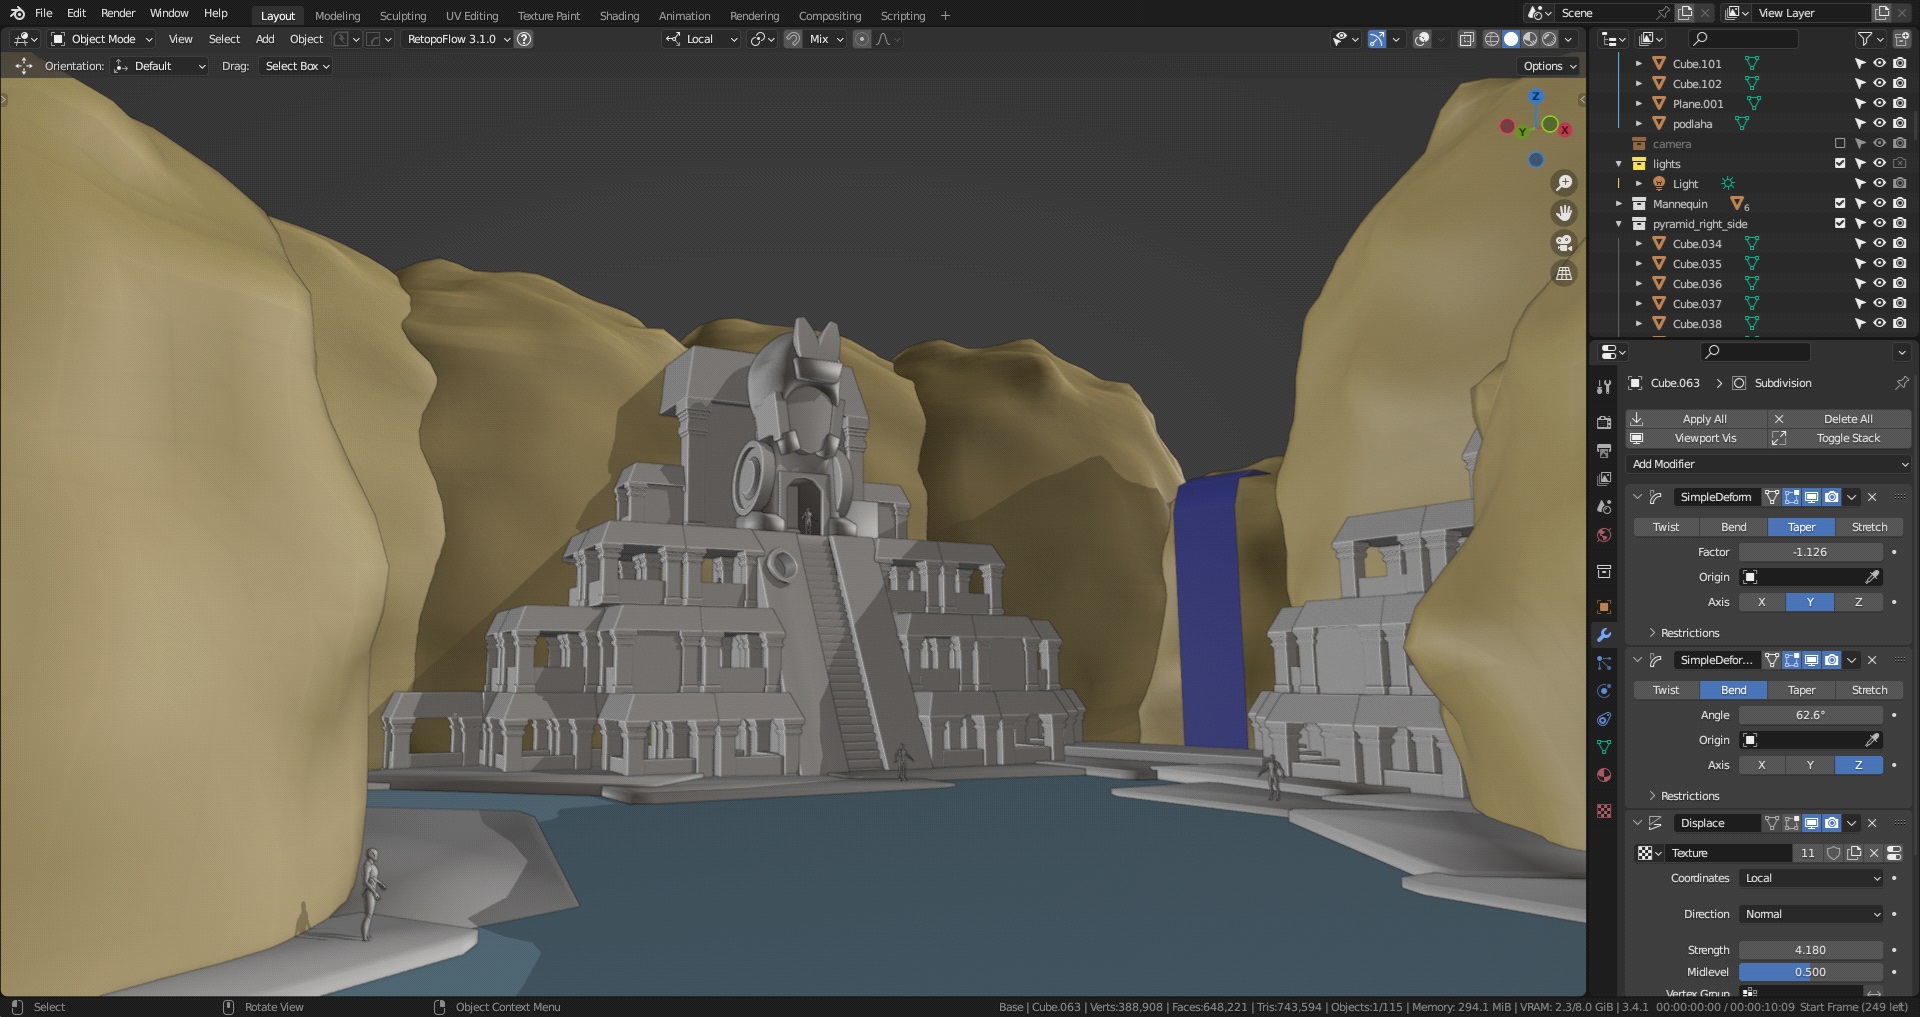
After that, I blocked out the scene with primary shapes in Blender to see if it felt proper to me.
PROPS
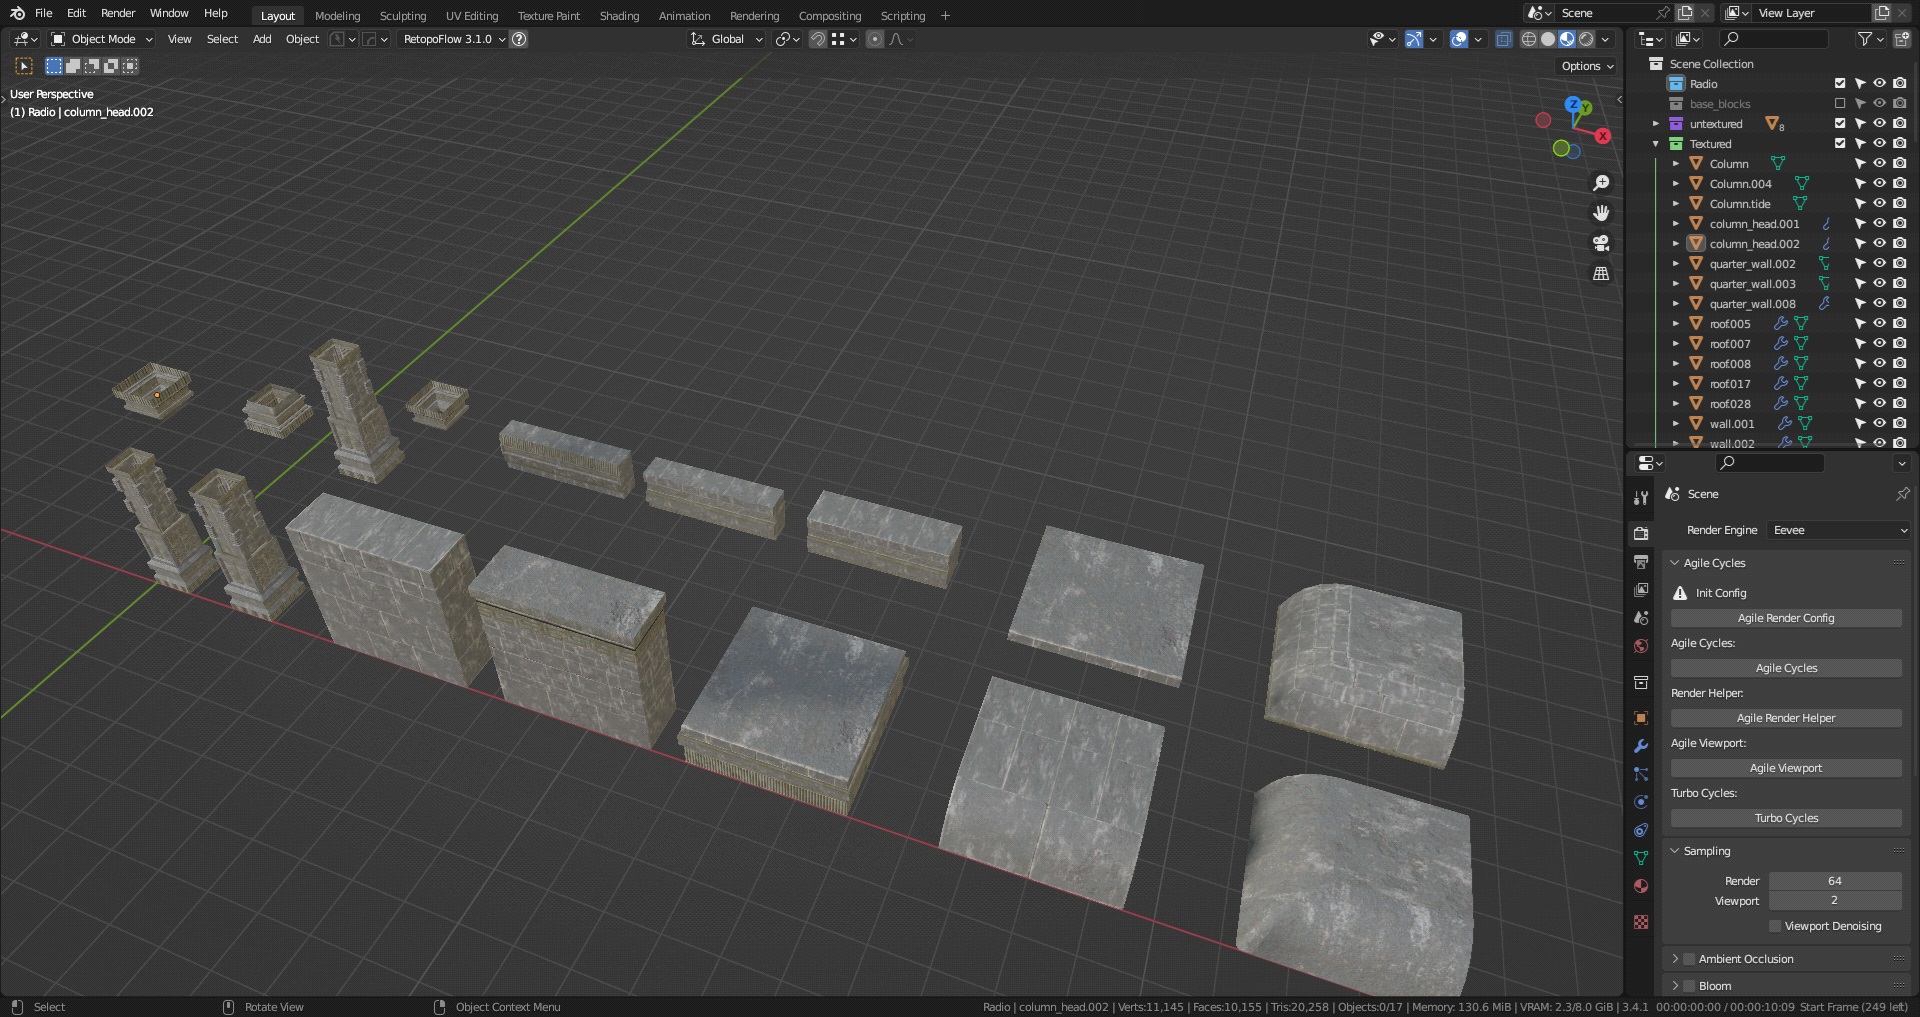
I knew it might be very tedious to construct such a posh scene with distinctive property, so I made a decision to make it with modular items textured with trim sheets.
Modeled props:
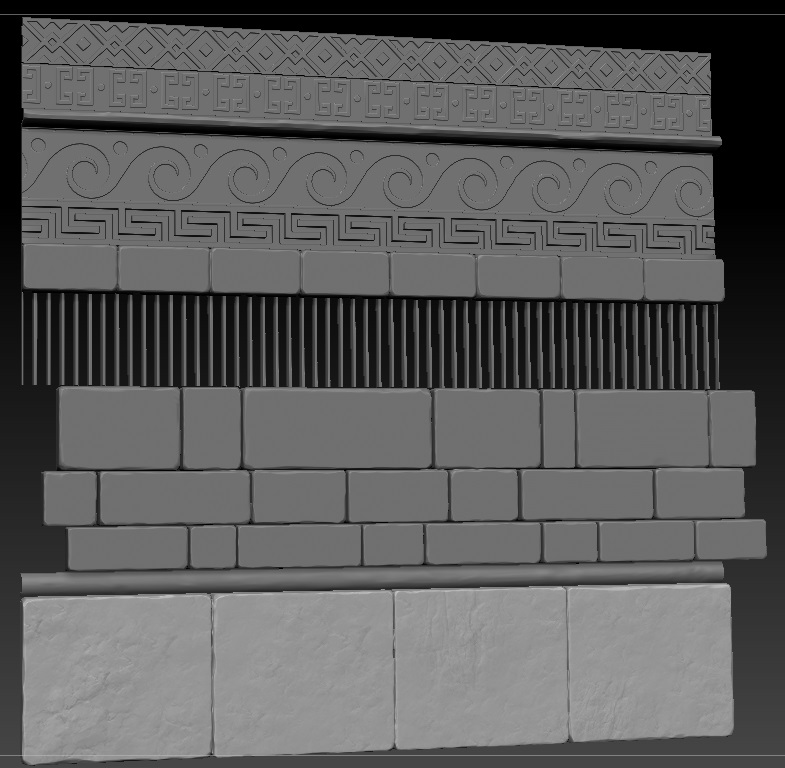
That is the bottom form for my trim sheet made in Blender.

That I exported into Zbrush and sculpted a high-resolution model.
TEXTURING
Then, I imported it into Substance Painter and baked the map onto a aircraft.

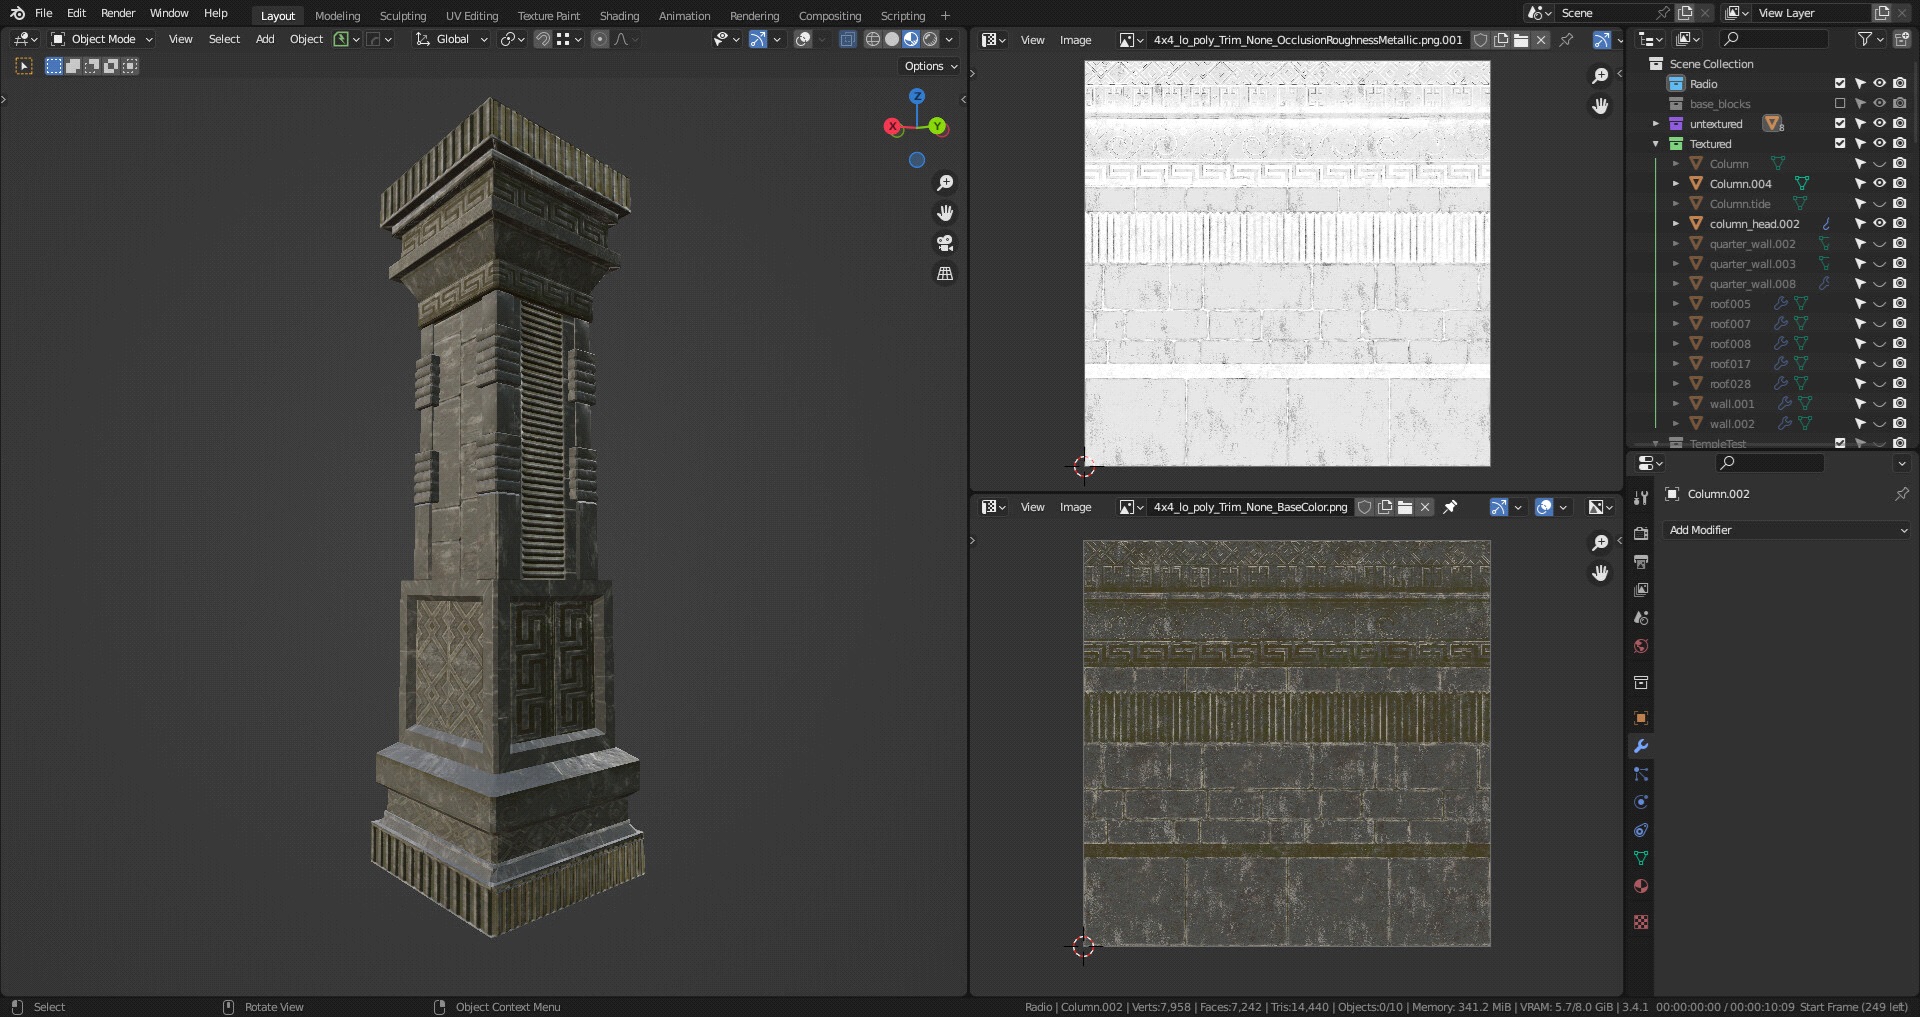
It is a textured prop with a trim sheet:
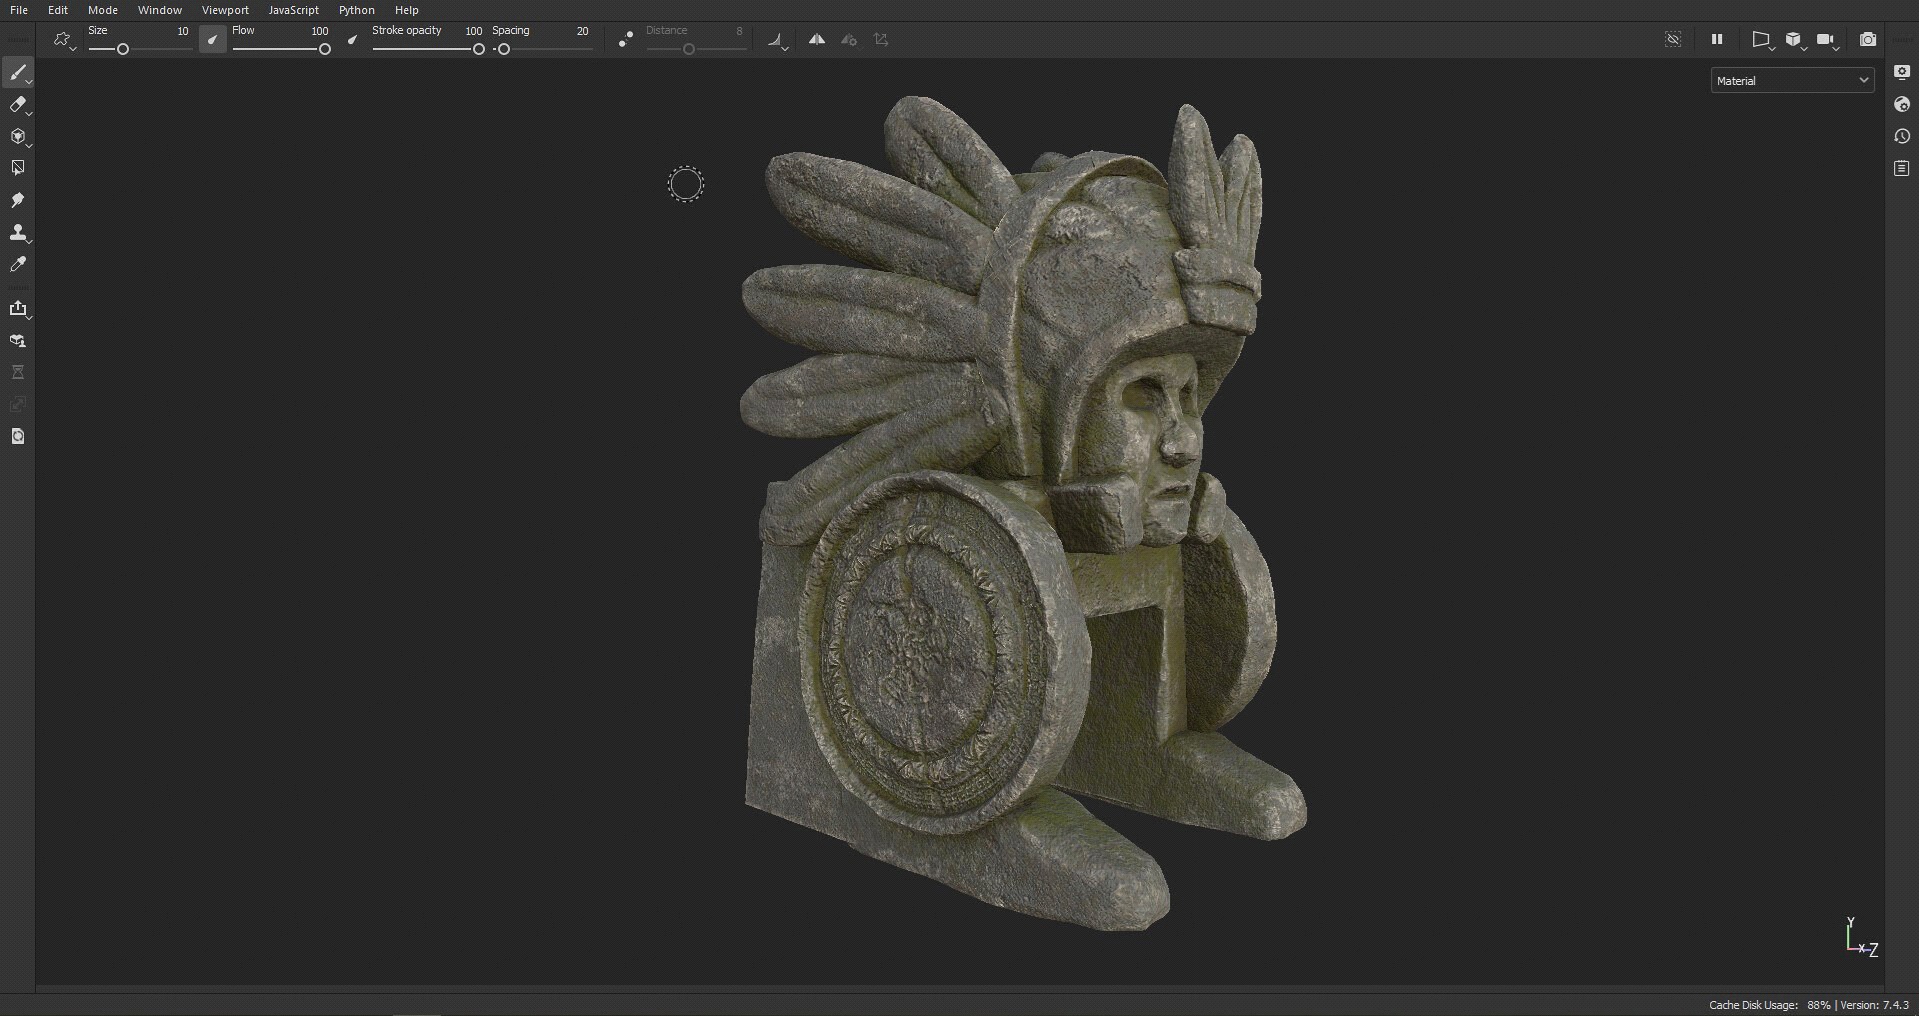
I additionally envisioned the doorway of the temple as a kind of Indian head, so I created one utilizing the same workflow. The bottom mannequin was made in Blender, sculpted in Zbrush, and textured/baked in Substance Painter.
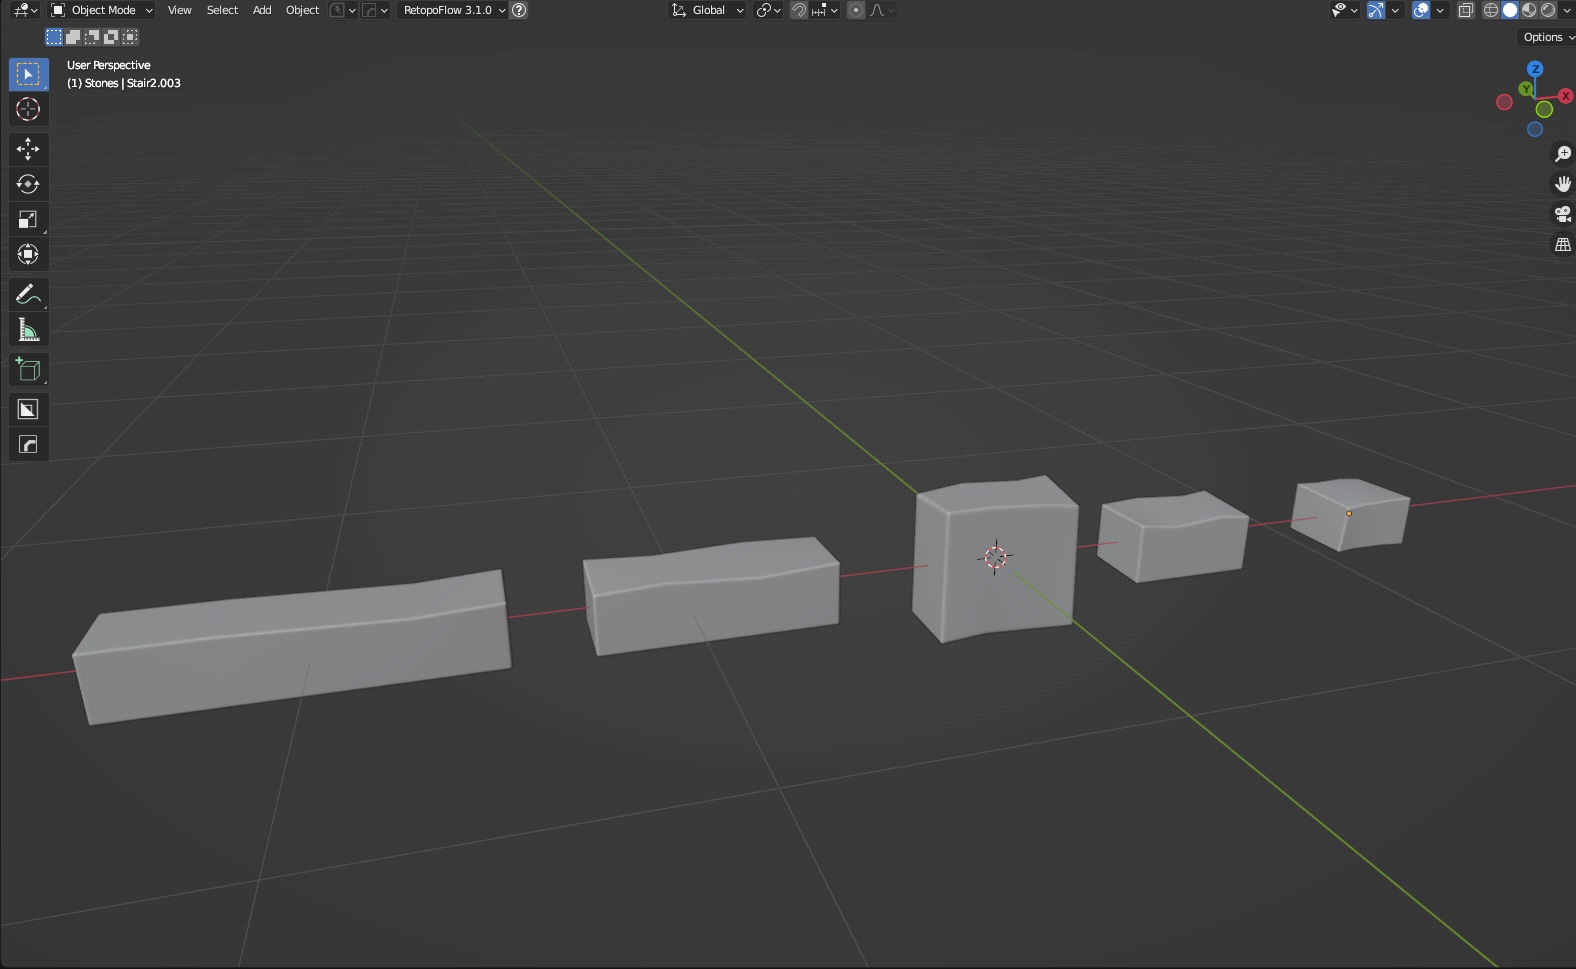
I additionally made a number of bricks with the identical approach, which I later assembled right into a packed degree occasion in Unreal Engine and used for assembling ziggurat stairs/partitions.
UNREAL ENGINE
The props had been assembled in Unreal Engine 5.
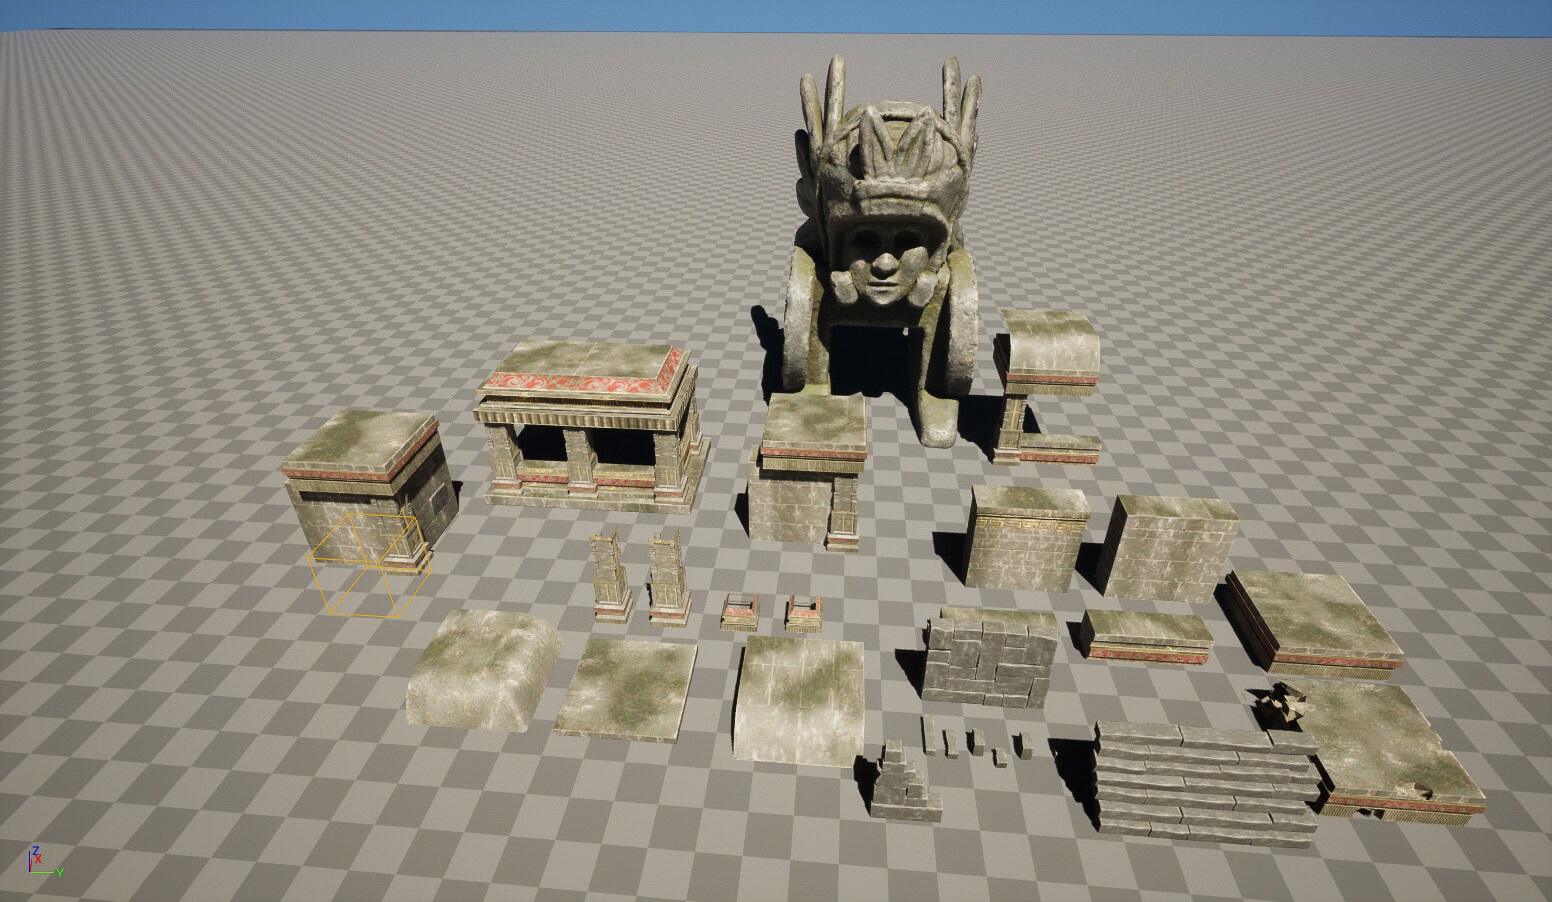
In the precise backside nook, you possibly can see one broken prop. For this, I attempted a method from this tutorial:
The remainder of the method was simply assembling items in Unreal Engine to suit the general form. I additionally imported some foliage and stuff from different initiatives, Unreal Market, or Quixel Bridge. I created some supplies or tweaked present ones, just like the water shader. I used some primary Unreal Engine content material water and added caustics, ripples, adjusted shade close to the floor, and many others.
For the lighting in Unreal Engine, I used some HDRIs from Poly Heaven together with UE mild system. I added some level and rectangular lights to emphasise some darkish spots, however alternatively, for the darkish vignette impact in entrance and within the background, I added two huge cubic shapes to solid the specified shadow.
ANIMATION
All of the work, together with some quick animations, could be considered on my Artstation web page.
I additionally created animated sequences in UE, using Nanite and Lumen expertise and rendered them with ACES shade grading. With the assistance of this tutorial:
TEMPLE BAY
Sequence 1:
Sequence 2:
Sequence 3:
I downloaded the Khaimera character from the Unreal Engine market and used their animations.
Thanks to your time, I hope you loved studying this text and realized one thing helpful from it.
Have a pleasant day!
Concerning the Artist
Jindřich Patík, an setting artist from the Czech Republic, at the moment working at an promoting company.