Whats up everybody!
The objective i’m attempting to realize is to create a 2nd lightshafts shader that may be utilized to particle sprites for pseudo volumetric glows. This is similar impact many video games use to simulate solar mild shafts and so forth. (at first went voxel primarily based) I wished it to be as easy and effiecient as attainable. I dont wish to must setup render goal digicam or any additional entities on this planet for it to work. Ideally it will be a easy shader you apply to the sprite.
Chapter 13. Volumetric Gentle Scattering as a Put up-Course of | NVIDIA Developer
Most engines do that course of in screenspace. Nonetheless, since i would like this utilized to a particle sprite, it must pattern the depth of the scene and evaluate it to the depth of the particle. My concept was to create a cloth, pattern the scene depth and pixel depth and do an “if” statment to paint it black and white (black is all geo in entrance, white is behind. I’d then save that materials to a render goal which is then used for the radial blur and compositing into the scene.
Sadly this isnt working. For some cause the render goal isnt accepting the information. It appears to be lacking the depth data. Nonetheless this isn’t the one drawback, if the RT is created utilizing geometry thats on this planet, then it must exist someplace on this planet always. The ultimate materials on the particle sprite is just not this materials that creates the RT, however a brand new materials that’s studying and blurring the render goal. I experimented with having 2 sprite renderers in my niagara system (one for the RT materials and one for the ultimate impact) however no luck.
Does anybody know of a approach i can obtain this outcome? I basically have to make a black and white masks of the scene depth, with the seperation decided by the depth of the sprite, and have that added right into a render goal. I did get some outcomes utilizing the scene seize 2nd digicam nevertheless it requires that additional entity on this planet and a few additional setups. (is there a solution to set the present/native cam to that scene capture2d digicam?) One other factor to contemplate is what to do if multiple of those are on display…
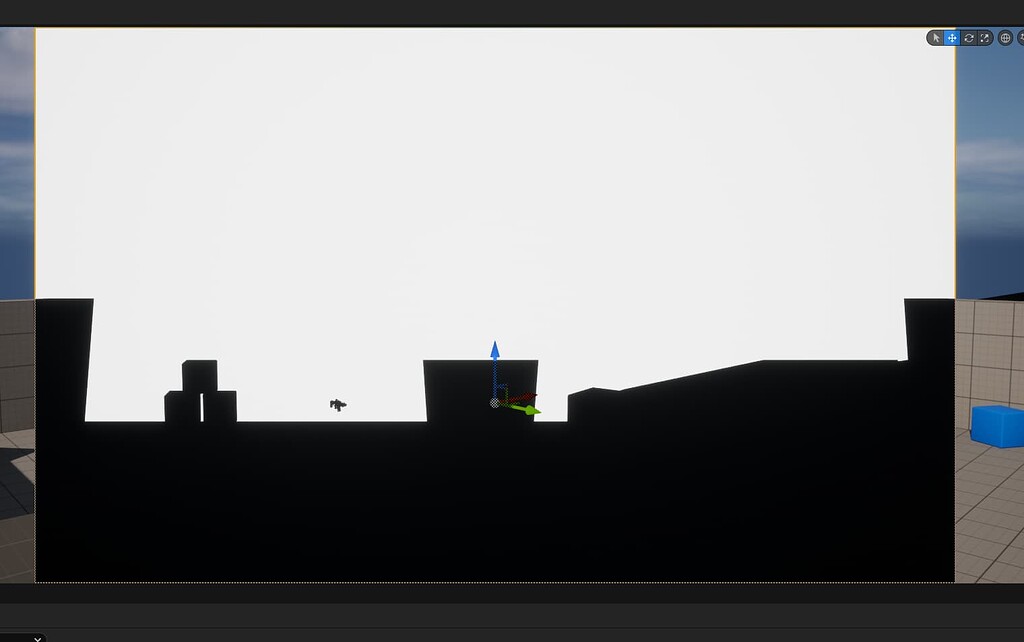
Listed here are some pics…
That is the black and white masks. The fabric is at the moment utilized to niagara particle (for visualization). I need a outcome like this within the RT.
Thanks!
Effectively I’ve progress!
I’ve been capable of get a radial blur on my black and white masks and composite it within the scene, with out the necessity for a render goal. The setup remains to be fairly tough although as all the factor is completed within the materials. It has 40 samples and every pattern is a seperate block of nodes. As you possibly can think about, tweaking the values is a large problem. I wish to get it into hlsl finally. There are additionally a couple of unusual issues just like the lightshafts bending when close to the sting of the sprite, nonetheless unsure about that. I think its my samples falloff/distance settings. Its most likely not the most cost effective factor both. Im will search for methods to optimise it sooner or later.
If anybody is sweet with hlsl perhaps you possibly can lend you your experience? I’ve a block of hlsl that does every little thing my large node setup does, however all in a single customized node. Nonetheless the code is written to just accept a texture sampler enter and wont work with my black and white masks enter. Would somone be capable of modify the code to just accept inputs from different materials nodes? I’m clueless in the case of programming. (slowly studying although) Right here is the code…
float3 blur = 0;
const float2 blurVector = -normalize(UV – heart);
float sum = 0;
for (int i = 0; i < sample_count; i++)
{
const float t = i / float (sample_count);
const float offset = i * dist;
const float w = exp (-t * falloff);
blur += Texture2DSample(Tex, TexSampler, UV + blurVector * offset).rgb * w;
sum += w;
}
return blur * rcp(sum);
There’s additionally a problem with the samples wrapping round the uvs for those who use an excessive amount of area between samples. (attempting to make the blur actually lengthy) If there’s a solution to set it to clamp as an alternative of wrap, that will be superior!