INTRODUCTION
Hiya! My identify is Gustavo Mazzia, and I am 22 years outdated. I reside in Brazil, and I am a self-taught 3D generalist who works for an organization creating pre-visualization and remaining renderings of assorted varieties of steel merchandise like bracelets, pendants, keychains, non secular adornments, and so on.
My journey with Blender began somewhat over 4 years in the past. After tinkering rather a lot with Andrew Kramer’s After Results tutorials, I made a decision to dive in deeper and at last stumbled upon the opposite Andrew once I watched the OG donut collection again in 2018.
INSPIRATION
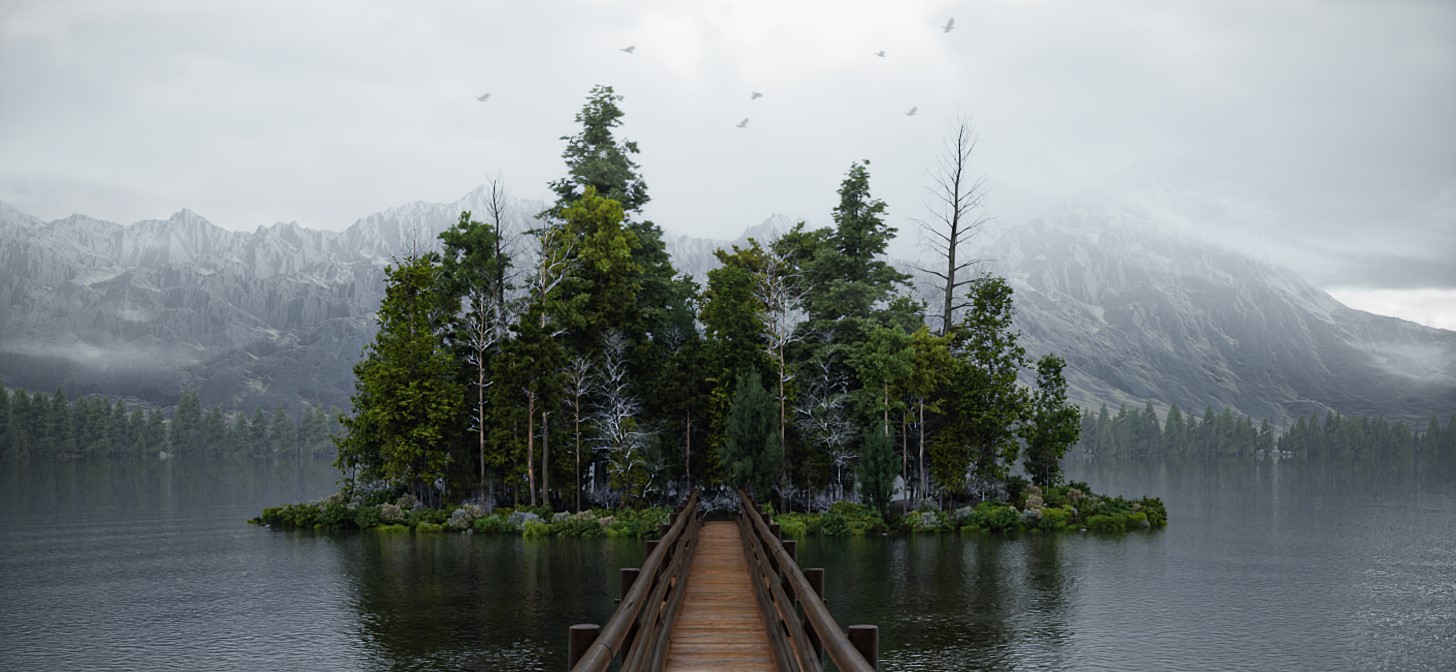
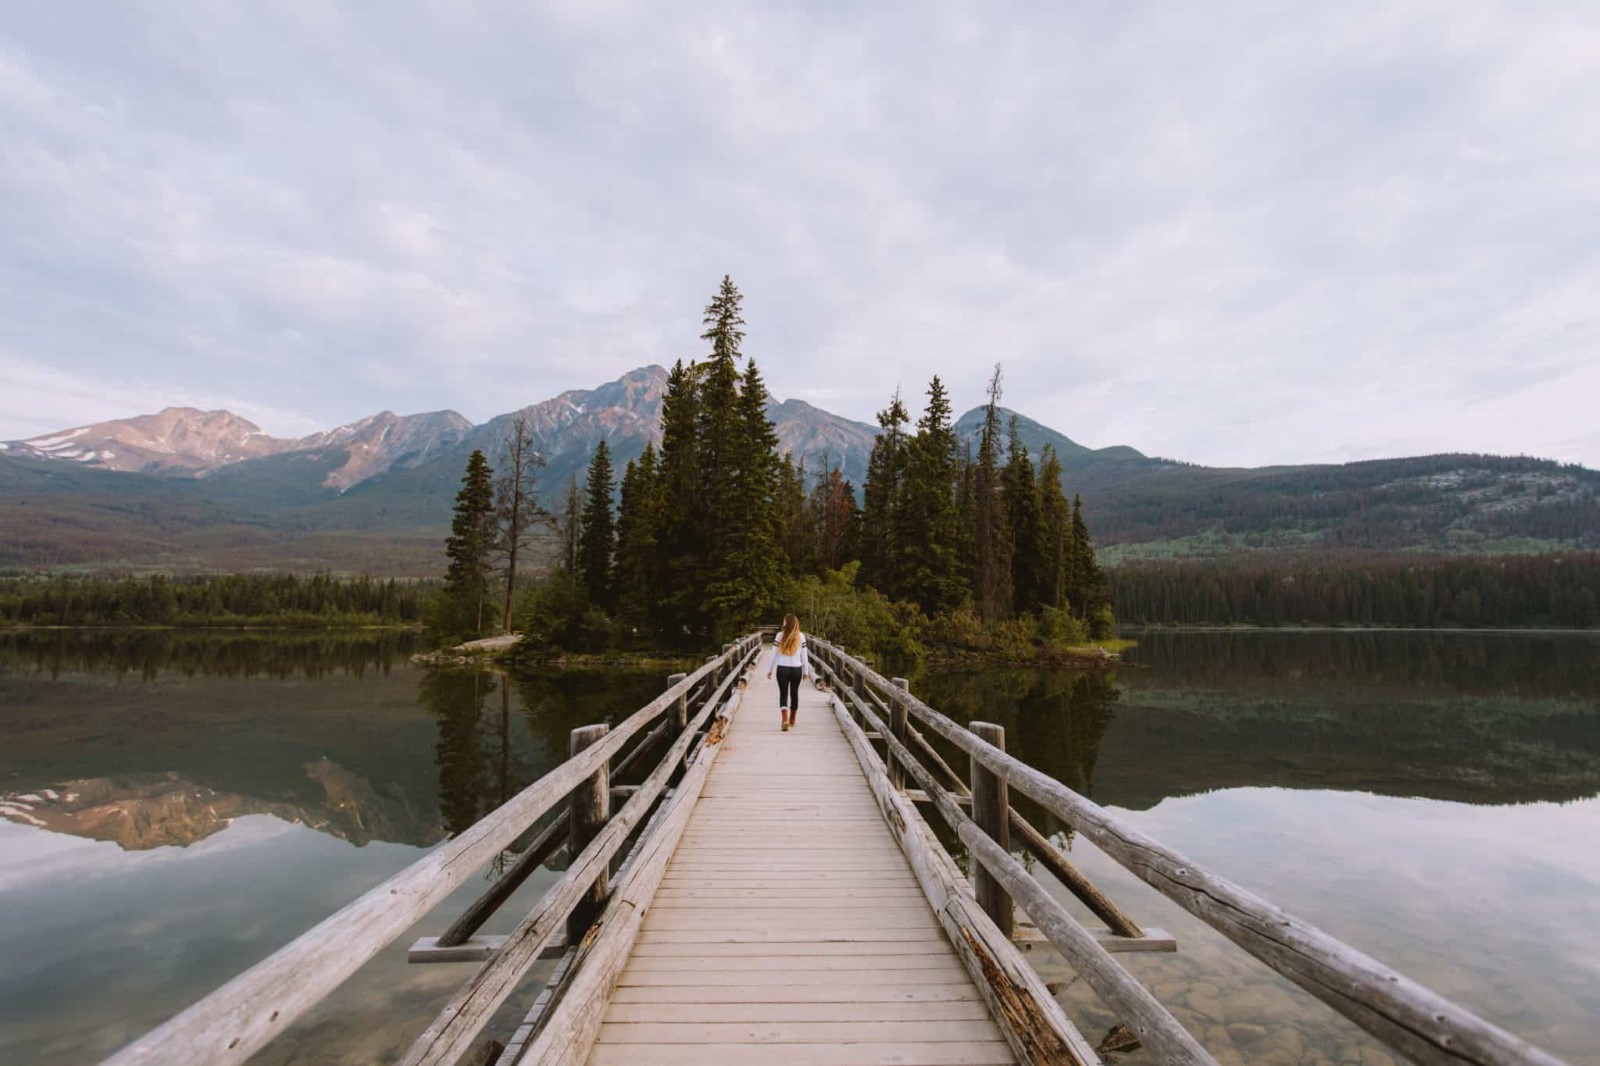
Though it is not one thing I do a lot, I completely love the concept of making a digital illustration of one thing as lovely as nature. For this specific scene, I used to be closely impressed by Jasper Nationwide Park in Canada.
MODELING
To create and render this scene, I used a Ryzen 7 5700x and an RTX 2070, coupled with 32GB of RAM.
The method began with including placeholders for the mountain, island, and organising the digital camera. Then I modeled the bridge by making a single plank, utilizing the Array Modifier to realize the specified size, after which making use of it to entry the geometry and randomize every plank’s rotation individually.
The rail guards had been created the identical means, with easy beams going up, a horizontal plank on the underside, and an Array Modifier. Each the planks and rail guards use the identical materials with colour changes, plus a clamped and stretched Noise Texture that was used as displacement to get the cracks alongside the parallel logs.
ENVIRONMENT
The island is a airplane that was manually edited to make sure it protrudes barely above the water. Its materials incorporates no textures, only a darkish brown colour and a excessive roughness worth. The timber and bushes are from the Vegetation add-on, plus a pine tree mannequin I had mendacity round from an unfinished mission, which was created utilizing Speedtree software program.
The mountain was created utilizing World Creator. Nothing too fancy; a couple of erosion filters had been used, however I primarily seemed for a seed worth that may give me a shallow parabola form, which I needed to maintain the general symmetry of the shot. The pine timber within the background are all the identical single mannequin used on the island.
WATER
The water shader makes use of two noise textures to realize this delicate, non-uniform rippling. One has a excessive frequency to provide the water its pure, wavy look, and the opposite has a a lot bigger scale and is, the truth is, used to barely distort the feel coordinates of the primary one, reaching this “distinction in route” within the bump map, which properly provides off the impression of various wind speeds on the floor of the lake.
FOG
The fog/mist can also be executed in-engine by utilizing two volumes. One has a really low, constant density (I really feel just like the mounted worth works higher at promoting a pure misty look since in actual life fog doesn’t get thicker when it’s farther from you) and hovers proper above the water as much as the highest of the mountain. The opposite one is basically the identical, however with a density gradient that goes as much as round 2 mountains tall and is used to “conceal” the summit.
POST-PROCESSING
For the post-processing, I often have a couple of filters arrange in Photoshop to realize a considerably “lifelike” impact. The order through which the filters are utilized is vital, as I attempted to seize how they occur in actual life by making a couple of semi-educated assumptions of my very own:
- Movement Blur: Comes first because it occurs proper when the picture is being captured. I typically set a diagonal worth of 1-3px relying on the decision.
- Digital camera Uncooked Filter: I exploit it to regulate the colour steadiness, add texture, flip down the vibrance a notch, and add grain. It appears to be the logical “second step” when the sensor truly will get uncovered to the sunshine.
- Scale back Noise: Comes third as a result of it is a post-processing impact. This filter helps to provide that “denoised” really feel that the majority smartphone photos (and “baked” jpegs on the whole) have on account of post-processing chewing away some particulars and desaturating sure highlights on account of “contemplating” it was colour noise.
- Unsharp Masks: Comes final as a result of that is when the software program tries to compensate for the misplaced particulars throughout denoising. Unsharp Masks is my private favourite means of including sharpness; there could also be a greater resolution right here, after all. I have a tendency to make use of one thing between .7 and 1.5px with energy various between 50% and 150%.
I then painted the birds with a stencil brush utilizing a darker colour sampled from the sky and added a couple of delicate mist clouds on all sides of the island to make it look extra fascinating and non-uniform.
SMALL ISLAND


Thanks in your time, I hope you loved studying this text and discovered one thing helpful from it.
Have a pleasant day!
In regards to the Artist

Gustavo Alexsander (LXSander) Mazzia, a 3D generalist from Brazil who works within the steel casting business, making an attempt to squeeze out a private mission every so often.