INTRODUCTION
Hello there, my title is Israel, and mainly, Blender and the whole realm of artwork have develop into a faith to me. I like it, examine it, apply it, and just about worship it each time I’ve the time.
INSPIRATION
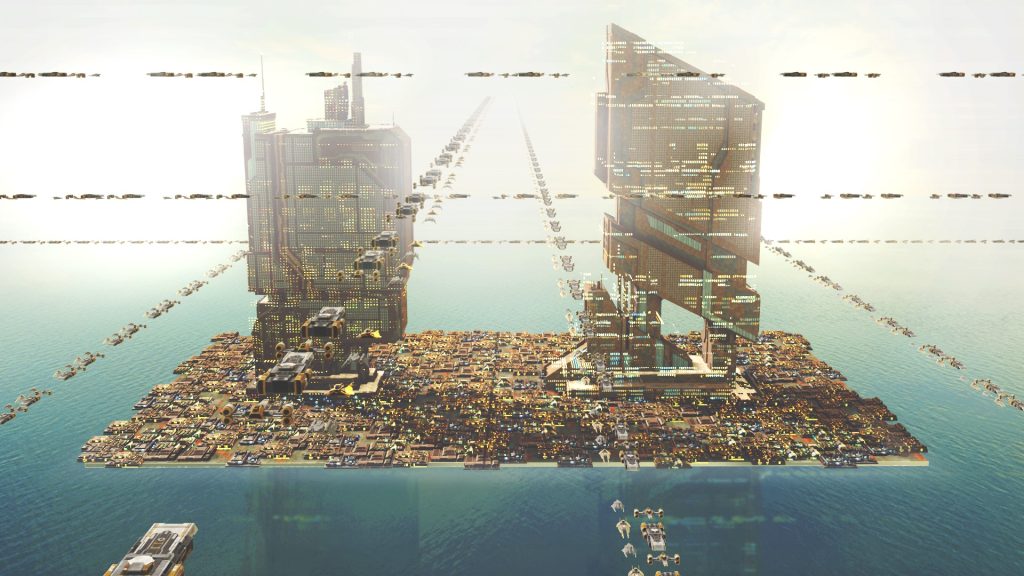
To be sincere, I created “Water Metropolis” to check the efficiency of my new laptop computer, an RTX 3060 with 16GB RAM, i5-12450H 8-core, 12 thread cyberpunk automation. It’s a “template” for future tasks to find out what my laptop can and can’t course of. That is all. And all through the expertise, “Water Metropolis” was not solely a take a look at but in addition an OK digital remark.
The “thought” was to place as many buildings on a water aircraft earlier than the PC begins to decelerate. As soon as the technical aspect was completed, I might start with the creative perspective.
GROUND
The buildings from sci-fi Industrial of kitbash3d are wonderful fashions, however I nonetheless wanted some strong floor to settle the buildings.
So, I made a decision to go for the “greeble look” and located a very good tutorial on YouTube by CG Chuck to information the best way. The tutorial got here with the Bagapie modifier add-on and a free greeble package deal.
I added a Sci-fi Wall Panel Texture for the ground from CG Dealer.
SCENE SET-UP
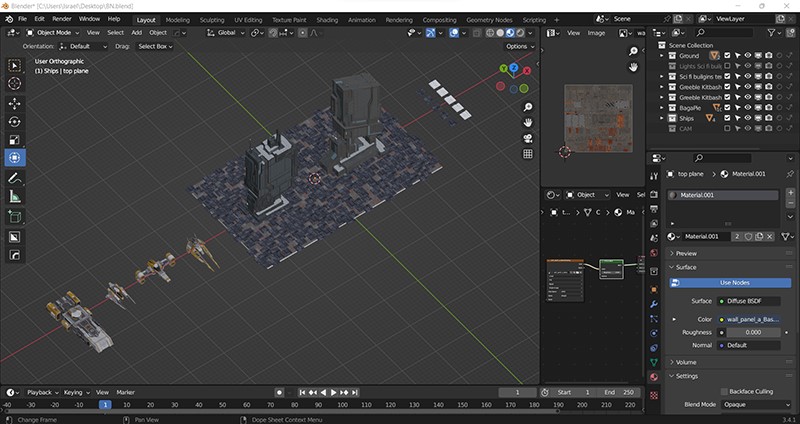
To arrange the scene, I began by adjusting the origin factors, scaling the buildings, and including primary lighting. These are simply the fundamental Blender navigation.

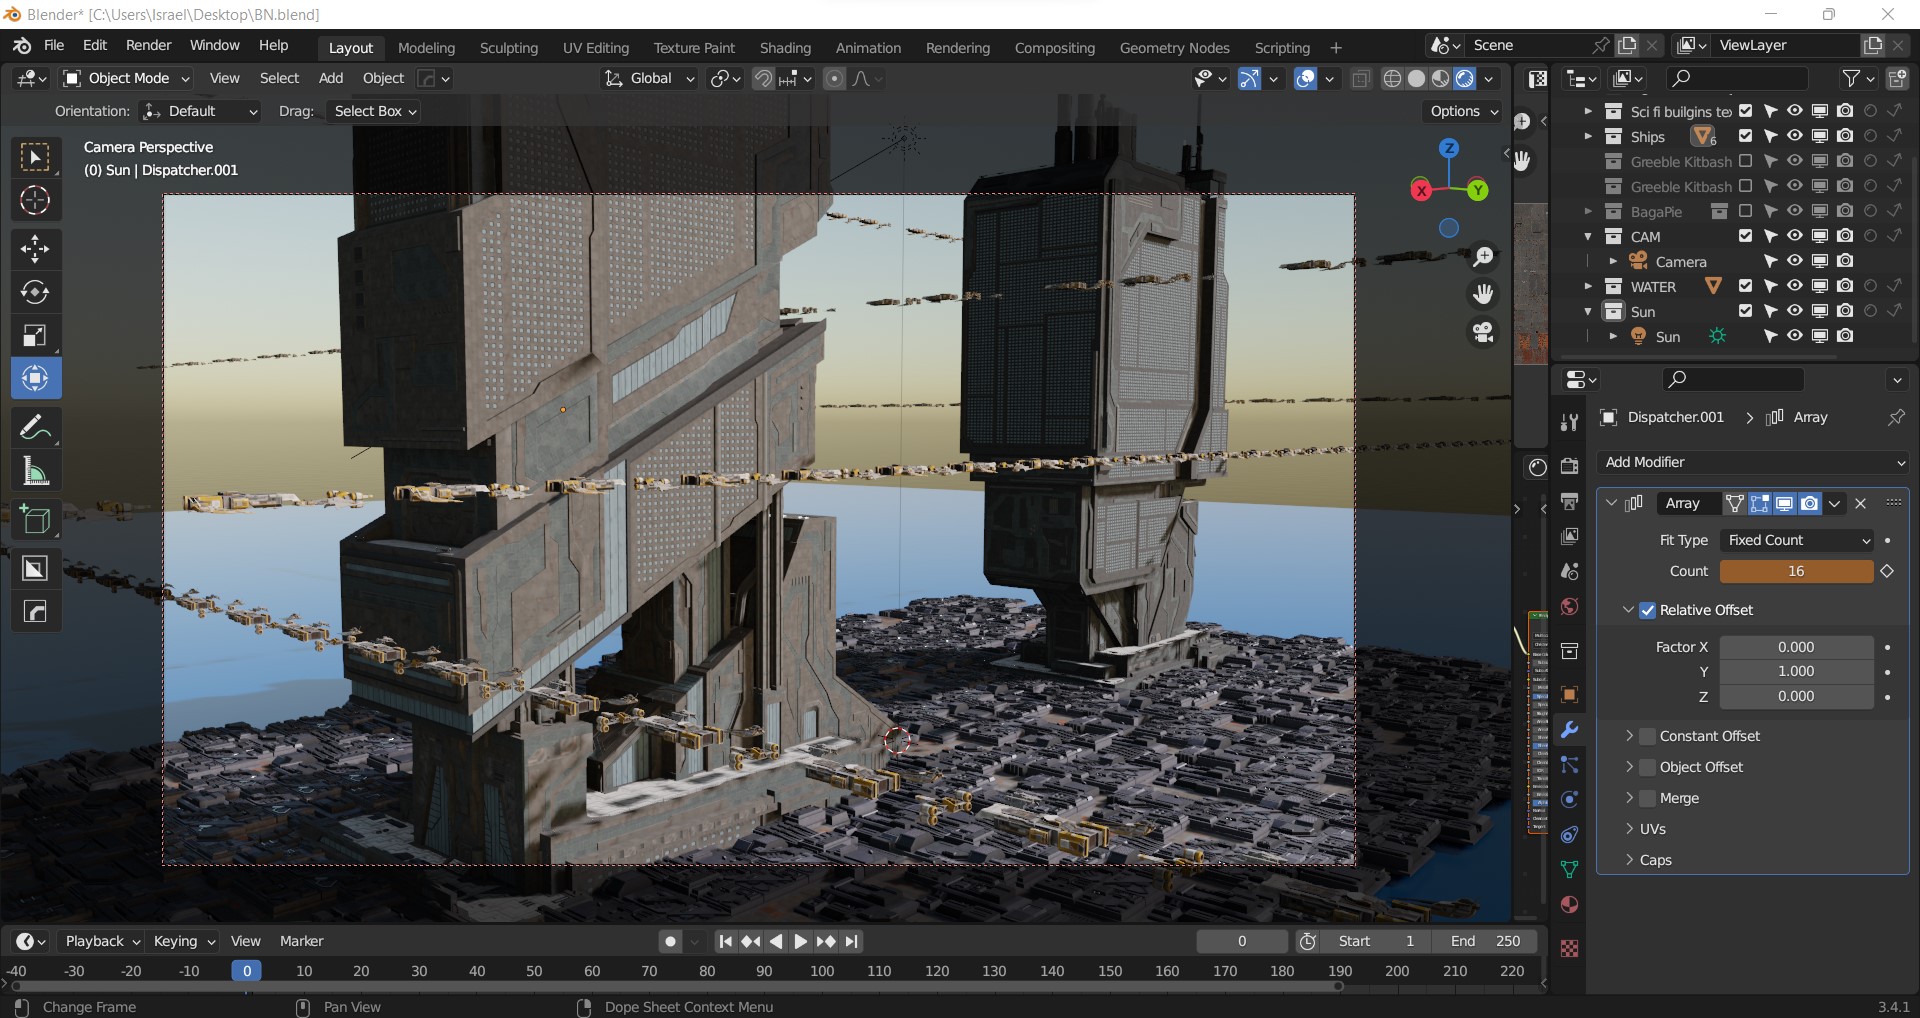
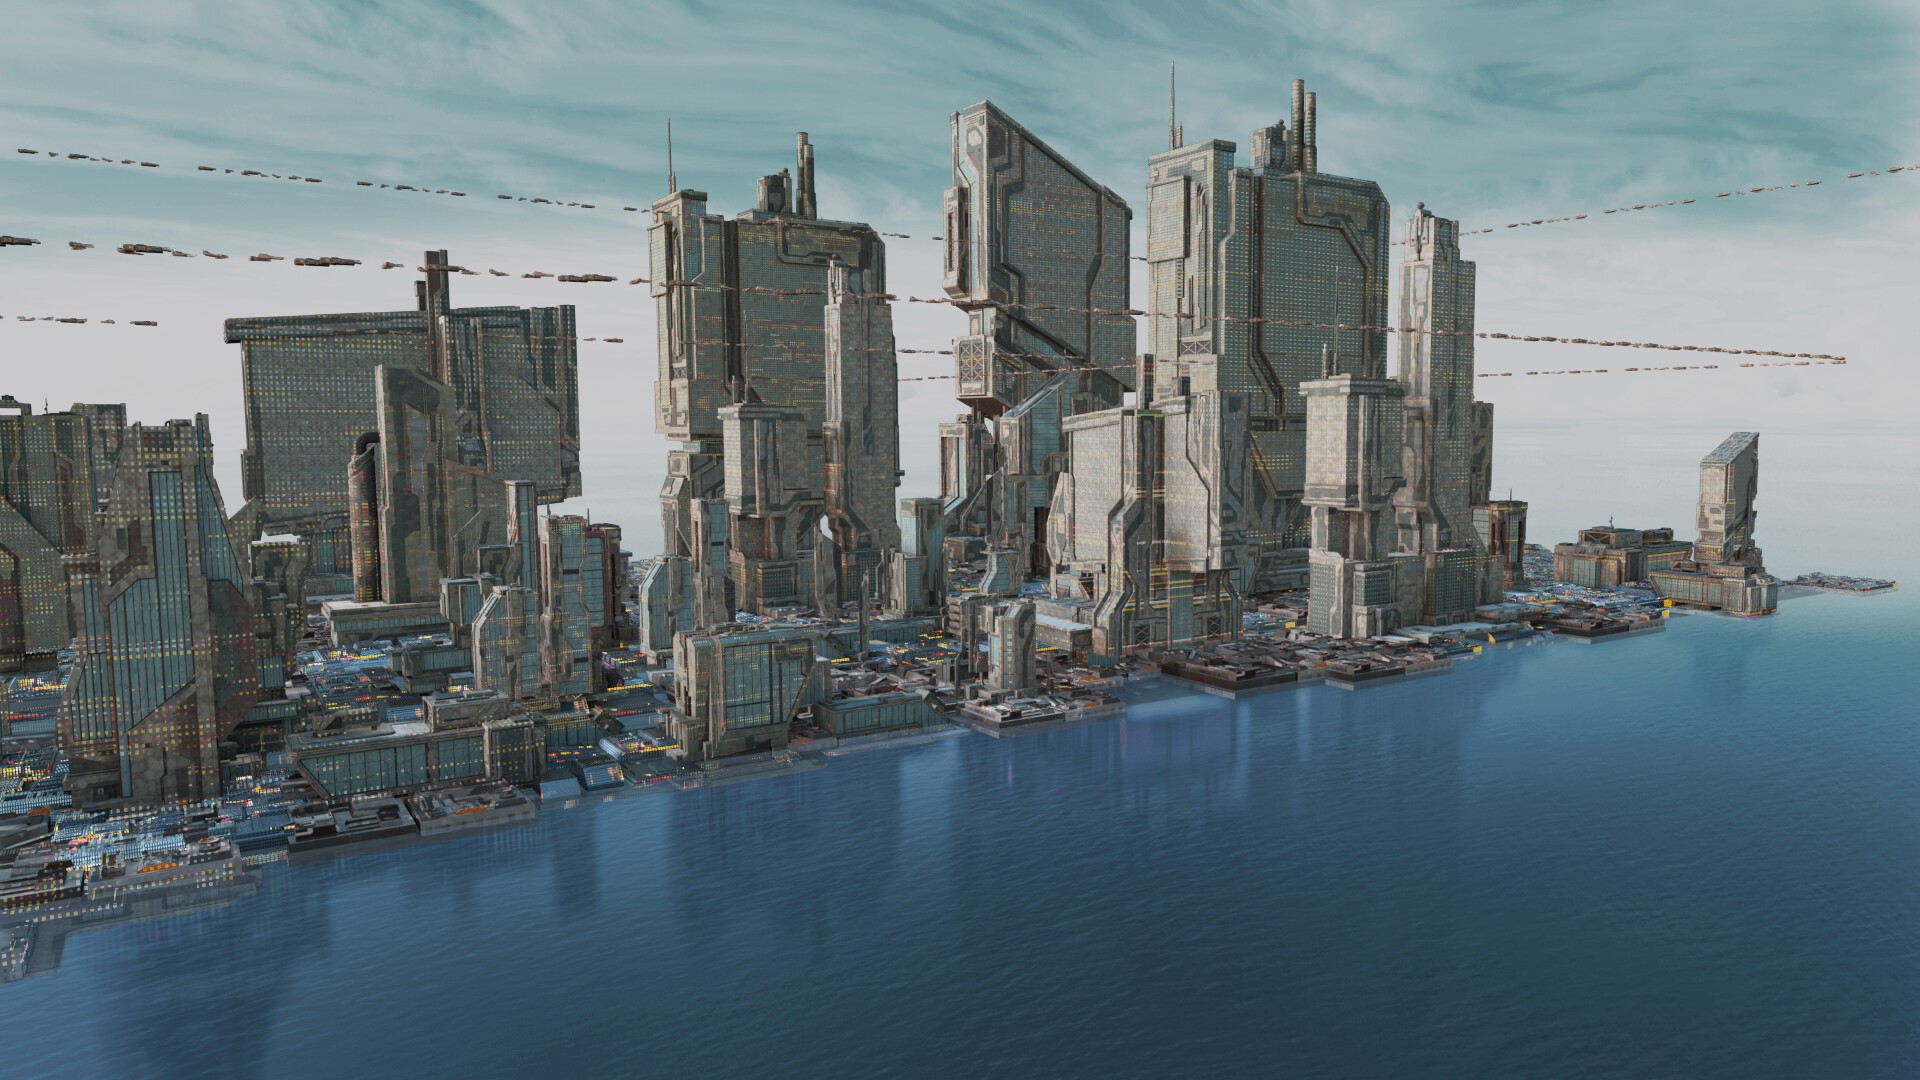
I used the low-poly ship pack Final Spaceships from Quaternius. I added an array modifier on them to create a street path for the spaceships.
TEXTURING
I moved on to UV unwrapping and including textures to fashions the place wanted. As soon as that was performed, I picked up some constructing lights referred to as Evening Home windows procedural materials from ArtStation. Glorious work, Tony Skeor!

Now, the “brainstorm” of the mission was how you can get the constructing lights aligned and on the buildings for the reason that fashions didn’t include subtle metropolis gentle textures (sci-fi industrial and/or the greeble pack). There are a lot of strategies of doing this, however since I really like Blender and Photoshop, I made a decision to render two layers of the item. One layer with the usual textures and the opposite layer (of the identical object) with the sunshine texture and overlap them later in Photoshop.
Right here, I added the Evening Home windows materials to the constructing and took a separate render.
The ocean was a bit less complicated to create. I used the identical mixing overlap approach in Photoshop that I used for the buildings, together with an HDRI of an ocean.

To point out the reflection of the buildings, I solely wanted a easy shiny aircraft in Blender.
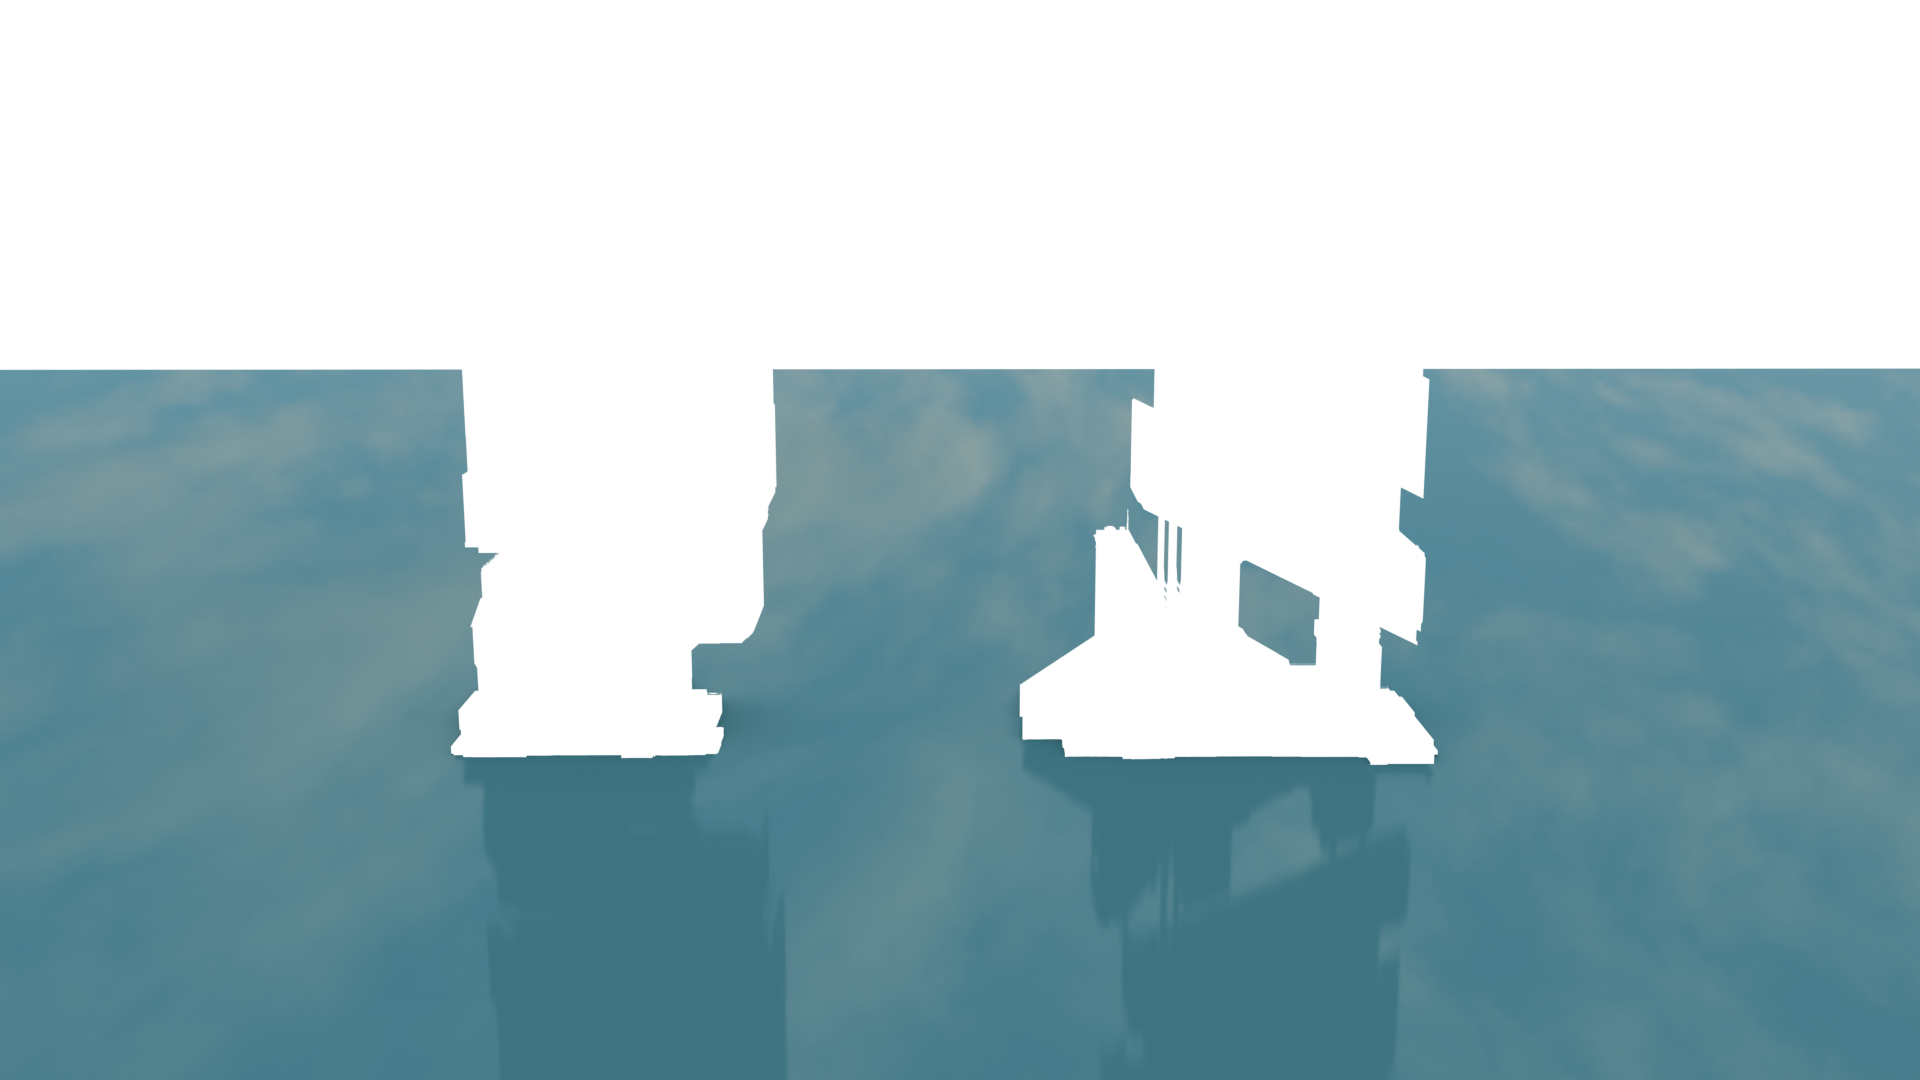
PHOTO-SHOP
For the ultimate end result, I took the 2 separate renders of the buildings over to Photoshop and overlapped each layers accordingly with the corrected mix mode.


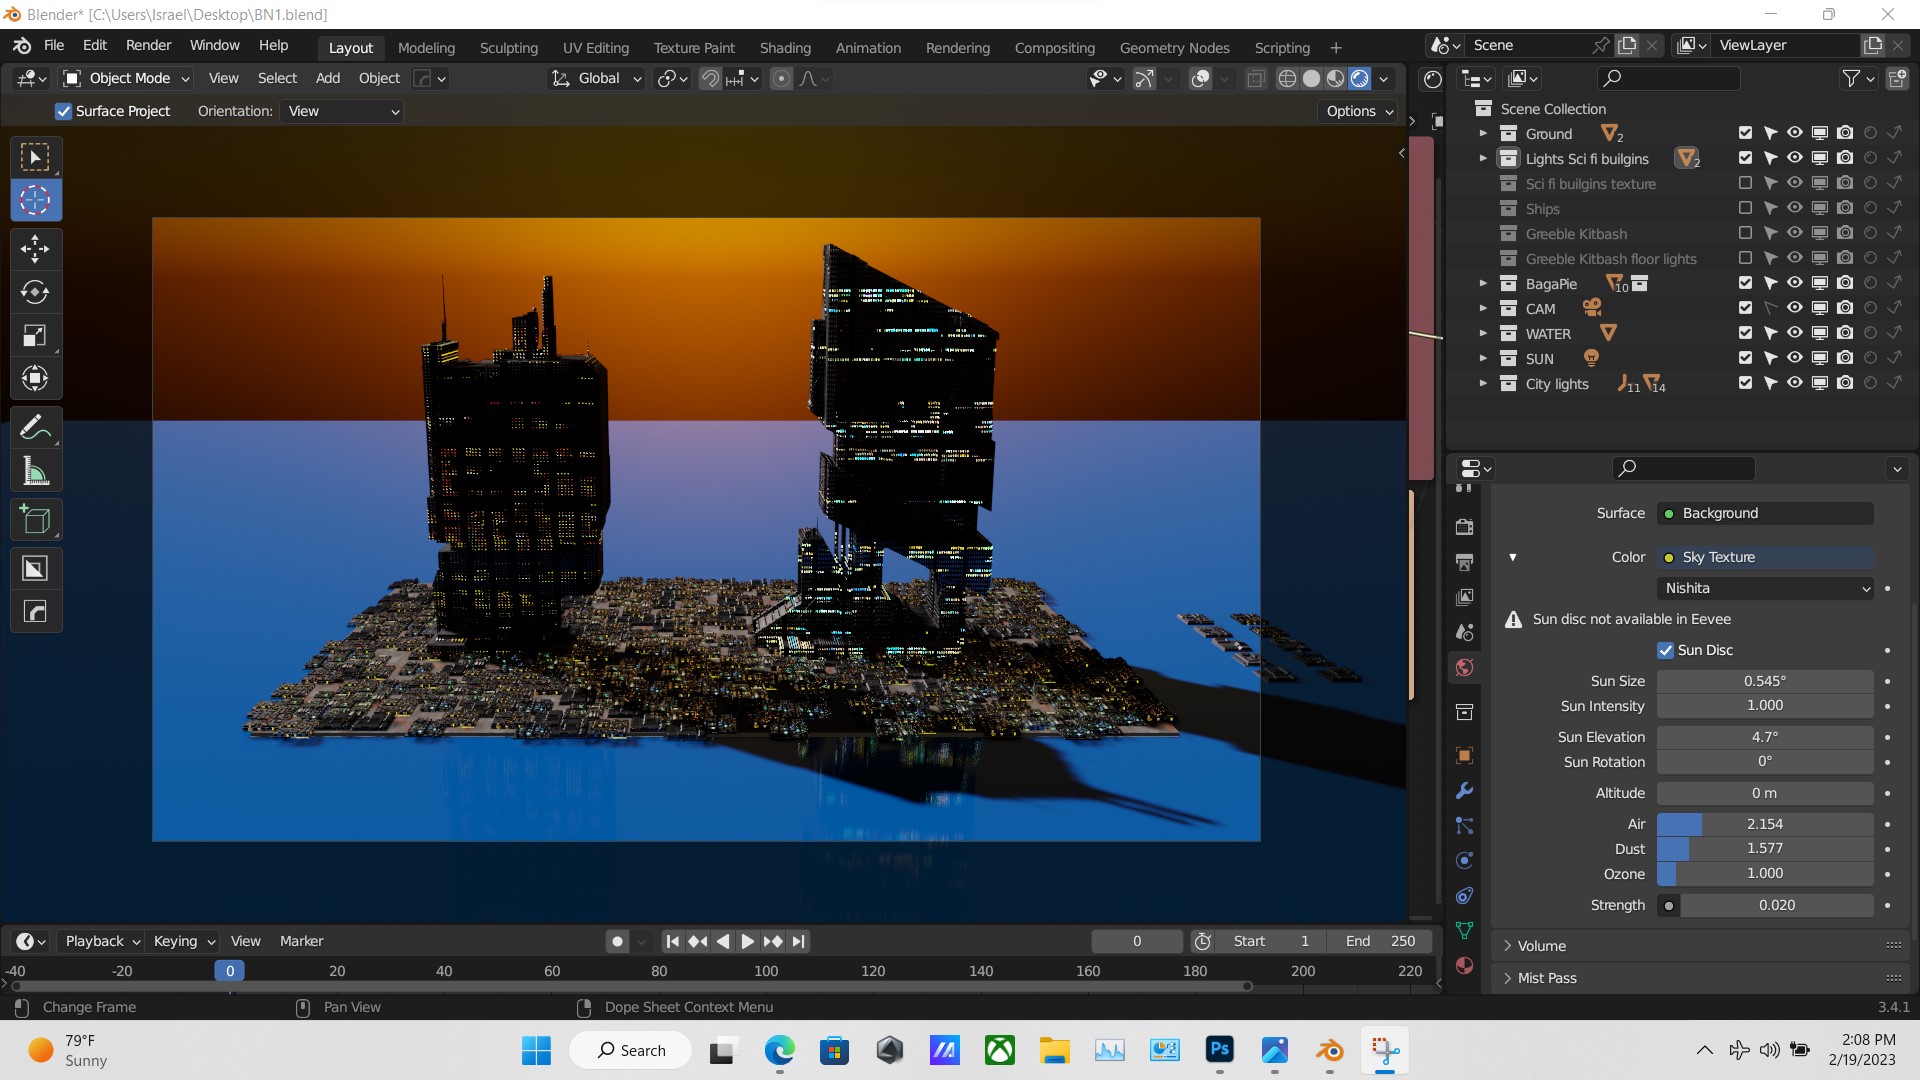
The background just isn’t proven as I used to be going so as to add it in photoshop together with all of the layers.

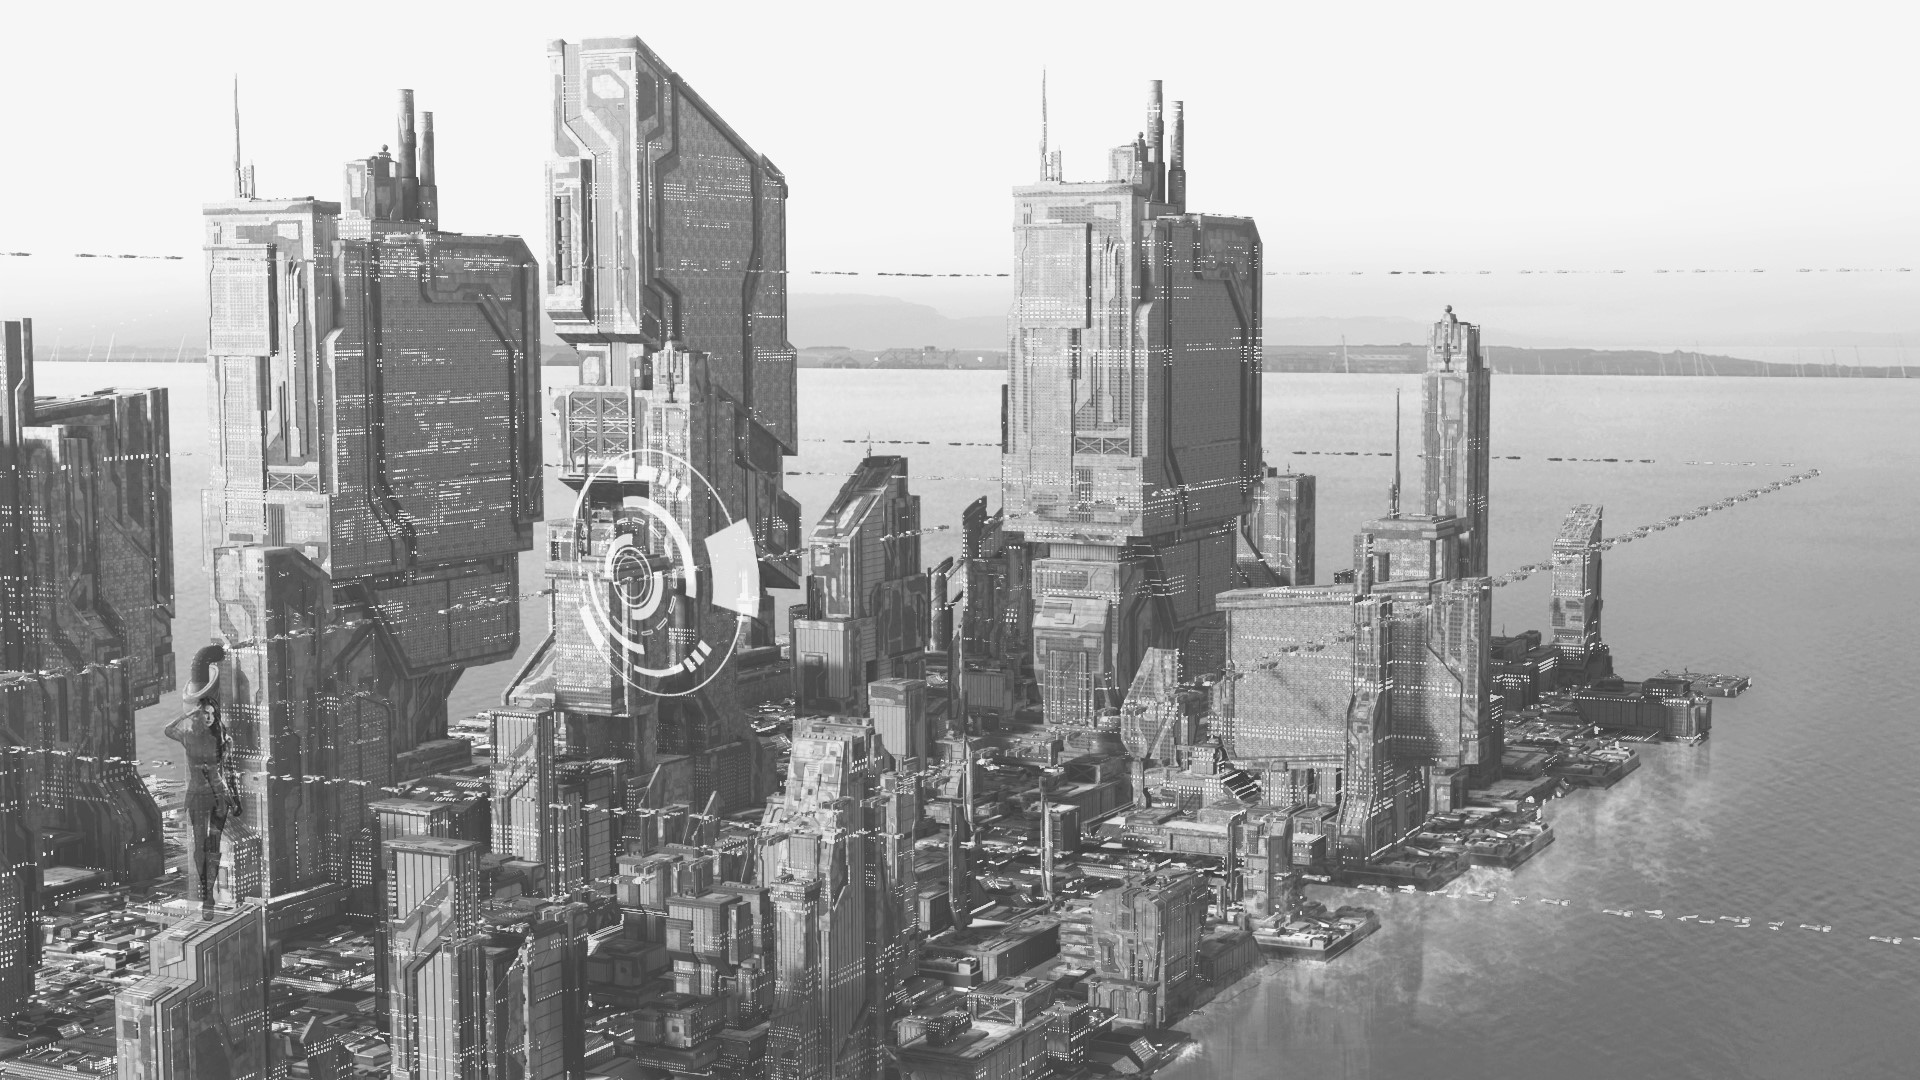
For a unique strategy to this work, I selected to decolorize the paintings and settled on the Black and White model of it. This model regarded higher with the sci-fi theme.
WATER CITY BW

And that is it. Thanks for studying my article.
I hope you will have a pleasant day!
In regards to the Artist
Israel Carrasco, a 3D fanatic, presently a full-time receptionist at my favourite name middle. PEACE.
