Updating firmware is a monotonous, sluggish, and typically difficult course of.

The excellent news is that DJI simplifies this course of for all its drones, and the DJI Avata is not any exception.
You may replace the DJI Avata firmware in two methods, by way of the DJI Fly app, the place you additionally replace the Goggles and Distant Controller, or, if you wish to replace the drone solely, utilizing the Assistant 2 software program.
We have now you coated if you’d like a step-by-step process to finish the firmware replace efficiently.
On this article, we’ll information you in updating firmware with the DJI Fly app and Assistant 2 software program. Additionally, we’ll provide you with some issues for a seamless course of.
DJI Avata firmware replace: DJI Fly app
Not like industrial or enterprise DJI drones, the Avata doesn’t want you to attach a cellular machine that works as a digicam view.


The reason being that this drone works with Goggles that present you the navigation. Nevertheless, you may’t obtain software program to put in updates on the Goggles just like the Fly app.
To replace your firmware, join the Goggles to a cellular machine with the beforehand put in DJI Fly app.
Let’s dive into the steps to replace your Avata, RC, and Goggles.
Step 1: Linking course of
Earlier than you begin the replace, you will need to hyperlink your Avata, RC, and Goggles.
In case you’re utilizing the Goggles 2:
- Fast-press after which maintain down for 2 seconds the Avata energy button. You’ll hear a beep that means it’s on. Now maintain down the facility button for 4 seconds. With a beeping sound, the Avata tells you it’s in pairing mode.
- Fast-press after which maintain down for 2 seconds the Distant Controller energy button. You’ll hear a beep. Now maintain down the facility button for 4 seconds. With a beeping sound, the RC tells you it’s in pairing mode.
- Join your Goggles 2 to its battery with the devoted cable.
- Fast-press and maintain the Goggles 2 battery energy button down for 2 seconds. You’ll hear a beep.
- Maintain the pairing button contained in the Goggles in the course of the 2 lenses for 4 seconds. You’ll hear a beeping sound that tells you the Goggles 2 is in pairing mode.
- They need to all hyperlink collectively after some seconds.
When utilizing the FPV Goggles V2:
- Fast-press after which maintain down the Avata energy button. You’ll hear a beep. Now maintain down the facility button for the Avata to enter pairing mode.
- Fast-press after which maintain down the Distant Controller energy button. You’ll hear a beep. Now maintain down the facility button for the RC to enter pairing mode.
- Join your FPV Goggles V2 to its battery with the devoted cable.
- With the Hex key, maintain down the pink button just under the facility cable connection for 4 seconds. You’ll hear a beeping sound that tells you the FPV Goggles V2 is in pairing mode.
- They need to all hyperlink collectively after some seconds.
Step 2: Cell machine connection
Now it’s time so as to add your cellular machine to the get together.
It occurs that the linking course of doesn’t full. The reason being that there’s a firmware replace pending.
It’s at all times advisable to attach your cellular machine to the Goggles to pair them.
That manner, you’ll see a immediate within the Fly app to put in the firmware replace within the Avata, RC, and Goggles when wanted.
The process to attach your machine is dependent upon its port.
In case you use an Android machine, it generally comes with a USB-C port.
- Join your Android machine to the Goggles battery with the USB-C to USB-C cable that got here along with your Avata.
- Then open the DJI Fly app in your Android machine.
In case you use an iOS machine:
- Join the lightning to USB-A cable of your iOS machine to the USB-A to USB-C cable that comes with the Avata.
- Now join your iOS machine.
- Open the DJI Fly app in your iOS machine.
Step 3: Firmware replace
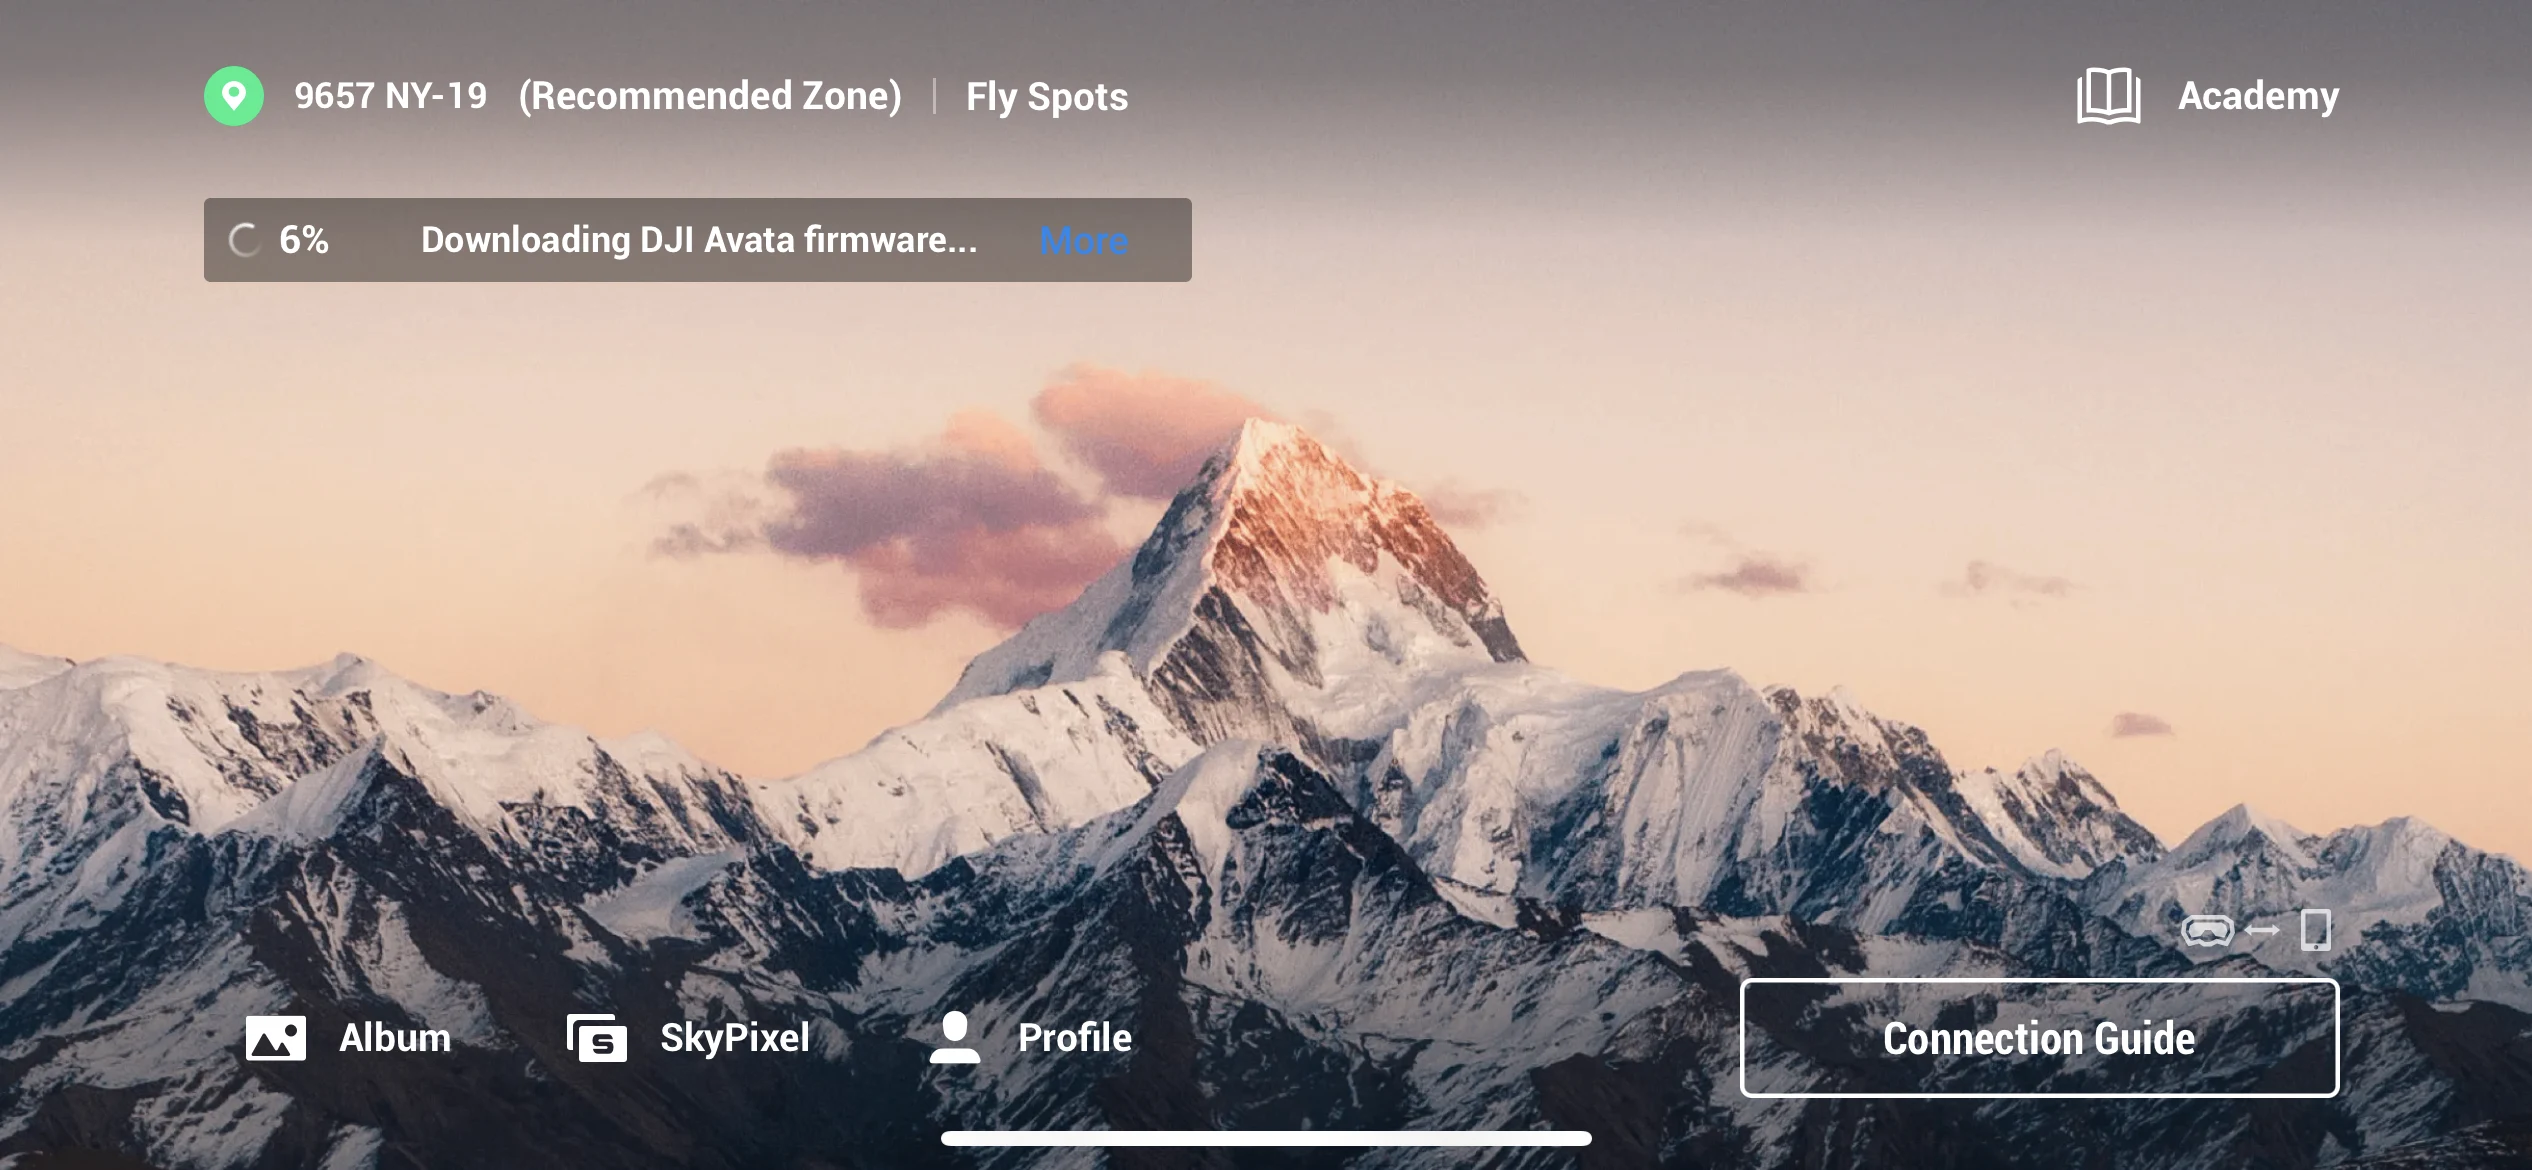
Now, the Fly app shows a immediate to put in the replace. Press it, and the firmware replace begins instantly.
This course of delays as much as 20 minutes relying on how heavy the replace is.
We advise you to not contact the drone, RC, Goggles, and cellular machine. Solely verify the cellular machine display screen to verify if the firmware is updating.
DJI Avata firmware replace: DJI Assistant 2
Let’s say you may’t entry the Fly app because of an incompatible cellular machine, or its battery died, and also you don’t have its charger.
Perhaps you don’t have a very good Web connection along with your cellular machine.
Then it is smart to make use of the Assistant 2 software program. You may join most PCs by way of LAN cable so the Web connection it’s steadier.
Additionally, Assistant 2 is a stronger software program than the Fly app, working sooner.
To replace the firmware of your DJI Avata by way of DJI Assistant 2, you could obtain the required software program for every machine.
- For the Avata, Movement Controller, and Goggles, you’ll discover the Assistant 2 by way of this hyperlink.
- The FPV Distant Controller 2 works with the Assistant 2 by way of this hyperlink.
Set up it in your Home windows or Mac laptop and proceed as follows:
- Launch the DJI Assistant 2.
- Join your machine to your laptop with the USB-C to USB-C cable that got here along with your Avata. In case your laptop doesn’t have a USB-C port, you want an adapter from USB-A to USB-C in a Home windows laptop or micro-USB to USB-C in Mac.
- Now energy in your machine by shortly urgent after which holding down the facility button for 2 seconds.
- The Assistant 2 acknowledges your machine and seems as an choice to pick. Choose the machine you related.
- Assistant 2 instantly opens the firmware replace tab for the machine you related.
- On the appropriate portion of the display screen, underneath Motion, you’ll see an UPGRADE, REFRESH, or DOWNGRADE button. Improve all of your units one after the other by clicking the UPGRADE button.
The REFRESH button is useful after a defective set up.
For instance, In case you nonetheless can’t hyperlink your units or an error immediate relating to the firmware replace seems on the Goggles.
Concerns earlier than updating DJI firmware
A firmware replace can fail for causes out of our management, similar to an error through the replace.
Usually talking, we neglect the next 5 issues that may assist us assure a profitable firmware replace.
Consideration # 1: Battery temperature
Keep away from a firmware replace instantly after utilizing your Avata, RC, or Goggles.
Throughout a firmware replace, the battery works and will get scorching. After a flight, your Avata, RC, and Goggles battery is scorching.
So once you replace the firmware, the batteries will attain greater temperatures the place they will’t proceed with an replace.
After a flight, shut down your Avata, RC, and Goggles. Allow them to relaxation for not less than 10 minutes for his or her batteries to chill down.
Consideration # 2: Battery cost
One other frequent issue we overestimate is the battery cost.
If the Avata, RC, or Goggles battery is under 50 %, the replace will certainly fail. The reason being that firmware updates demand a number of battery output.
Verify your batteries are not less than 75 % earlier than updating the firmware.
Consideration # 3: Battery replace
You heard you must replace your Avata firmware, however in actuality, you’re updating its battery, not the drone.
You must replace each Avata battery earlier than utilizing it.
DJI helps us make this course of much less tedious. After you replace one Avata battery with the Fly app or Assistant 2, the drone retains the file.
When putting in on the Avata a non-updated battery, the Goggles will immediate a firmware replace message. Choose it, and that Avata battery firmware will begin updating.
Consideration # 4: Web connection
One other influential issue is your Web connection. Greater than its pace is how steady it’s.
If the Web connection crashes, you should have a defective replace or no replace in any respect.
Make sure you carry out a firmware replace in a zone with steady Wi-Fi protection when utilizing the Fly app.
You may at all times join your laptop to an Web modem by way of a LAN cable. Then you may replace every machine with the DJI Assistant 2.
Consideration # 5: Most popular settings
Lastly, after an replace, all settings refresh as manufacturing unit settings.
So in case you have most popular management sticks or digicam settings, we advise you to put in writing them down someplace. That manner, you keep away from the frustration of shedding these settings.