
The Good Solution to Auto Rig Comfortable, Inflexible, & Blended Armor Items


José Antonio Tijerín


José Tijerín is a digital illustrator, 3D sculptor, and creator of video video games resembling “Expensive Althea” and ” The Evil Furry” obtainable on Steam. His content material pack “We’re Besties” and “We’re Homies” are at the moment on the market within the Reallusion content material retailer.
Kind II: Blended construction
On this tutorial, I’ll discover what I name a blended construction for making a swimsuit of armor with Reallusion‘s toolset. One of these construction could be very appropriate for making robots and cyborgs as a result of it has a extra trendy and even futuristic aesthetic. We’ll be utilizing the “Neo Robotic” character which comes with this precise system of blending inflexible and versatile buildings. You’ll be able to obtain this character from Sketchfab.


The right way to use AcuRIG in Character Creator 4.1
First, import the character immediately into an empty venture in Character Creator. For those who haven’t performed so already, proceed to rename all of the components of the robotic to make it simpler to work with later. After that, we are able to prepared to make use of a brand new device that Reallusion has added into Character Creator.
AccuRIG is a device that has opened new horizons for Reallusion merchandise. Now, Character Creator is now not a program totally centered on lifelike or stylized characters, it will probably really load all kinds of characters. With this enchancment, Character Creator is now not restricted to sure kinds of tasks and has turn out to be a necessary device for any venture that entails 3D fashions.

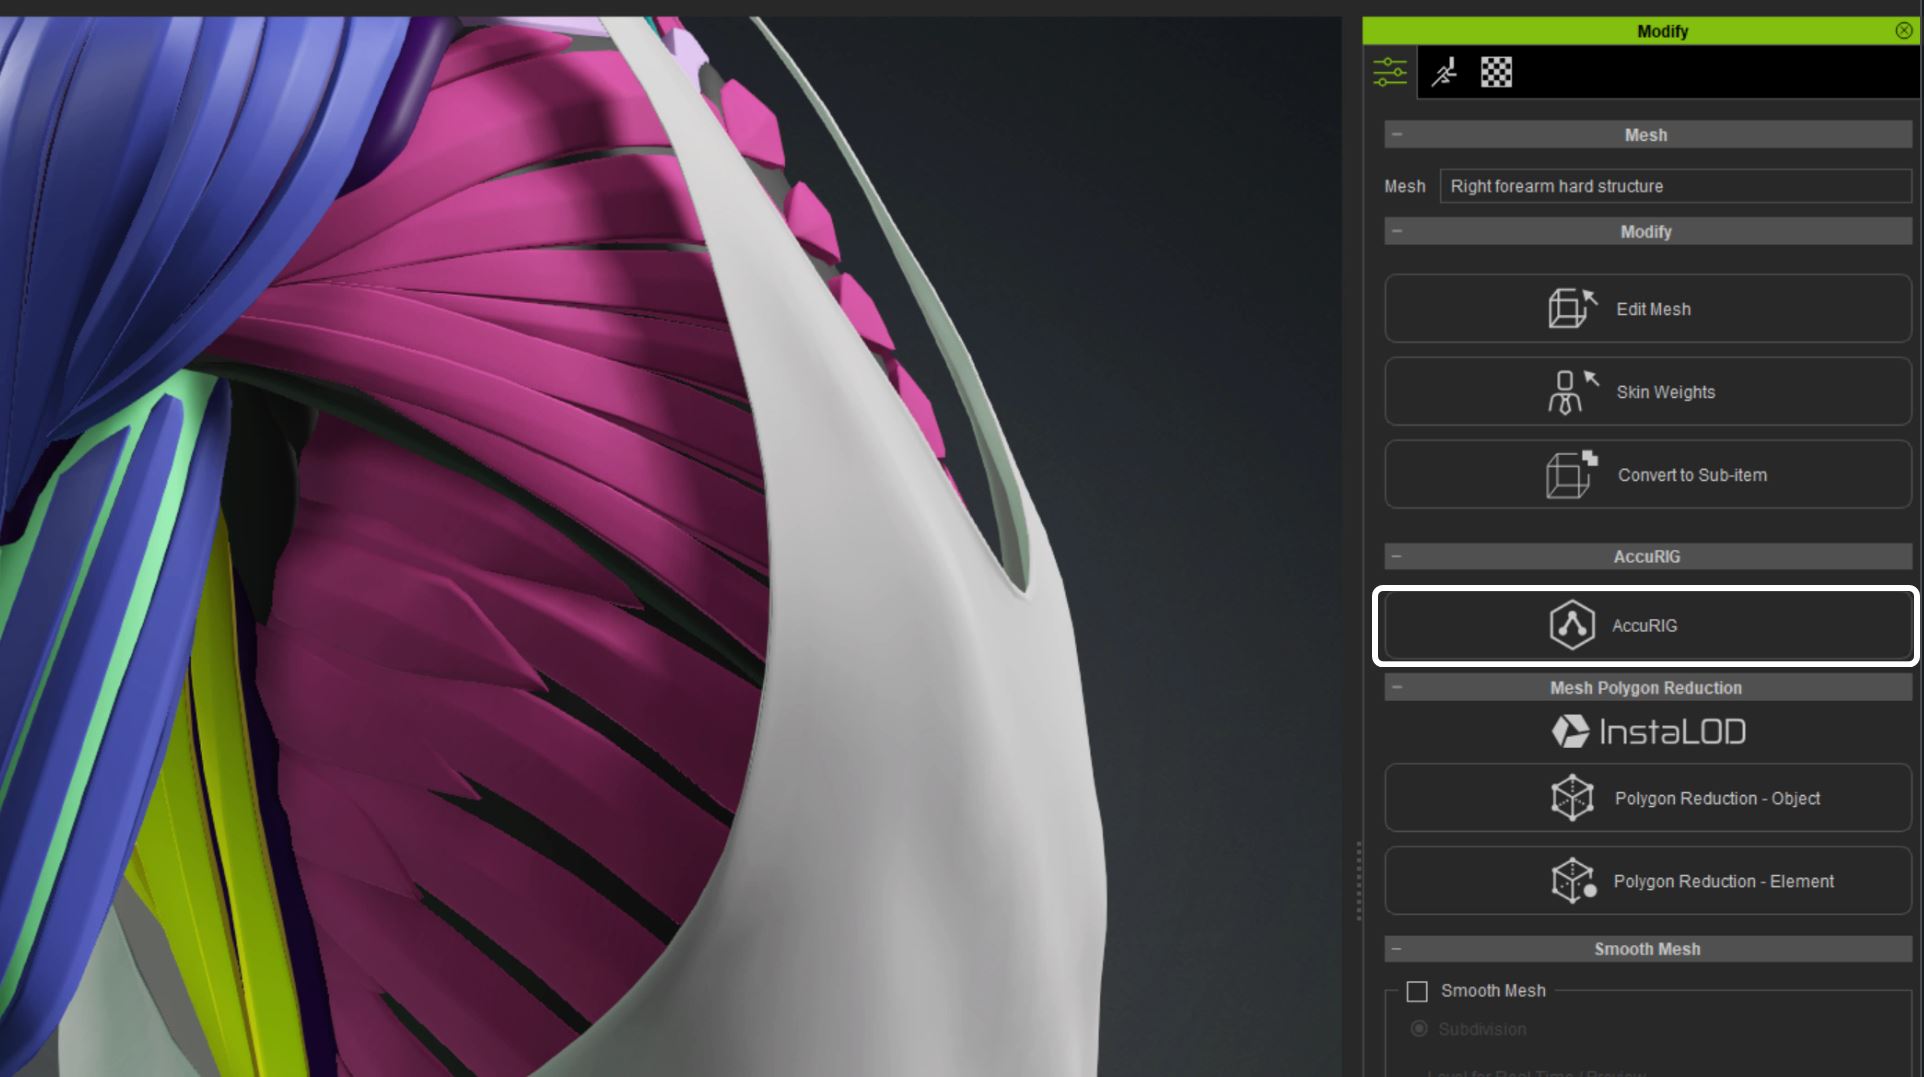
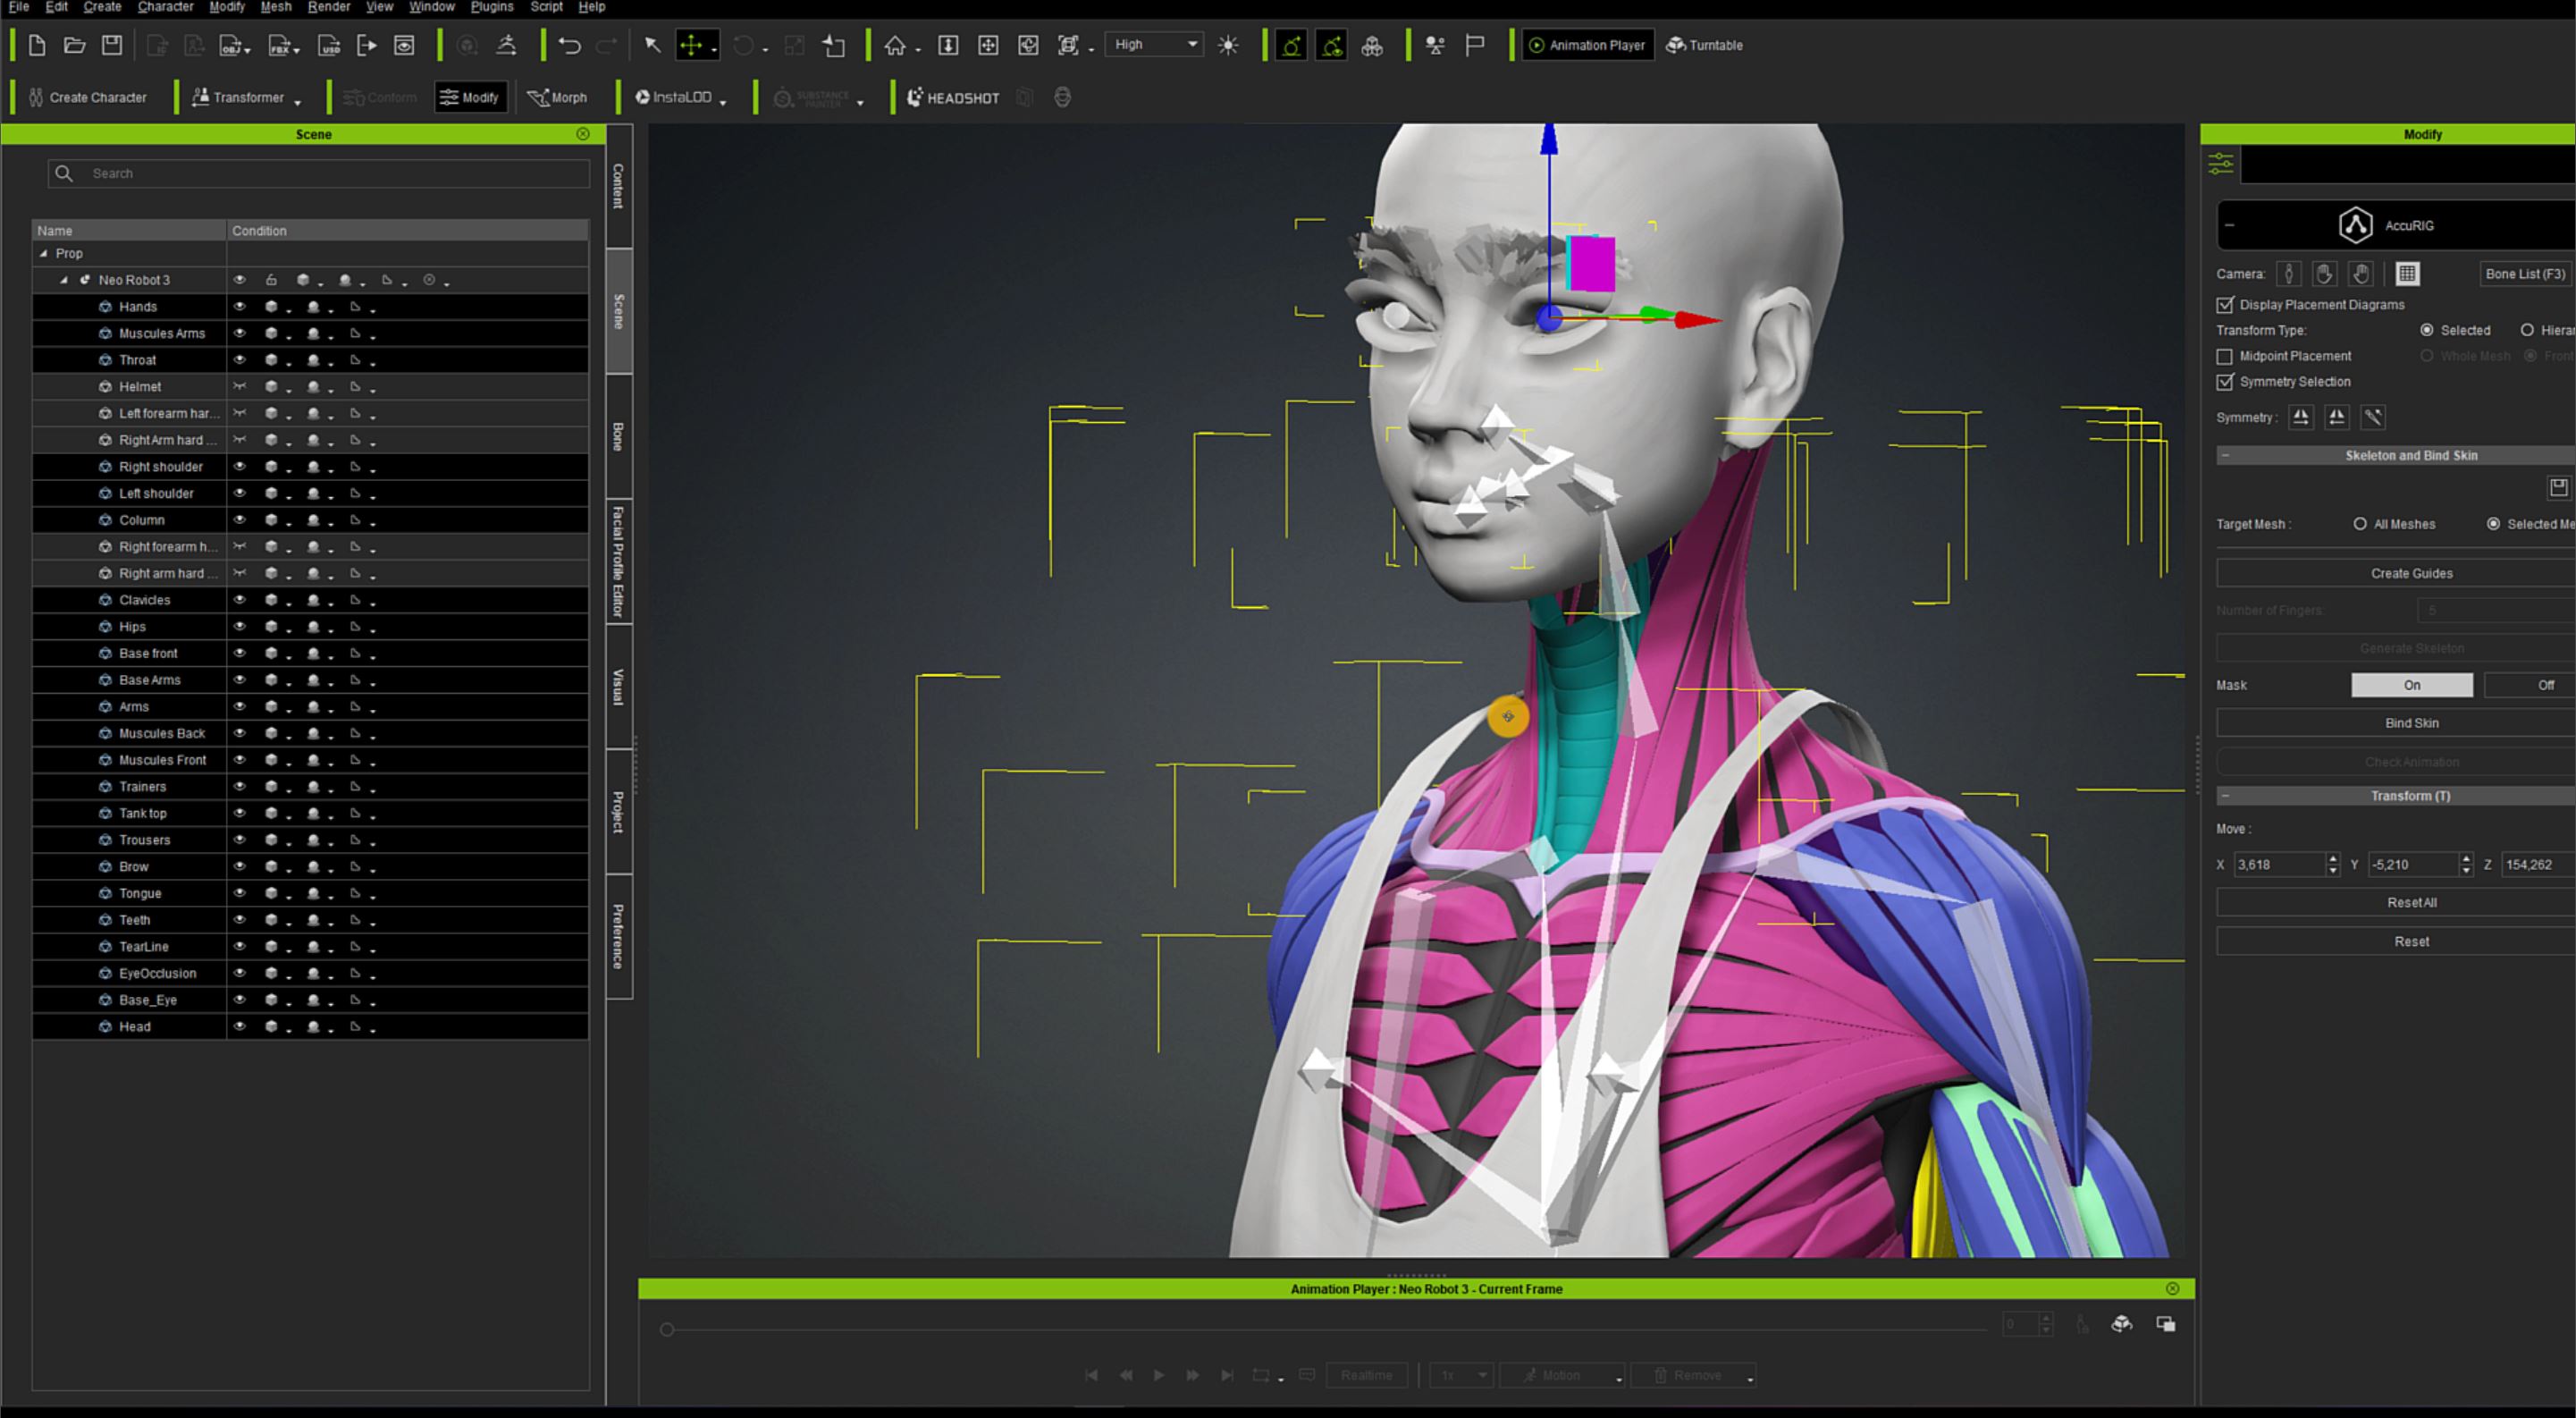
I’m going to pick out a number of the inflexible elements and click on on the AccuRIG button on the proper. Within the AccuRIG menu click on on the Create Guides button. The system will proceed to position the joints in an association that it deems greatest based mostly on its algorithm.


Can we verify if these are the very best positions for the joints and modify it to raised match our mannequin. Character Creator makes this straightforward by displaying a small assist window each time a joint is chosen. The system is often fairly good at inserting the joints into appropriate positions.


When now we have verified the joint positions, click on on the Generate Skeleton button. That is the place the magic occurs. In different applications, creating and adjusting a skeleton would undoubtedly take hours of your time.


The skeleton that the Character Creator generates is completely adjusted to suit the character’s anatomy. But, we are able to nonetheless alter some components that we’re not happy with and use the Bind Pores and skin button. As you’ll be able to see on this instance, the outcomes are unbelievable. It’s even excellent for the fingers that are often liable to errors as a consequence of their shut proximity with each other.


Even the inflexible components of the mannequin deform so barely that it’s nearly imperceptible. That’s why for instances like these, it’s higher to go away the inflexible items as components of the mannequin reasonably than separating them into particular person items.

Fashions with loads of overlapping components will seemingly encounter mesh penetration, however you need to use the Pores and skin Weights device to rapidly test the skinning. One other factor you need to take into consideration is that you could’t use the Switch Pores and skin Weights button to repair errors in your rigged characters, as a substitute you will want to return to the AccuRIG menu and use the Bind Pores and skin button.


Animated add-ons in iClone 8
When coping with robots in iClone, there’s one issue that you need to take into consideration, that’s animated elements. Digital elements are sometimes tacked onto futuristic characters they usually might even have their very own motions.
Including these parts is very easy in iClone. We merely must import the pre-rigged elements and place them in the proper locations. When they’re all positioned, now we have to make use of the Hyperlink possibility on the closest bone of our character and we are able to animate this ingredient independently with out separating it from the physique.
Moreover, we are able to discover using robotic extensions as a part of the character’s physique.


The basic instance is the articulated arm that’s totally animated. Creating this setup is far simpler than you may assume, because of AccuRIG. We will merely import the mechanical arms into Character Creator and press the AccuRIG button to start out the rigging course of, similar to earlier than.
On this case, not all bones will probably be wanted for this mannequin, such because the leg bones. AccuRIG offers a sensible resolution to masks out these bones in order that they don’t intervene with the rigging course of. As talked about a second in the past, we are able to simply import the mannequin into iClone and use the Hyperlink possibility to connect it to our character.


Kind III: The inflexible system
The inflexible system is one historically used for traditional robots. It’s the most intricate system as a result of we can’t use elastic parts and deformations, forcing us to assume very fastidiously in regards to the construction that makes up the character.
Use of spheres within the joints
As you’ll be able to see, the entire system relies on utilizing spheres as joints, however we even have some hydraulic components that can have to be built-in into the rig.


Now test how effectively the sphere system works in Character Creator and let’s see simply how helpful it may be to include the hydraulic tubes. These tubes have polygons on the high and backside. On this approach, the decrease polygons can bind to the hips and the higher polygons can bind to the chest. When the character strikes it gives the look of the hydraulic tubes sliding to easily broaden and contract. This technique was utilized in sensible manufacturing for my upcoming online game “The Evil Furry” on Steam.
On this model, I needed the robotic to be extra pleasant, so I added mild bulbs on the perimeters of the spheres that may transfer independently. I additionally added two antennae with spring results to make the top extra dynamic.
Facial expressions on a deadpan robotic
I additionally needed this robotic to own facial expressions and the power to speak, regardless of it being a inflexible robotic. It occurred to me that the way in which to do that is to make use of a base character in Character Creator with all of the expressions and lip-sync techniques already arrange with what this system has to supply.


To have all these options, I wanted to work off of the bottom character and add the remainder of the armor as garments. It’s a slower course of, but it surely’s price it for all of the animations and expressions that the face has to supply.
That’s all! I hope you want the ultimate end result and that the tutorial has helped you.


Learn on ‘The right way to Auto Rig Cyborgs with Character Creator AccuRIG – Half 1‘
Be taught extra :
• Tijerín Artwork Studio (José Antonio Tijerín) https://sketchfab.com/tijerin_art
• Tijerín Artwork Studio on Steam (video video games) https://retailer.steampowered.com/app/2058230/The_Evil_Furry/
• Character Creator https://www.reallusion.com/character-creator/obtain.html
• iClone https://www.reallusion.com/iclone/obtain.html
• Reallusion https://www.reallusion.com/