INTRODUCTION
Whats up everybody, I’m Aditya from PerryBerry. I’m a 19-year-old scholar from India. I work along with my brother Tanishq at our self-started studio PERRYBERRY as a 3D generalist and movement designer. Nevertheless, I labored solo on this undertaking, and Tanishq did some work on the lighting and post-work.
I began studying Blender from scratch throughout the 2020 pandemic and located my ardour in 3D. My brother and I are working collectively in hopes to realize higher heights on this area.
INSPIRATION
I used to be impressed to recreate Disney-like hair on one of many cutest characters from the anime Bleach with out altering the character an excessive amount of.
PROCESS
This was not alleged to be a critical undertaking, so it began out as a tough sculpt in Zbrush however then it took my curiosity as I progressed.
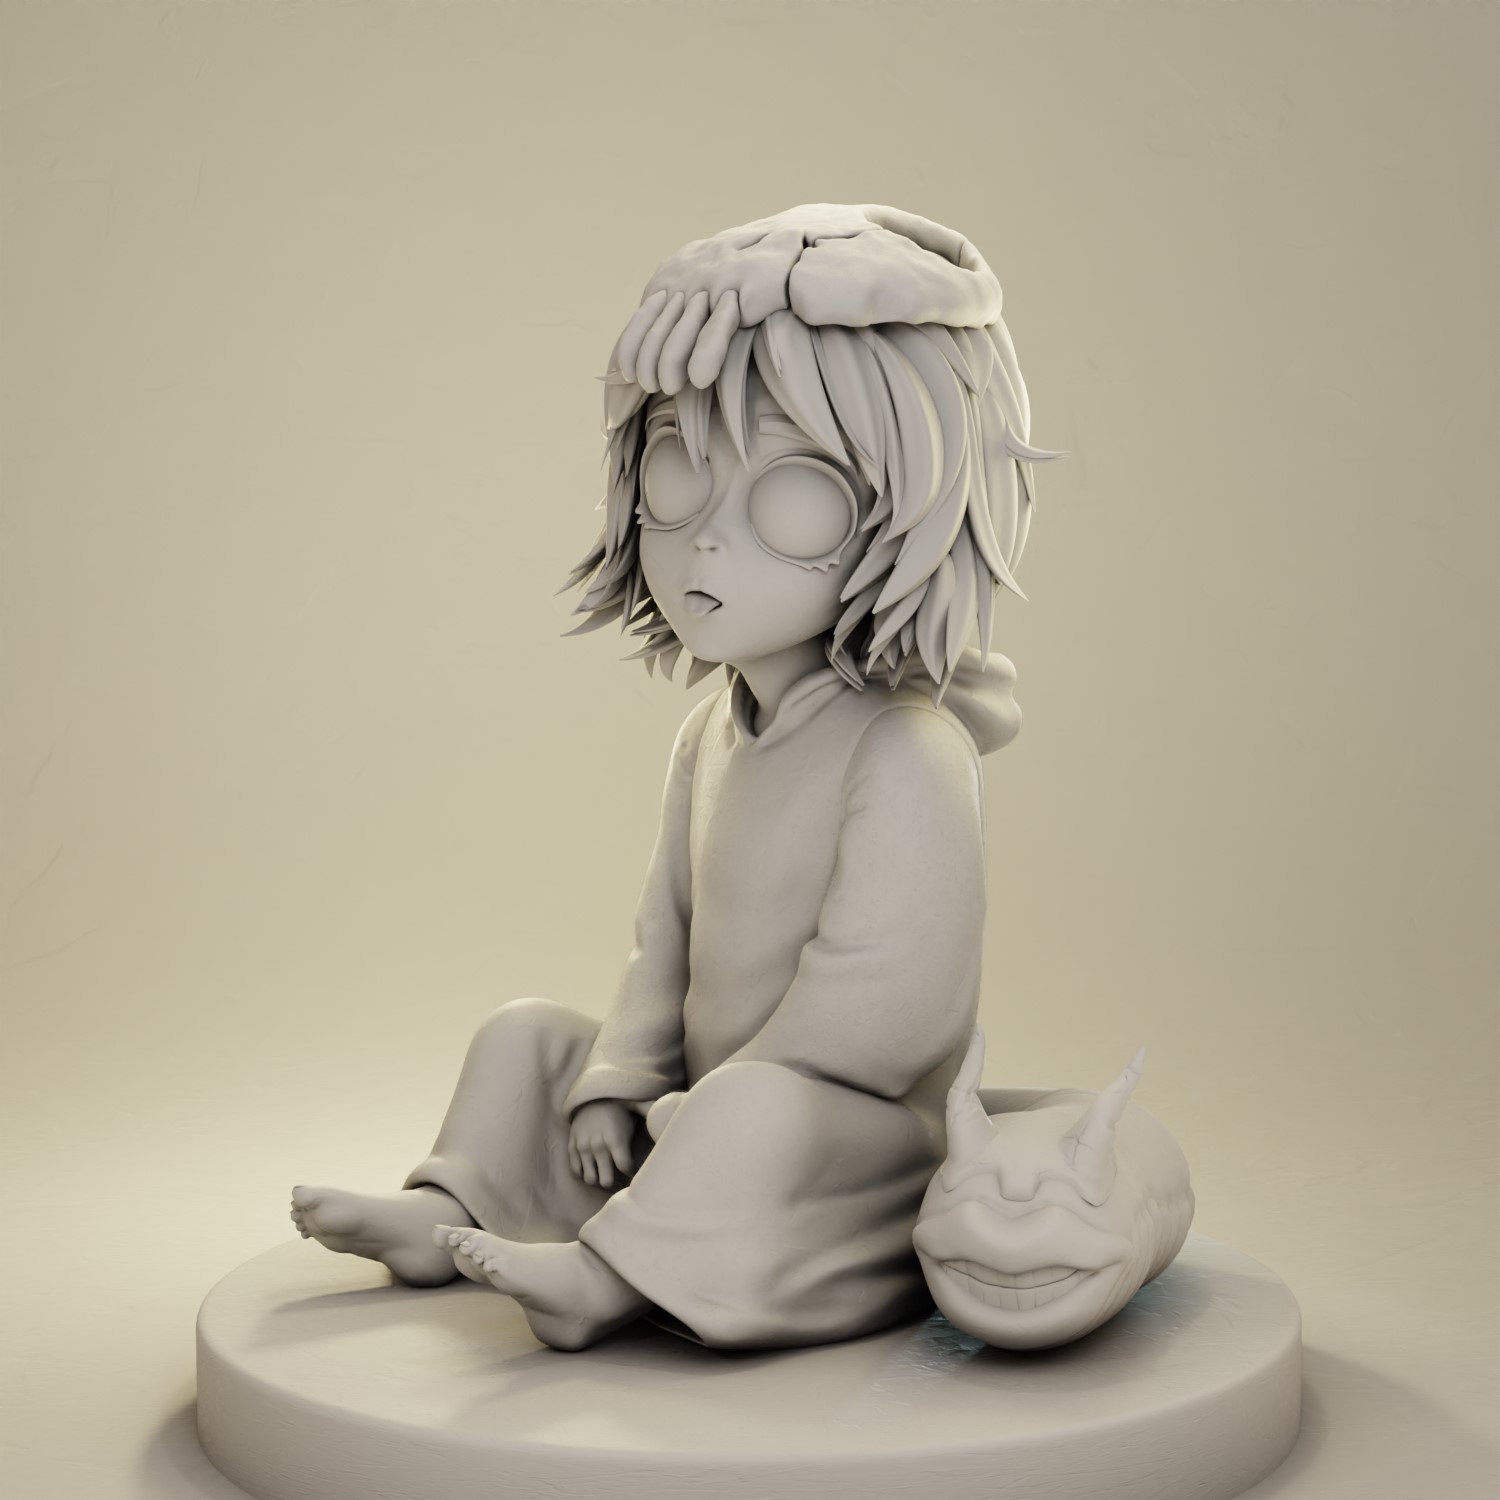
STEP 1 : Block-out
I roughly sculpted the face and posed it in Zbrush to get a transparent thought, after which exported it to Blender (I forgot to take screenshots originally).


STEP 2 : Engaged on Hair
I began by blocking out the blob-looking hair with curves in Blender to get a greater thought of how it will look. I used to be fairly happy with this hair and nearly made it the ultimate model, however then I made a decision to problem myself and go for the Disney-style hair.
I UV-mapped the hair curves and used an alpha texture to create gaps on the hair root.
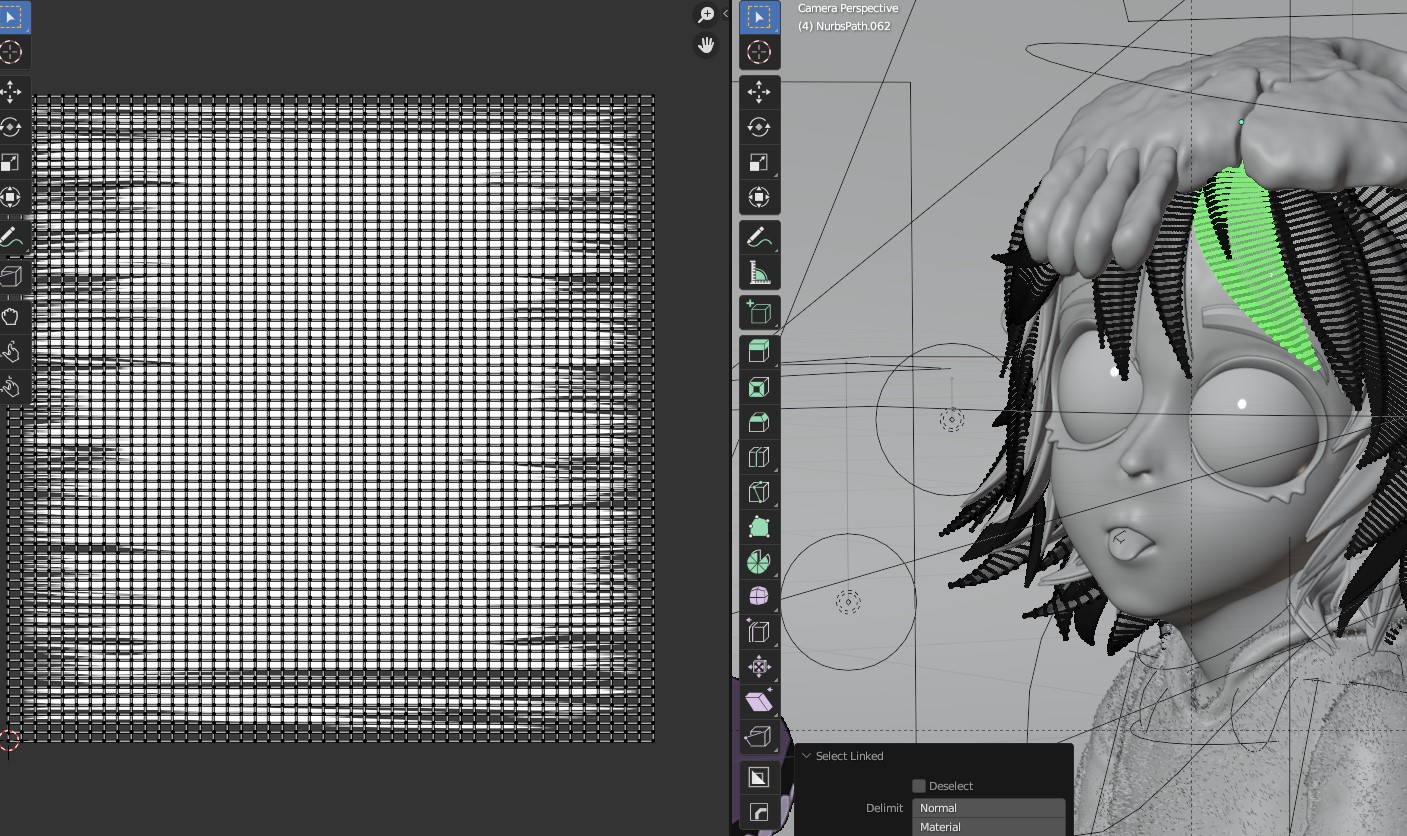
Then, I used three layers of the identical hair object scaled with three completely different densities of hair texture.
Under is the primary fill texture, which was used in order that you do not see her bald head.

The second layer with alpha was used to make it appear to be actual strands, including realism.

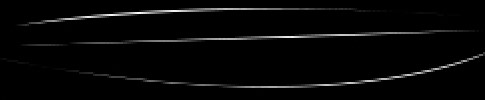
This was for the break up ends or the messy hair that at all times stands out, which labored out nice for my intention.
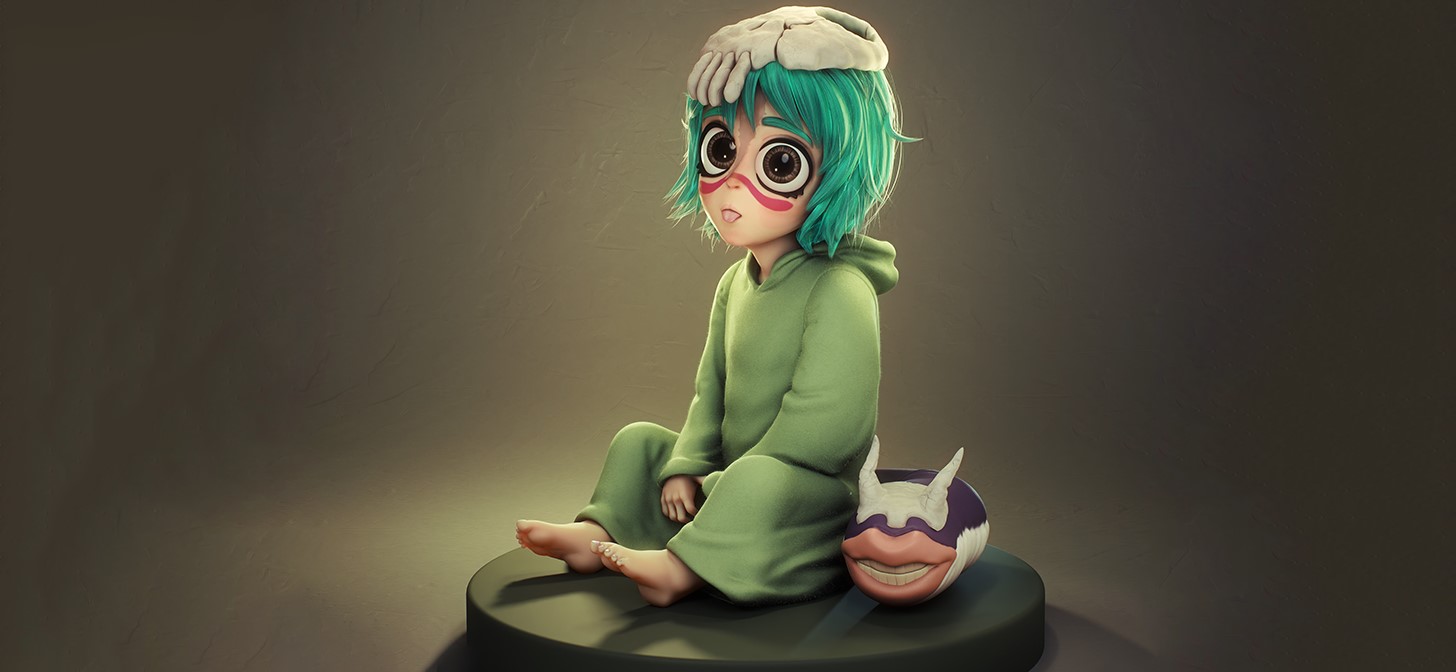
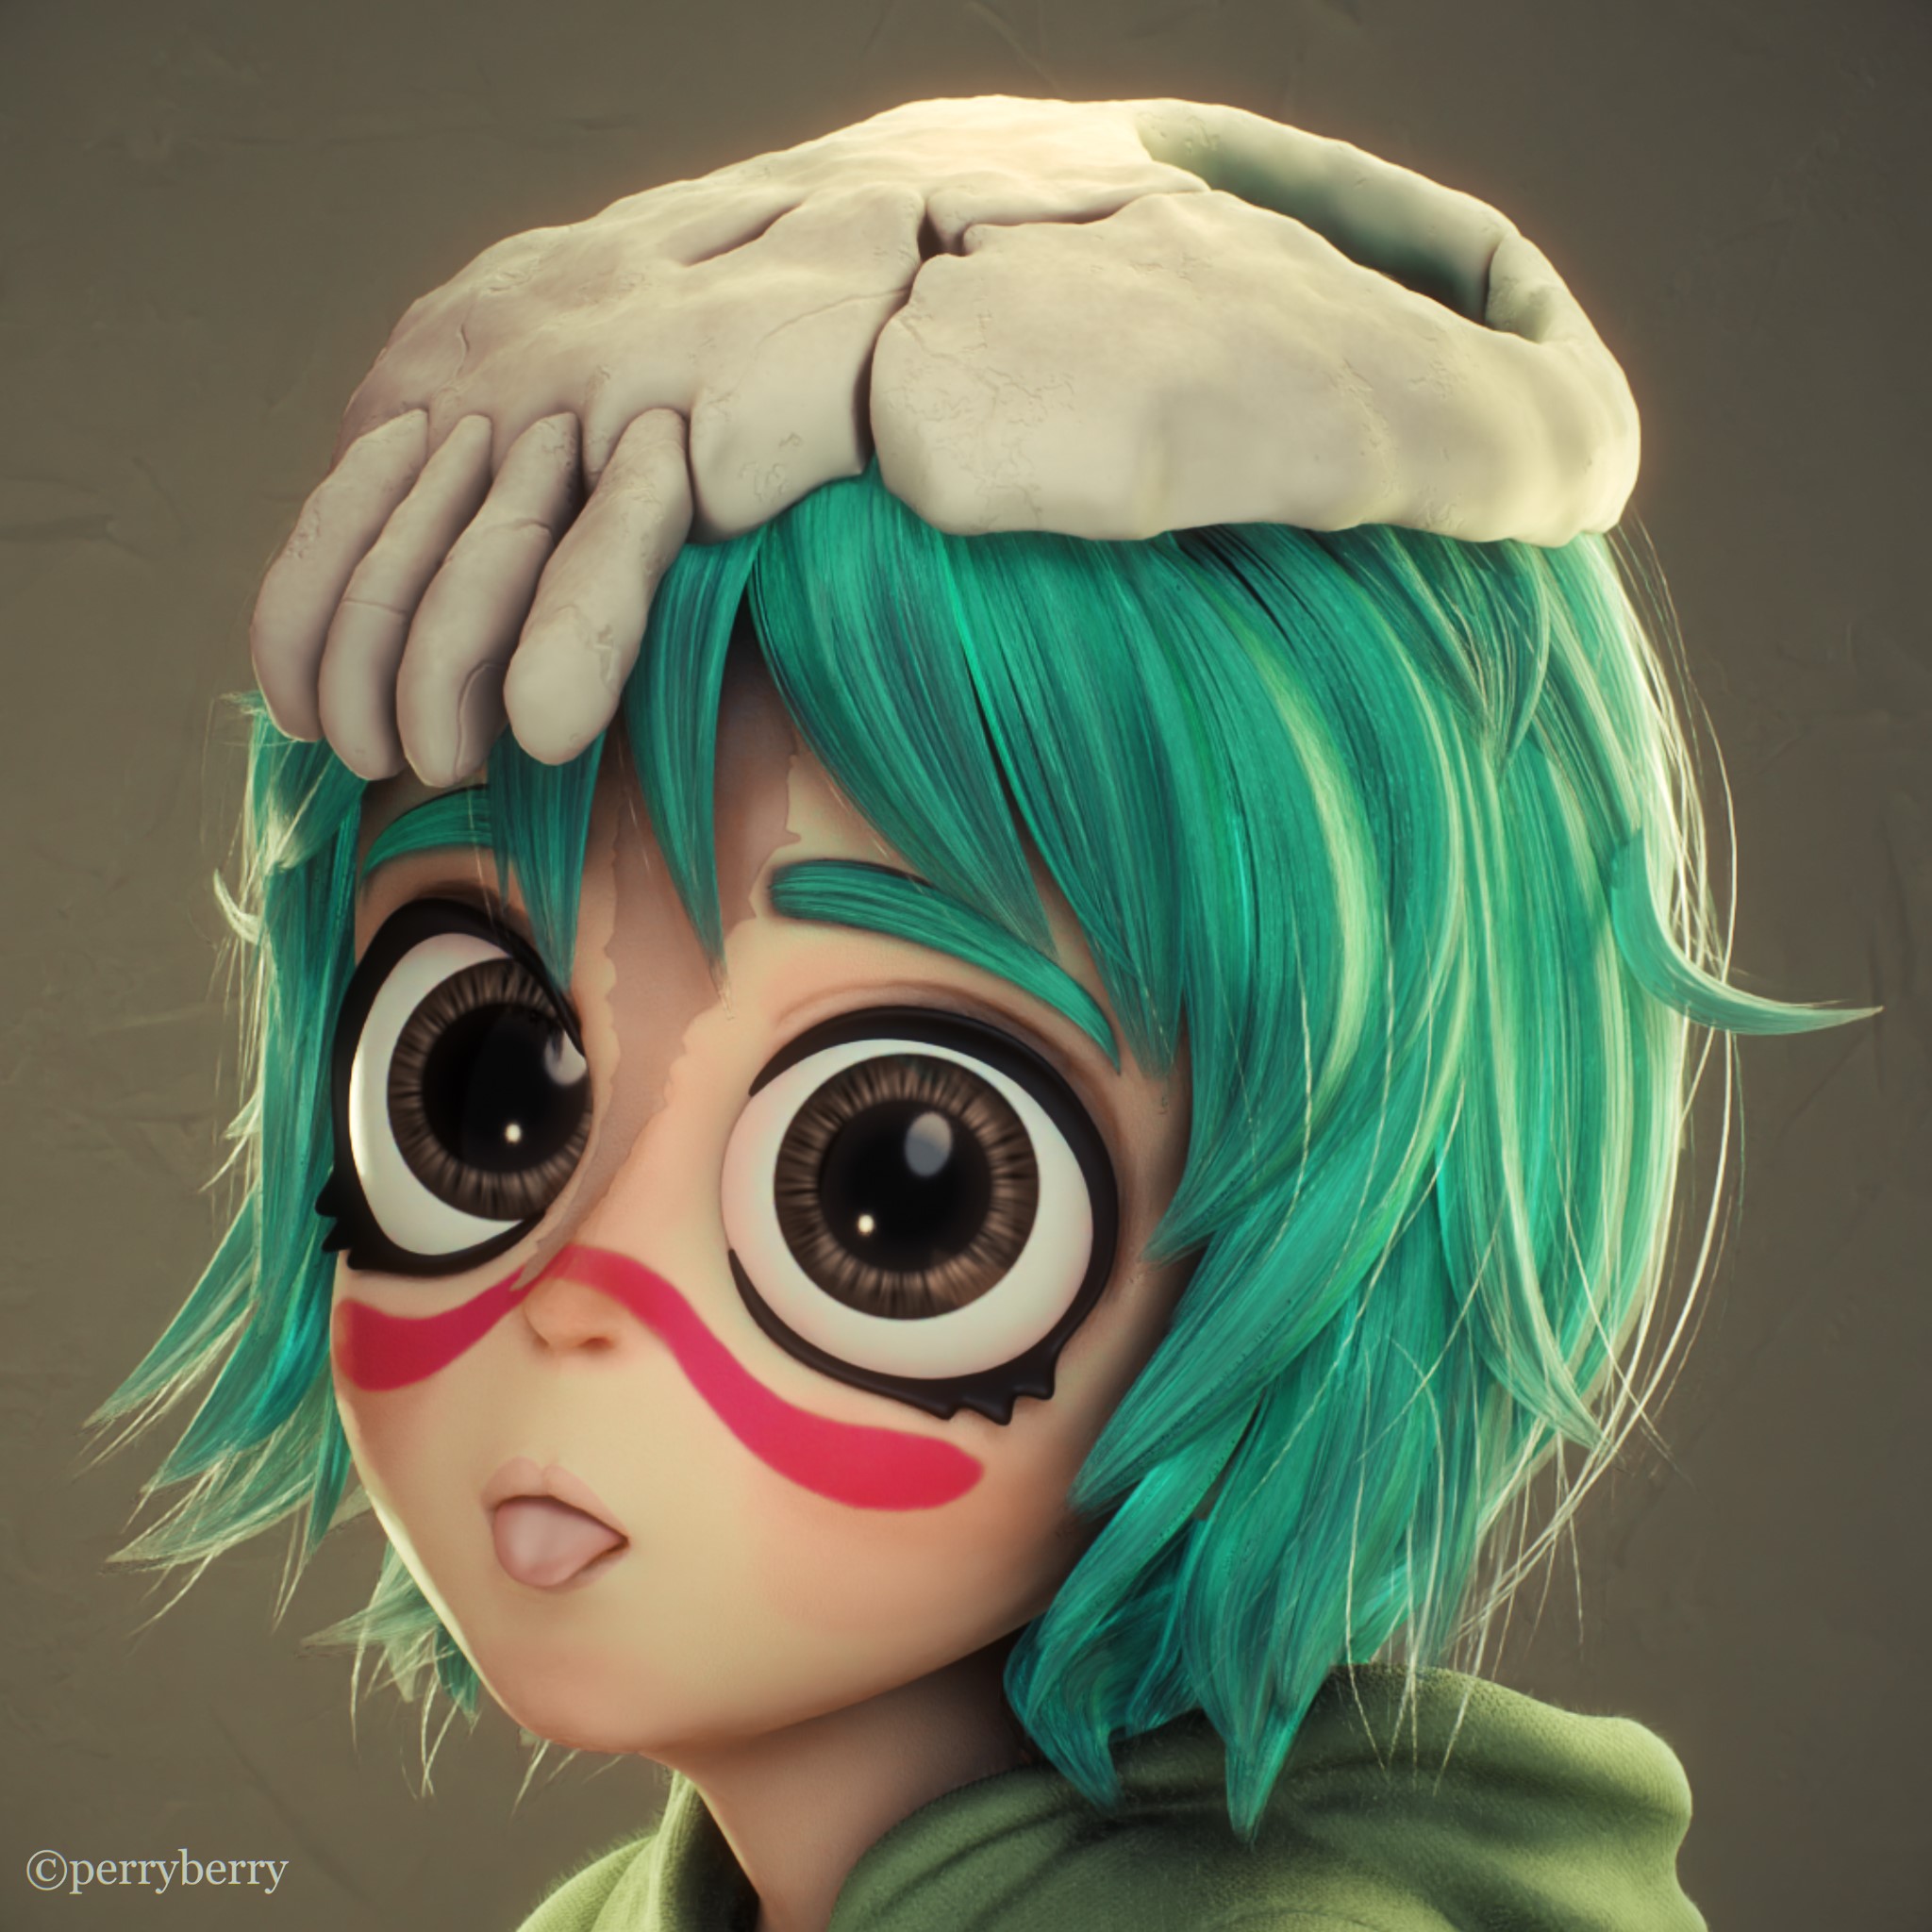
Right here is the ultimate results of Nel’s hair .

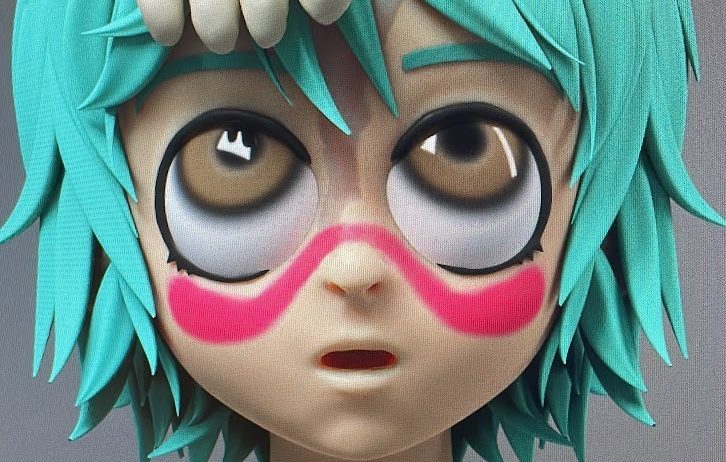
STEP 3 : Facial Textures
Since I dislike UV unwrapping for private tasks, I made 2-3 UV maps for the face and painted masks to make use of later as blush, face paint, and scars.
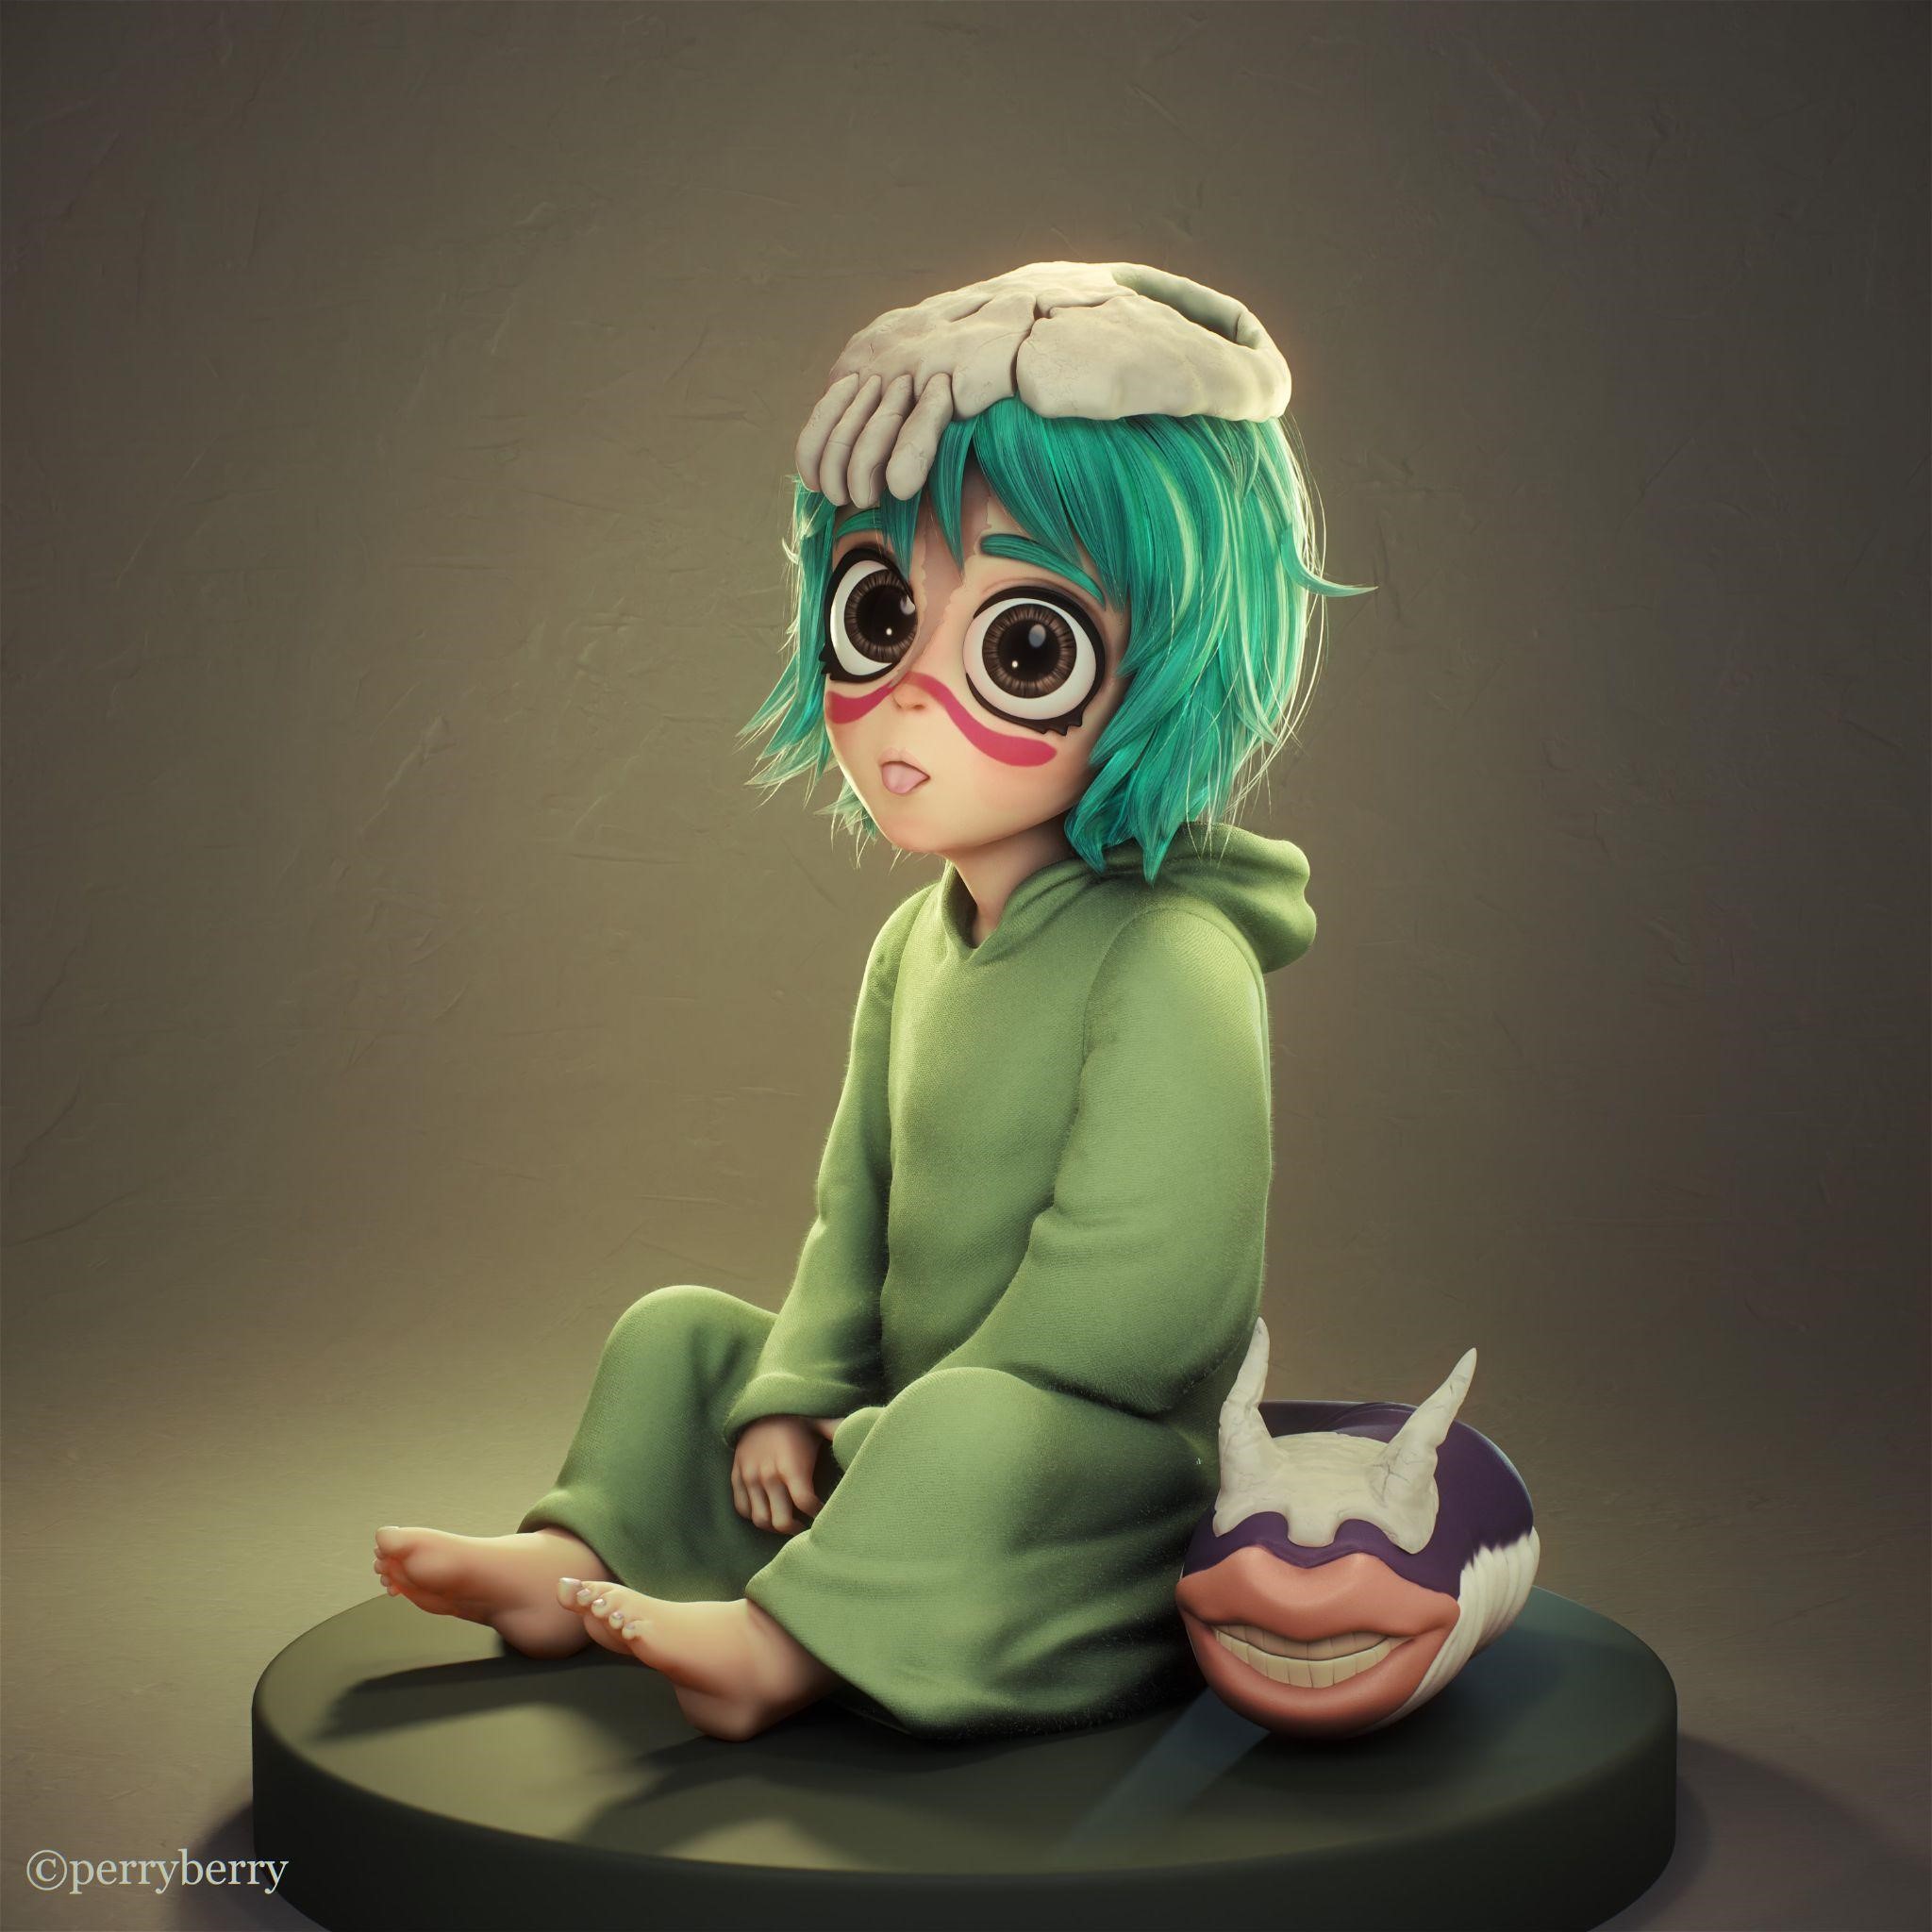
STEP 4 : Posing and Particulars
After ending the hair, I made some main design modifications and chosen a pose for the character. I sculpted the clothes, rigged the character, added some wonderful hair to the gown, and made her pet sit by her aspect (which was additionally rigged).


STEP 5 : Lights, Digicam, Motion!
In my view, an important half is nice lighting and angles, which may even make the default dice look cool. There are infinite methods to mild your scenes that do not contain essentially the most primary lighting humanity has ever seen.
Use your favourite mild setup and experiment with other ways of lighting the identical scene. Listed below are a few of my experiments with the ultimate consequence.


FINAL STEP : Submit-Processing
The second most vital half, when your work is almost prepared, is post-processing. The above photographs look uncooked, so do not forget to do some post-processing in your favourite software program. I take advantage of After Results as a result of I’m snug with it.


RENDER – Nel from Bleach
Thanks for studying. Be happy to ask any questions, and when you like my work, comply with me on social media. Have day!
Concerning the Artist
Aditya & Tanishq singh a.ok.a PerryBerry, are two 3D generalists and movement designers from India. Presently they’re working as freelancers.
