
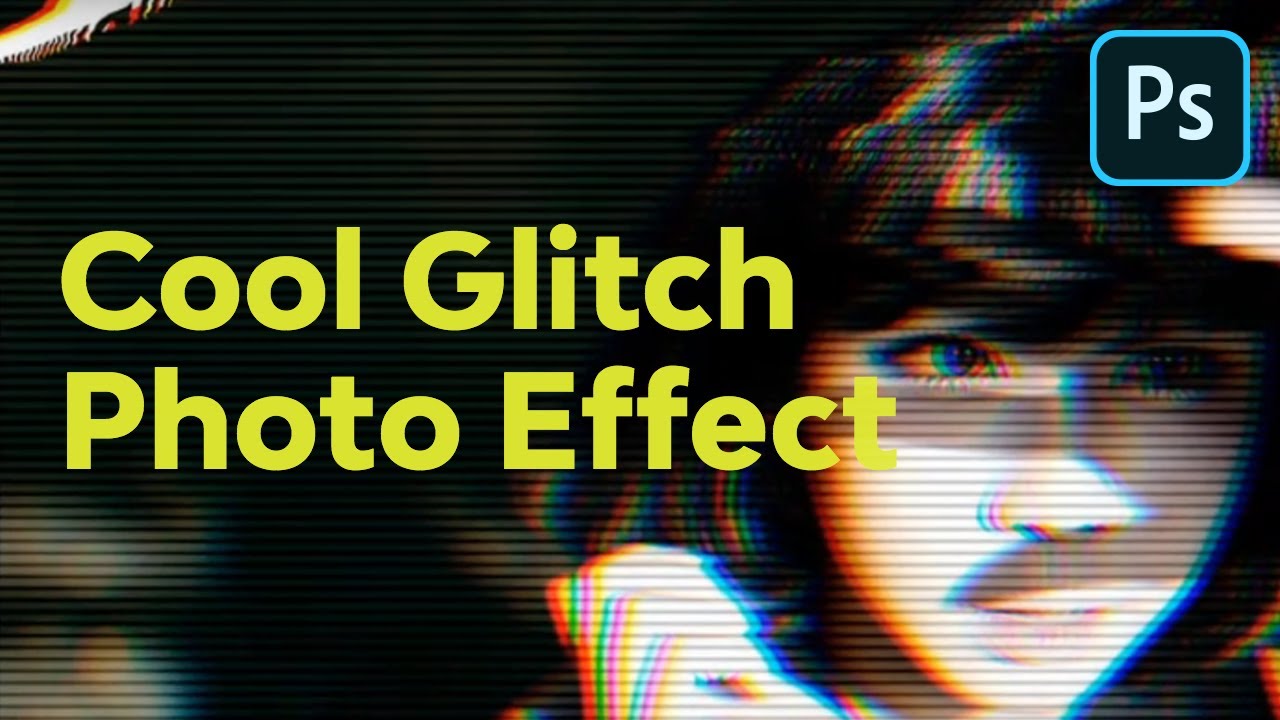
Photograph results are a good way to follow and harness your Photoshop abilities. On this lesson, you will learn to create a enjoyable picture glitch impact utilizing Marquee Instruments, the Wave Filter, and extra!
On the lookout for glitch impact Photoshop actions? As soon as you’ve got discovered the way to make a glitch impact in Photoshop, it is time to discover inventive sources to your subsequent venture on Envato Components, like this one:


Working with professional glitch impact add-ons will simply present you the way to make a glitch impact in Photoshop. Discover an enormous library of glitch photos for inspiration to create no matter glitch picture impact you would like. And discover Envato Components and GraphicRiver’s libraries of glitch results to search out add-ons prepared to make use of!
Studying the way to do a glitch impact is less complicated than you suppose. Observe together with us over on our Envato Tuts+ YouTube channel:
Wish to create extra enjoyable picture results, with no need any in-depth Photoshop abilities? Attempt these:
Photograph Glitch Fundamentals: What You Must Know
It is time to be taught the way to do a glitch impact. With the intention to get the very best consequence doable when reaching results based mostly on real-life eventualities, it helps to do your analysis.
So what’s a glitch? The sort of glitch we’ll be tackling is widespread to tv or video video games. These glitches are software program errors or bugs which can be typically brought on by a corrupted sign. The tip consequence leaves your display extremely distorted and onerous to make out.
For this tutorial, we’ll want to bear in mind some key visible traits to attain this look. These are:
- jagged strains or waves
- frozen or static-looking visuals
- inverted colours
Now that you recognize what a glitch is, do a few internet searches to maintain some inspiration and references on deck. Seek advice from them typically to experiment with this model for your self.


If you happen to’re having hassle reaching this glitch design look, do not forget which you can at all times bypass this course of. Simply obtain considered one of our unimaginable glitch pictures results from Envato Components and GraphicRiver. You may discover an enormous number of glitch impact Photoshop actions.
What You may Be taught in This Glitch Impact Photoshop Tutorial
- The way to arrange the glitch picture impact
- The way to desaturate a photograph
- The way to create a linear glitch distortion
- The way to create a wavy glitch distortion
- The way to create a easy 3D impact
1. The way to Set Up the Glitch Photograph Impact
Step 1
Let’s start! I will be utilizing a inventory picture from PhotoDune for this tutorial. (Observe: the unique picture is now not obtainable. You’ll find one other inventory picture of individuals from both PhotoDune or Envato Components.)
For this glitch how-to, it helps should you select a inventory the place the mannequin has edges which you can see clearly as a result of we’ll have to extract it from its background. It is also an added bonus if the background is a stable colour or not too distracting, like these picket panels.


Double-click the Background layer to make it a New Layer. Create a New Layer (Management-Shift-N) positioned beneath your reference. Set the Foreground Colour to white, and Fill the layer with white utilizing the Paint Bucket Software (G).


Step 2
Choose the Magnetic Lasso Software (L). It will assist us extract the reference by simply snapping to the edges of your mannequin. Use the Magnetic Lasso Software (L) to create a whole choice across the mannequin. While you’re completed, Proper-click and choose Layer by way of Copy to create a fast duplicate.


Step 3
Choose the unique inventory. Use the Free Rework Software (Management-T) to herald the edges of the background to reveal a few of the white to the left and proper.


Alternatively, in case your inventory does not have a background, you possibly can simply add a rectangle utilizing the Rectangle Software (U) like this instance beneath.


2. The way to Desaturate a Photograph
Step 1
Transferring alongside, let’s Desaturate this picture for a extra monochromatic colour palette. Choose the layer for the mannequin’s cutout and go to Picture > Changes > Hue & Saturation. Decrease the Saturation to -95 to take away nearly all of the picture’s colour.


Step 2
You possibly can regulate the principle picture even additional through the use of Ranges. Choose the extracted mannequin’s layer once more, and go to Picture > Changes > Ranges. Modify the Ranges for the RGB Channel with the next settings:
- Shadow Enter Degree: 0
- Midtone Enter Degree: 0.92
- Spotlight Enter Degree: 255
- Output Ranges: 17, 255
The tip result’s refined, and it lightens the mannequin barely.


3. The way to Create a Linear Glitch Distortion
Step 1
The following a part of this glitch design impact is to recreate the jagged picture distortion that makes it look as if the visuals are misplaced. To do that, first choose the inventory and mannequin layers and Merge them collectively.


Step 2
Now choose the Rectangular Marquee Software (M). Create two skinny choices on the picture layer. First create one on the backside, after which maintain the Shift key so as to add one other choice on the prime.


Press the V key in your keyboard to change over to the Transfer Software. Use the Left Arrow key to maneuver the choices to the left. You’ll have to hit it a number of occasions or maintain it down for some time to get the specified consequence.


Step 3
You possibly can proceed this course of on a single layer, however ultimately there is likely to be open white areas that do not look fairly so good. So to keep away from this, Duplicate the Mannequin Layer and use the copy to create the distortion.
Once more, use the Rectangular Marquee Software (M) to create extra choices, transferring them in numerous instructions with the Left Arrow and Proper Arrow keys. Right here I created two extra and moved them to the precise barely.


Discover that as a result of there is a copy of the picture behind this layer, the ensuing look reveals the layer behind it as an alternative of the white background.
Step 4
Let’s pace this up a bit! Create much more Rectangular Picks, utilizing the Transfer Software (V) to maneuver the completely different sections misplaced. Differ the scale between skinny choices and thicker ones to make the impact extra pure.
It is even a good suggestion to have a recreation plan earlier than you deal with this half. Since I like the person’s severe expression, I need to ensure that the glitches create focus in direction of the middle of the picture.


As you get nearer to the face, attempt to not distort it an excessive amount of. Do every glitch individually to see what is going to work. This half is all about experimentation, so if you’ll want to return a step or two, simply hit Management-Z to Undo.


While you’re completed with all of your linear glitches, the impact ought to look one thing like this:


4. The way to Create a Wavy Glitch Distortion
Step 1
The following a part of this distortion impact is to create that wavy glitch. You’ll have seen these earlier than should you’ve ventured off into the naughty channels as a child, however these glitches make the picture seem as if it is transferring in liquid.
To do that, we’ll want the Wave Filter. First, Merge the unique inventory layer along with the copy that has all of the glitches. Then Management-J to make a duplicate to create the wavy distortion on.


Step 2
With the copy chosen, create a number of extra massive choices with the Rectangular Marquee Software (M) similar to earlier than. Needless to say I am making an attempt to border the face of the topic, so do not choose any elements instantly within the heart.


Now go to Filter > Distort > Wave, adjusting the settings as follows to create a wavy impact on solely the choices.


Step 3
With this specific impact, the settings above could or could not work to your picture. So it is essential to experiment and regulate the settings by yourself to attain the look you need.
Proceed this course of of constructing choices first earlier than making use of the Wave Filter. You may want to vary the settings every time to fluctuate the impact on the picture.


Right here is a few extra progress after a bit experimentation.


Step 4
End this impact by concentrating on the highest and backside elements of the picture. First, choose the underside of the picture with the Rectangular Marquee Software (M) and apply the Wave Filter with the next settings.


Now for the highest portion. Repeat the method, this time altering the settings to the next ones.


Right here is the picture full with all of the linear and wavy glitches. Let’s transfer on to the ending touches!


5. The way to Create a Easy 3D Impact
Step 1
Now for the 3D colour results! Identical to earlier than, begin by Merging the glitch layers collectively, leaving the white background out in order that there are solely two layers left. Then hit Management-J to create two extra Duplicates of the merged picture layer.


Step 2
Conceal the Visibility of the highest two layers. Then Proper-click the primary picture layer, “Merged,” and go to Mixing Choices. Uncheck the G, or Inexperienced Channel, situated beneath Superior Mixing.


Now Unhide the Visibility of the highest layers and repeat the method. This time Uncheck the Pink Channel for “Merged Copy,” and each the Pink and Inexperienced Channels for “Merged Copy 2.”


Step 3
Now we are able to start to maneuver every layer to create the insane 3D impact. Choose the Transfer Software (V) after which choose the layer, “Merged Copy,” utilizing the Left Arrow key to maneuver the layer to the left. Subsequent, choose the highest layer, “Merged Copy 2,” utilizing the Left Arrow key to maneuver the layer to the left as effectively.
Here’s what the method will appear to be.


Step 4
Virtually carried out! So as to add the looks of display strains to this impact, choose the highest layer, “Merged Copy 2,” and Proper-click to go to Mixing Choices. Add a fast Sample Overlay utilizing the default Horizontal Line Sample, and set the remainder of the settings as follows:


As a result of the layer is blue and the Mix Mode is about to Smooth Mild, this can even give your picture a pleasant blue tint.


Step 5
To finish this cool glitch artwork impact, we simply want to hold out one final step. Add a New Layer and set the Layer Mix Mode to Dissolve. On this step, we’ll use the Brush Software (B) to color crimson #5e220a in direction of the underside of the picture with a purpose to create tiny particles as part of the ultimate glitch impact. Modify the Opacity of the layer if you’ll want to; right here I introduced mine right down to 8%.


That is it! Take a look at the ultimate results of this glitch pictures impact beneath. You might additionally modify this to create a glitch impact Photoshop motion.


Now you recognize the way to make a glitch impact in Photoshop!
Prime Glitch Impact Photoshop Actions From Envato Components
On the lookout for some beneficial glitch impact actions for Photoshop? Take a look at these things from Envato Components. It’s also possible to have a peek at this text beneath.
1. Hologlitch Photoshop Impact (PSD)
Create convincing glitch impact artwork out of your photographs with this Photoshop glitch impact. This digital glitch PSD contains every little thing you’ll want to add this look to your picture. Use this glitch overlay to create a glitch background. It is one of many latest choices within the glitch impact class.


2. Anaglyph / Glitch Photograph FX (PSD)
Why not do that anaglyph glitch PSD picture impact template? It is a nondestructive glitch design, which means it really works over your picture with out altering it. It is also a sensible choice if you don’t need a glitch background. This PSD additionally comes with a video tutorial so you possibly can learn to make glitch artwork with this obtain.


3. Geometric Glitch Photoshop Motion (ABR, ATN, PAT)
Or attempt a novel strategy with this geometric glitch Photoshop motion obtain. It makes use of completely different shapes and summary imagery to create a novel completed product. Use this to create the right glitch background or so as to add a glitch impact to your photos.


4. Movement Glitch Photoshop Motion (ATN, PAT)
Give some movement to your photographs with this Photoshop glitch impact. This transferring glitch picture impact makes nice closing merchandise in fast steps, and the resultsare absolutely editable. Use this motion in order for you a transferring glitch picture impact or to make static photos.


5. 10 Glitch Impact Artwork Photoshop Actions (ATN)
On the lookout for the precise Photoshop glitch impact? We spherical out our record with this glitch Photoshop motion obtain pack. You get ten distinctive glitch design results for photos, together with a crimson and blue impact. Every summary glitch picture impact works with out resizing or altering your unique picture. If you happen to’re seeking to create cool glitch artwork, think about this motion.


Conclusion
Photograph results are a sensible strategy to follow distinctive and thrilling methods in Adobe Photoshop. You possibly can have a number of enjoyable reaching picture glitches and a lot extra.
I hope you loved this cool glitch artwork picture impact tutorial. Be at liberty to let me know when you’ve got any questions within the feedback beneath. And you should definitely browse our big selection of glitch picture impact actions obtainable on Envato Components and GraphicRiver.
Now you recognize the way to make a glitch impact in Photoshop. Want to attempt extra Photoshop picture impact tutorials? Take a look at these epic articles:
Editorial Observe: This submit has been up to date with contributions from Janila Castañeda. Janila is a workers author with Envato Tuts+.