Changing a texture to geometry in Maya is an attention-grabbing method we should always positively want to know, trigger it saves us a variety of time, within the modeling course of. The command is thru Modify – Convert – Texture to Geometry.
This method permits us to use a picture texture to a aircraft geometry after which convert that texture to an precise geometry by way of a command in Maya. After that, we will manually clear our new geometry and we will extrude that geometry to get some thickness, so it may very well be an precise 3D object. Apparently, it may save us a variety of time after we work on a modeling activity inside Maya.
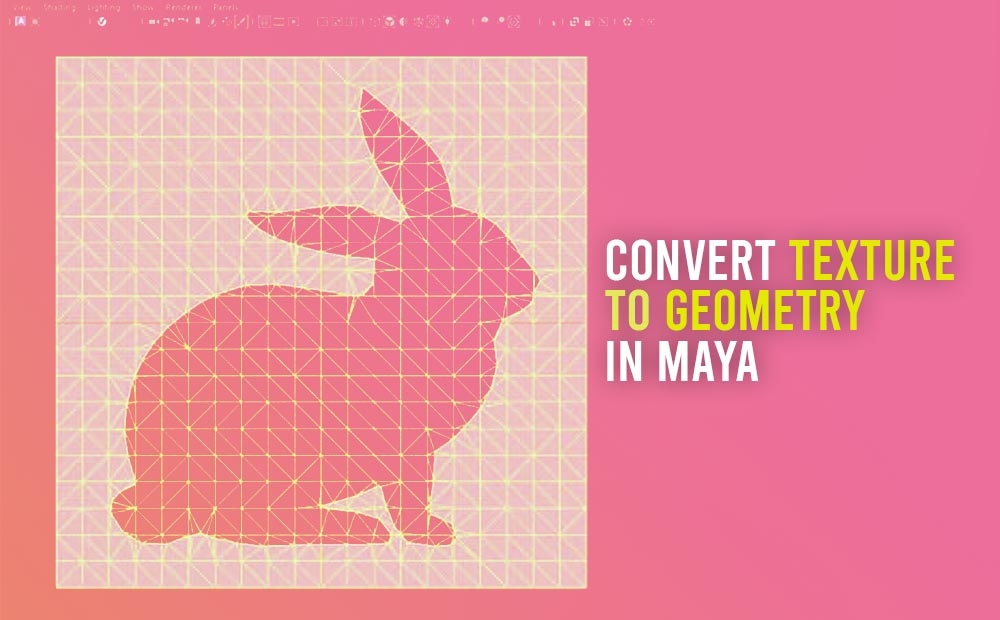
You’ll be able to see, the ultimate consequence we try to perform on this article down beneath:

Put together our scene for the conversion:
What we’re going to want in our Maya scene, is a straightforward polygonal aircraft, a materials utilized to it, and a texture file. Let’s get began.
Create a polygonal aircraft:
Go to Create – Polygon Primitives – Airplane (verify field). Within the new popup window, set the parament of our new aircraft to width: 10, Peak: 10, Width – Peak divisions: 20.

Word: The variety of subdivisions we set for our polygon aircraft, in a while, will decide the accuracy of our new transformed geometry. Don’t delete the historical past of the polygon aircraft. In that approach we will at all times enhance or lower the subdivisions alongside the best way, if we have to.
Assign a lambert materials on it:
We have to assign a brand new lambert materials to it.
Choose our new polygon aircraft by way of Maya scene or Outliner and right-click and choose Assign Favourite Materials – Lambert.
Word: It doesn’t actually matter, what materials we selected to assign in our geometry. I selected Lambert due to its simplicity.
Assign a texture file to paint slot:
Lastly, although isn’t actually needed for the precise conversion within the later step, It is going to visually assist, if we join our texture to our Lamber materials (colour slot). The identical texture we’re going to use for the precise conversion from texture to geometry.
To take action, choose our new aircraft geometry, open up the Attribute Editor, and go to the Materials tab. Left-click on the little checkboard icon on the precise. A brand new window seems, seek for the File node and click on on it. Within the Picture Title part, navigate to your texture file and choose it.

With a purpose to see the consequence within the viewport of Maya simply press 6 (shortcut of {Hardware} Texturing).

The preparation is completed. Within the subsequent half, we are going to truly convert our rabbit texture file into geometry in Maya.
convert a texture to geometry in Maya:
Step 1:
Choose the aircraft geometry both from Maya viewport or from Outliner and go to Modify – Convert – Texture to Geometry (choice field).
Within the Enter picture part, simply find your texture file and choose it. After that simply click on apply or apply and shut. In my case, since I used to be getting fairly good outcomes I haven’t actually modified every other settings. If it’s worthwhile to, be happy to play with the opposite settings.


After the command has been accomplished, a brand new node beneath our unique geometry has been created in Outliner. That’s truly the transformed geometry from our texture.
You may additionally check out the official Autodesk web site for Changing texture to geometry.
Step 2:
Now we’ve got accomplished the conversion from a texture to geometry, it’s time to scrub our geometry. And the easy approach to do this is through the use of Hypershade in Maya.
The rationale we are going to use the Hypershade, is as a result of it provides us the selection to make a choice by way of a fabric. We don’t need to spend a substantial amount of time by deciding on every polygon we need to delete, with a view to have solely the rabbit geometry left.
So open up the Hypershade by going to Home windows – Rendering Editors – Hypershade. As you possibly can see there are two further supplies. RabbitConverterShader0 and RabbitConverterShader1. Go over the white materials (RabbitConverterShader0) and choose it and right-click and choose, choose objects with materials.
You’ll be able to see within the viewport that each one the geometry with that exact materials has been chosen. Simply press delete. In that approach, we left with solely the black materials (RabbitConverterShader1), which is what we wished.
Step 3:
Choose the rabbit geometry from Outliner and press ctrl+P with a view to ungroup it. Cover the unique aircraft geometry, with a view to see clearly our new rabbit geometry.
Lastly, as we mentioned, we need to give it some form of depth with a view to be an actual 3D object, and the best way to do this is thru extruding.
So choose the rabbit geometry and go to Edit Mesh – Extrude. Set the Native Translate Z parament to one thing like 1.

That was it. We transformed a texture to geometry, with none modeling abilities.