INTRODUCTION
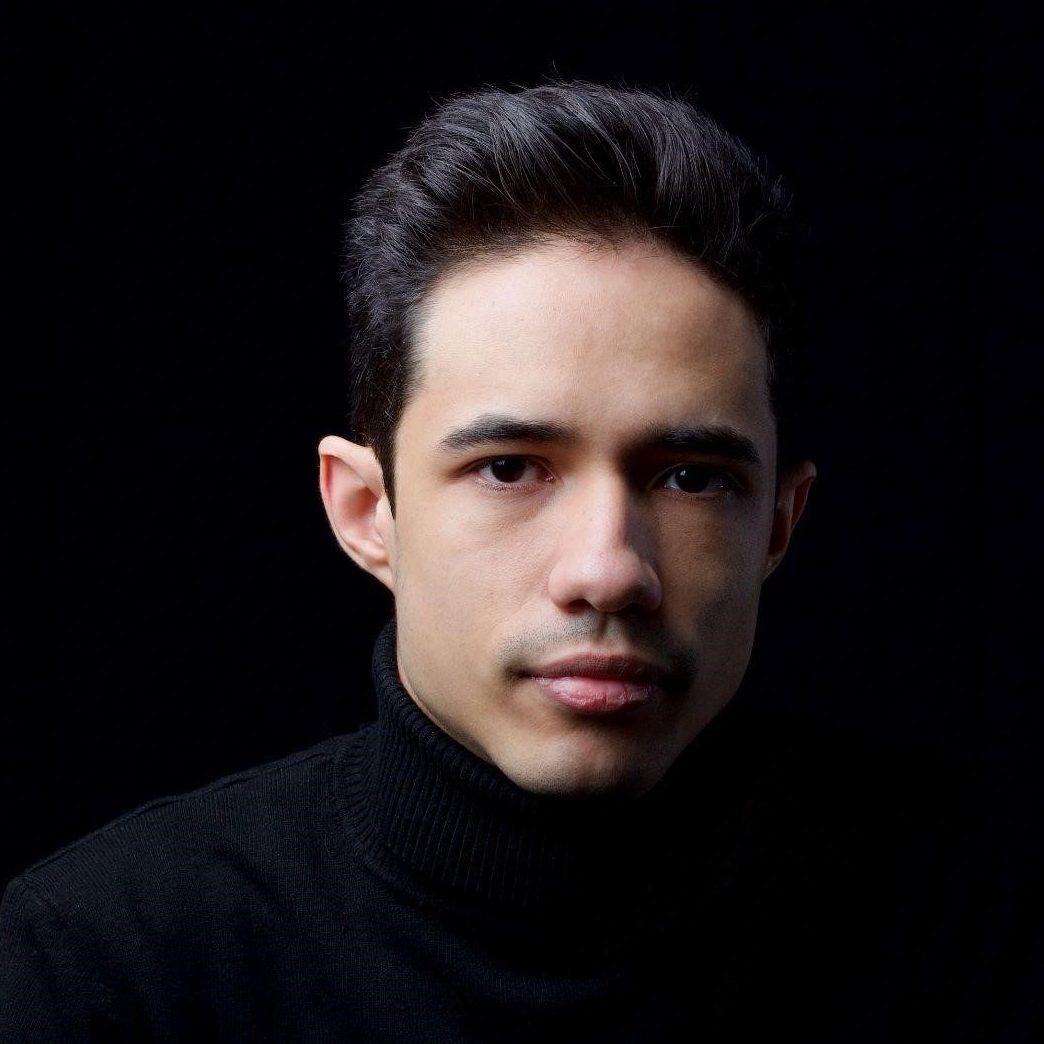
Good day, my title is Israel Soteldo, and I’m a CG Normal Artist from Venezuela with a decade of expertise within the VFX and CGI business. My main work software is Blender, which I take advantage of to create high-quality visible results. I additionally complement my workflow by using exterior software program, akin to Embergen, for VFX, and After Results for composition when essential. I’ve leveraged Blender for a wide range of tasks, starting from sport cinematics and main model promoting to illustrations and extra.
INSPIRATION
Since my childhood, I’ve been a faithful admirer of Sam Raimi’s Spider-Man, notably his posters and wallpapers. The intricately detailed swimsuit worn by Tobey Maguire within the movie trilogy has all the time captivated me with its wealthy textures and aid work, making it an excellent topic for creating compelling art work.
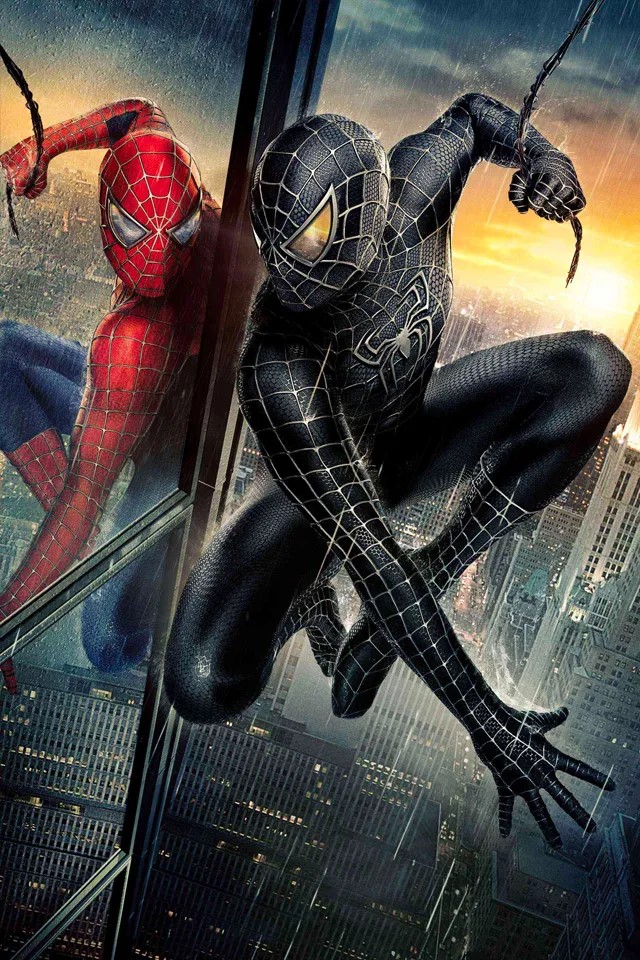
To information this mission, I drew inspiration from the wallpapers featured in Spider-Man 2 and three, notably these from the third film, which boast a charming colour palette that blends cool and heat tones.
PROCESS
Whereas I’m not an expert modeling artist, I’ve efficiently executed this mission by using pre-existing 3D fashions and belongings. Particularly, I employed a meticulously crafted 3D mannequin, based mostly on the design featured in Spider-Man 2, created by the gifted Low_Res_jpg in Blender.
The mannequin’s impeccable proportions and textures offered a wonderful basis for this wallpaper.
POSE
The 3D mannequin that I used for this mission was expertly rigged, enabling me to create dynamic poses with ease. To make sure that my art work captured the pure and fluid actions of Spider-Man’s web-swinging, I studied and integrated his iconic poses into my work. This consideration to element allowed me to craft a visually beautiful and genuine depiction of the beloved superhero.
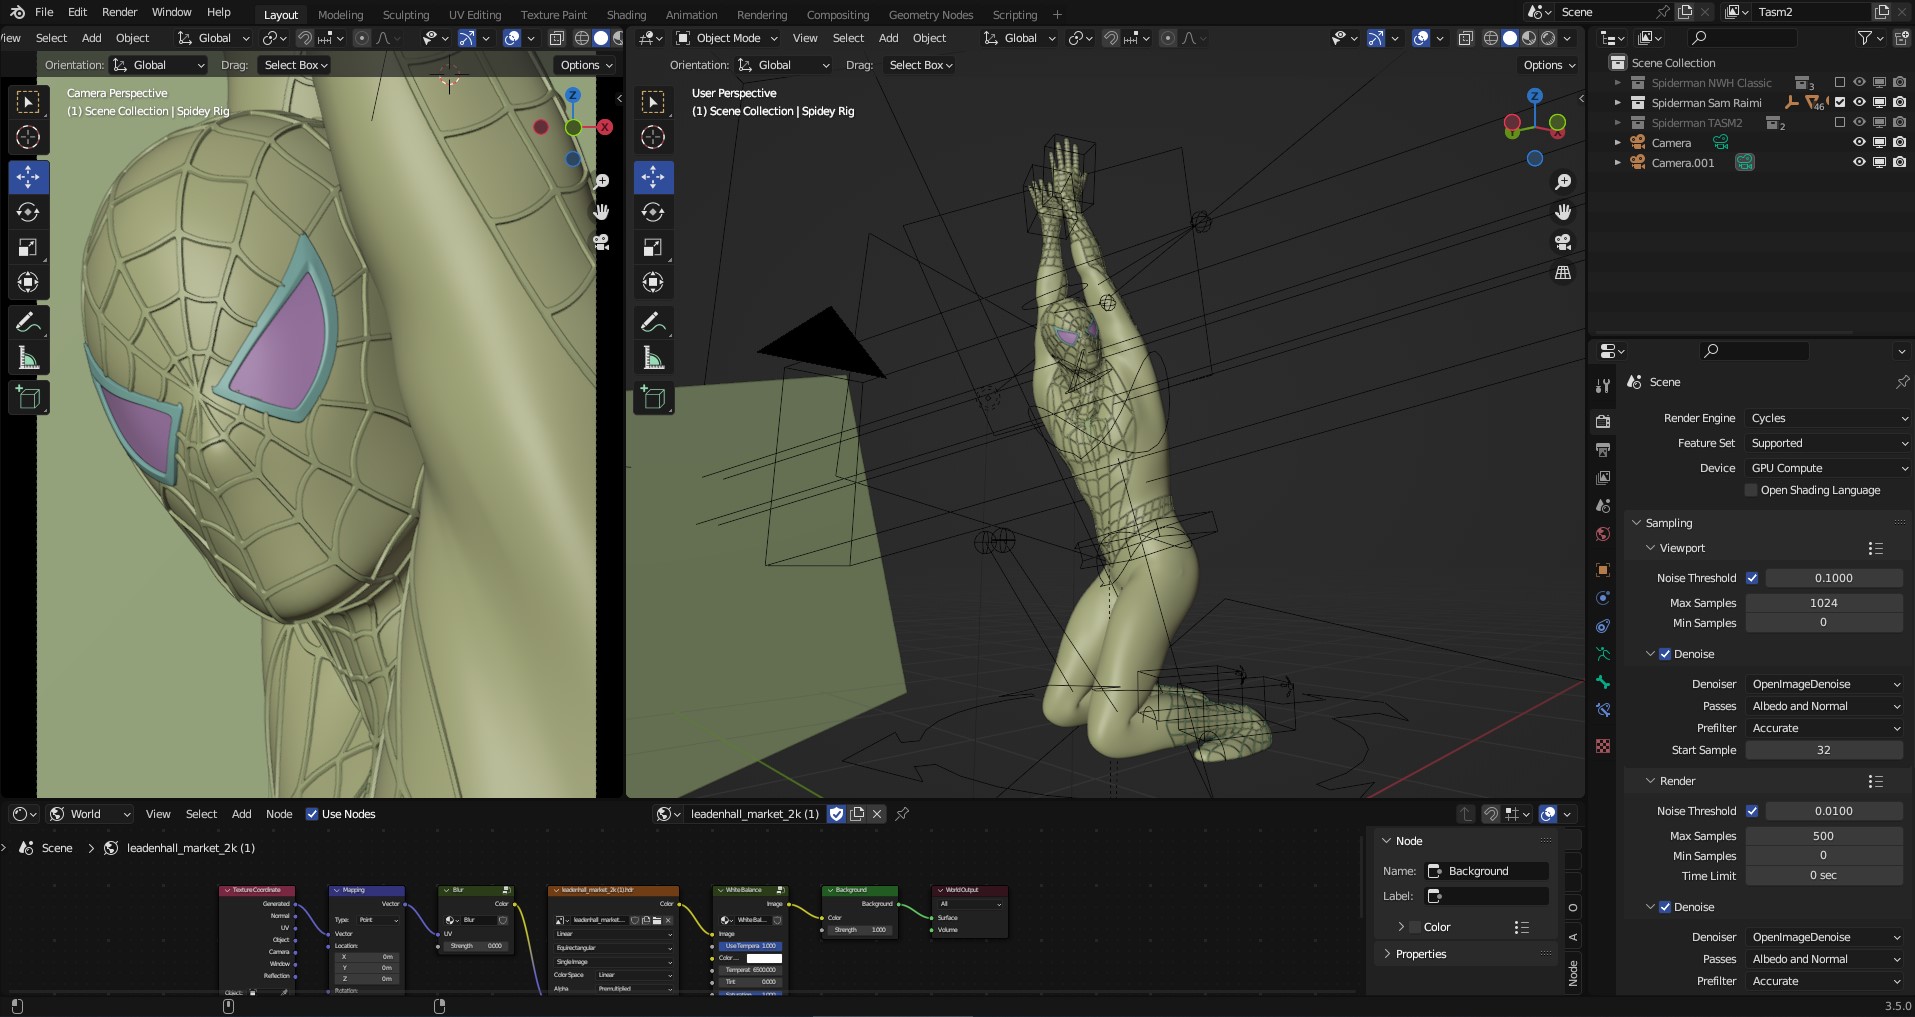
One of the crucial curious facets of this mission is that, though the character’s pose seems visually beautiful from the digicam’s standpoint, it might seem bizarre when seen from different angles. It is because I optimized the pose to look visually interesting solely from the digicam’s perspective, which is a very powerful viewpoint for the viewer.
MATERIAL FIXING
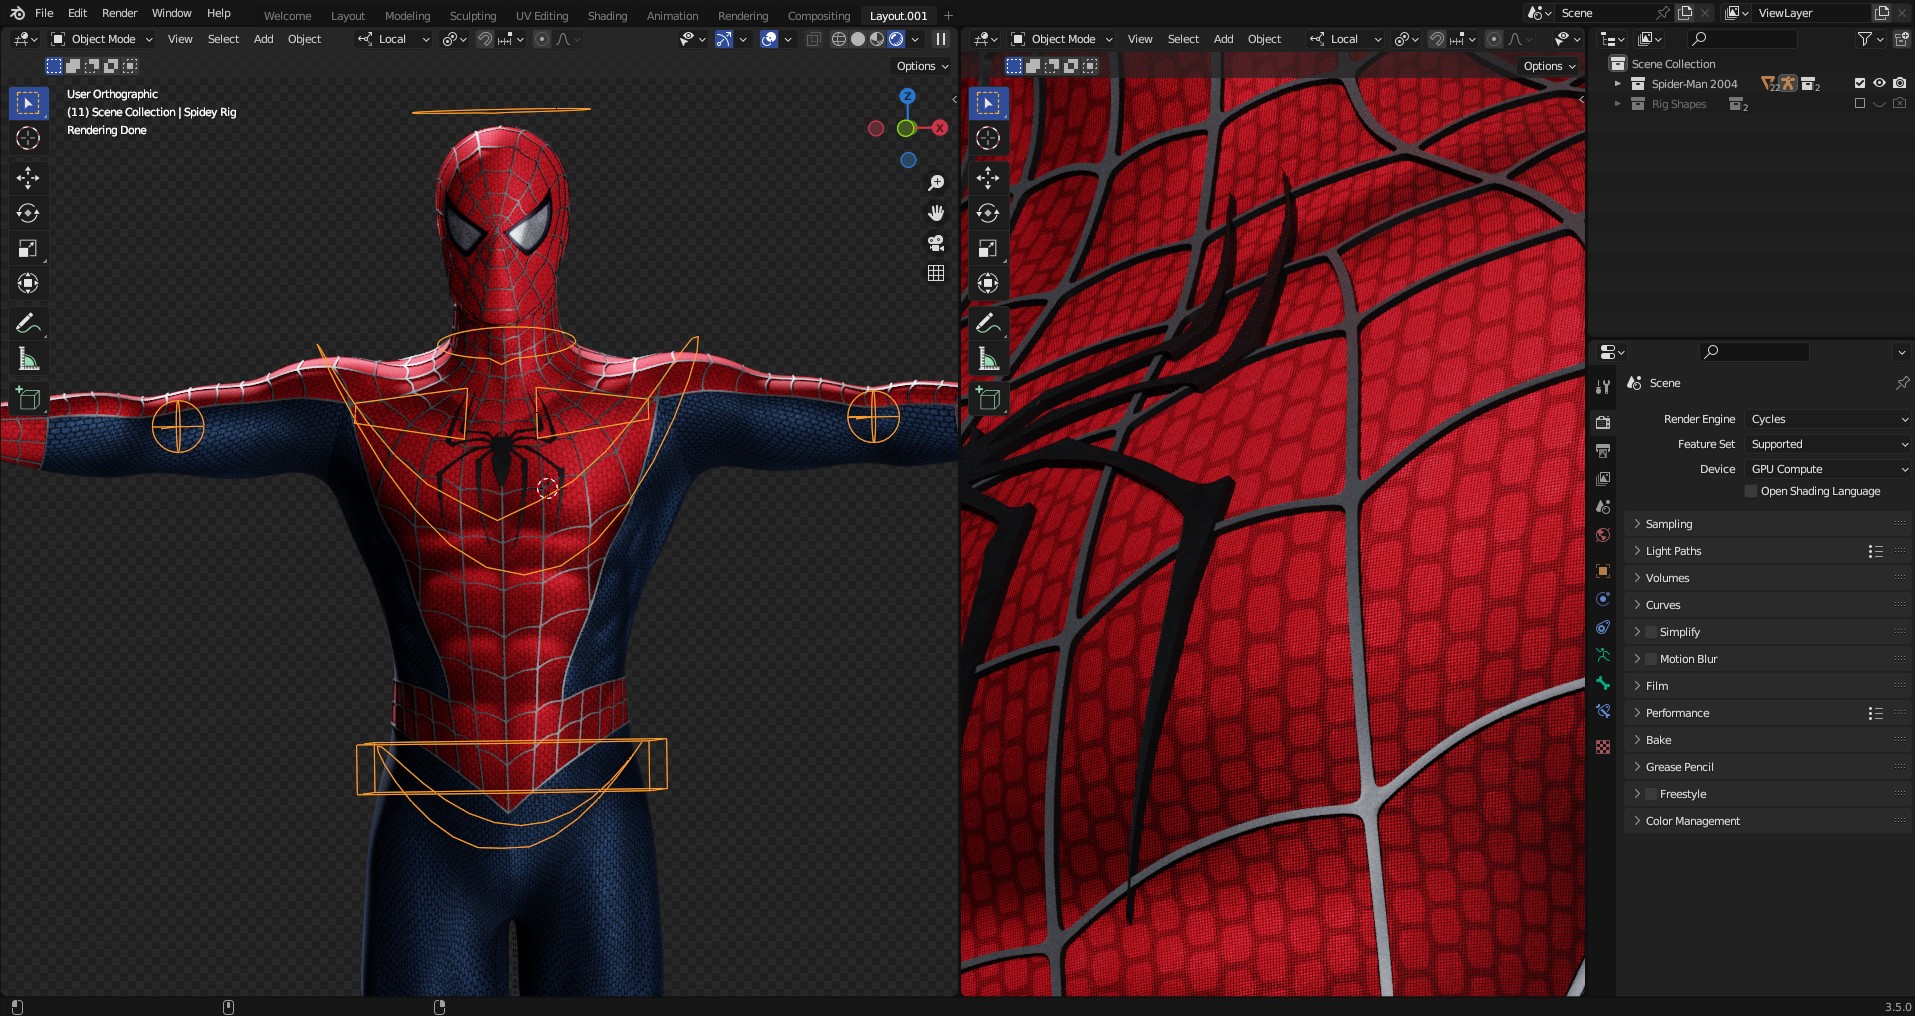
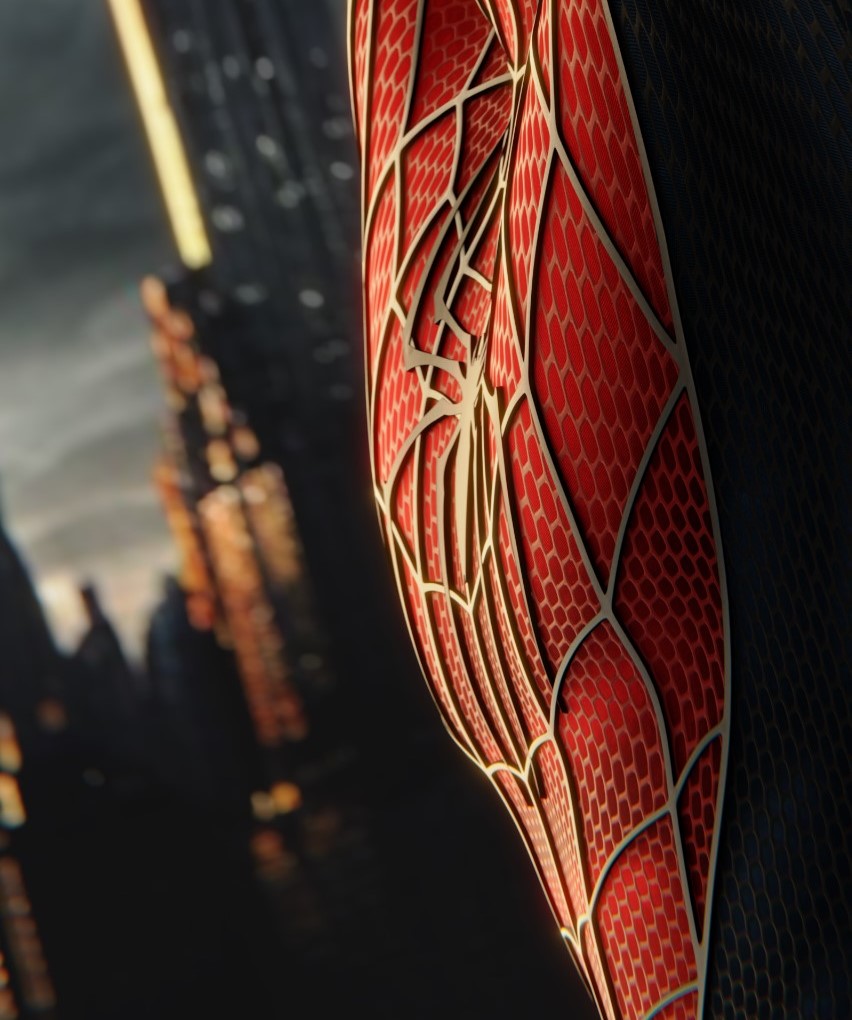
Low_res_jpg’s mannequin included a bunch node that contained sliders to customise the colour, roughness, and micro-reliefs of the fabric, which I utilized to fine-tune the looks of the swimsuit.
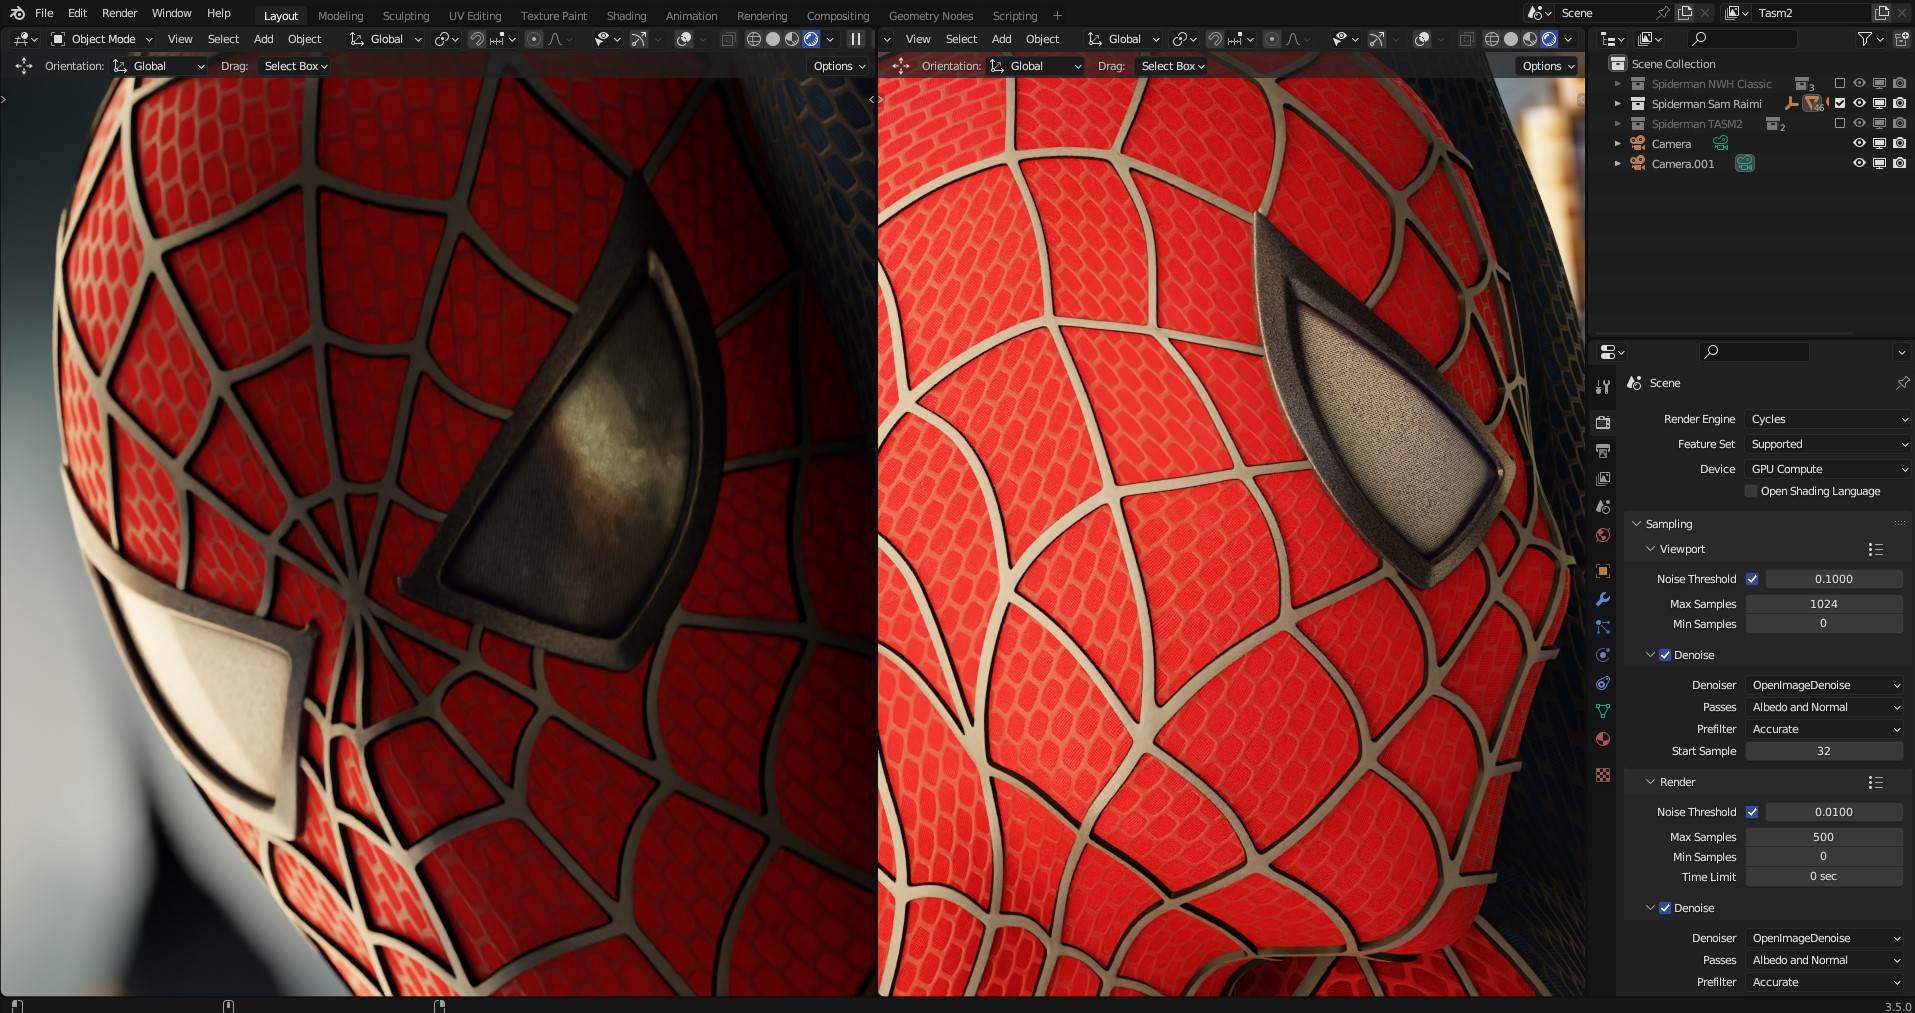
Though the mannequin was based mostly on Spider-Man 2, I drew inspiration from the swimsuit featured in Spider-Man 3, which boasts silver traces and extra pronounced micro-patterns, leading to a brighter and extra detailed look. By incorporating these components, I aimed to create a picture that was wealthy in info and visually compelling.
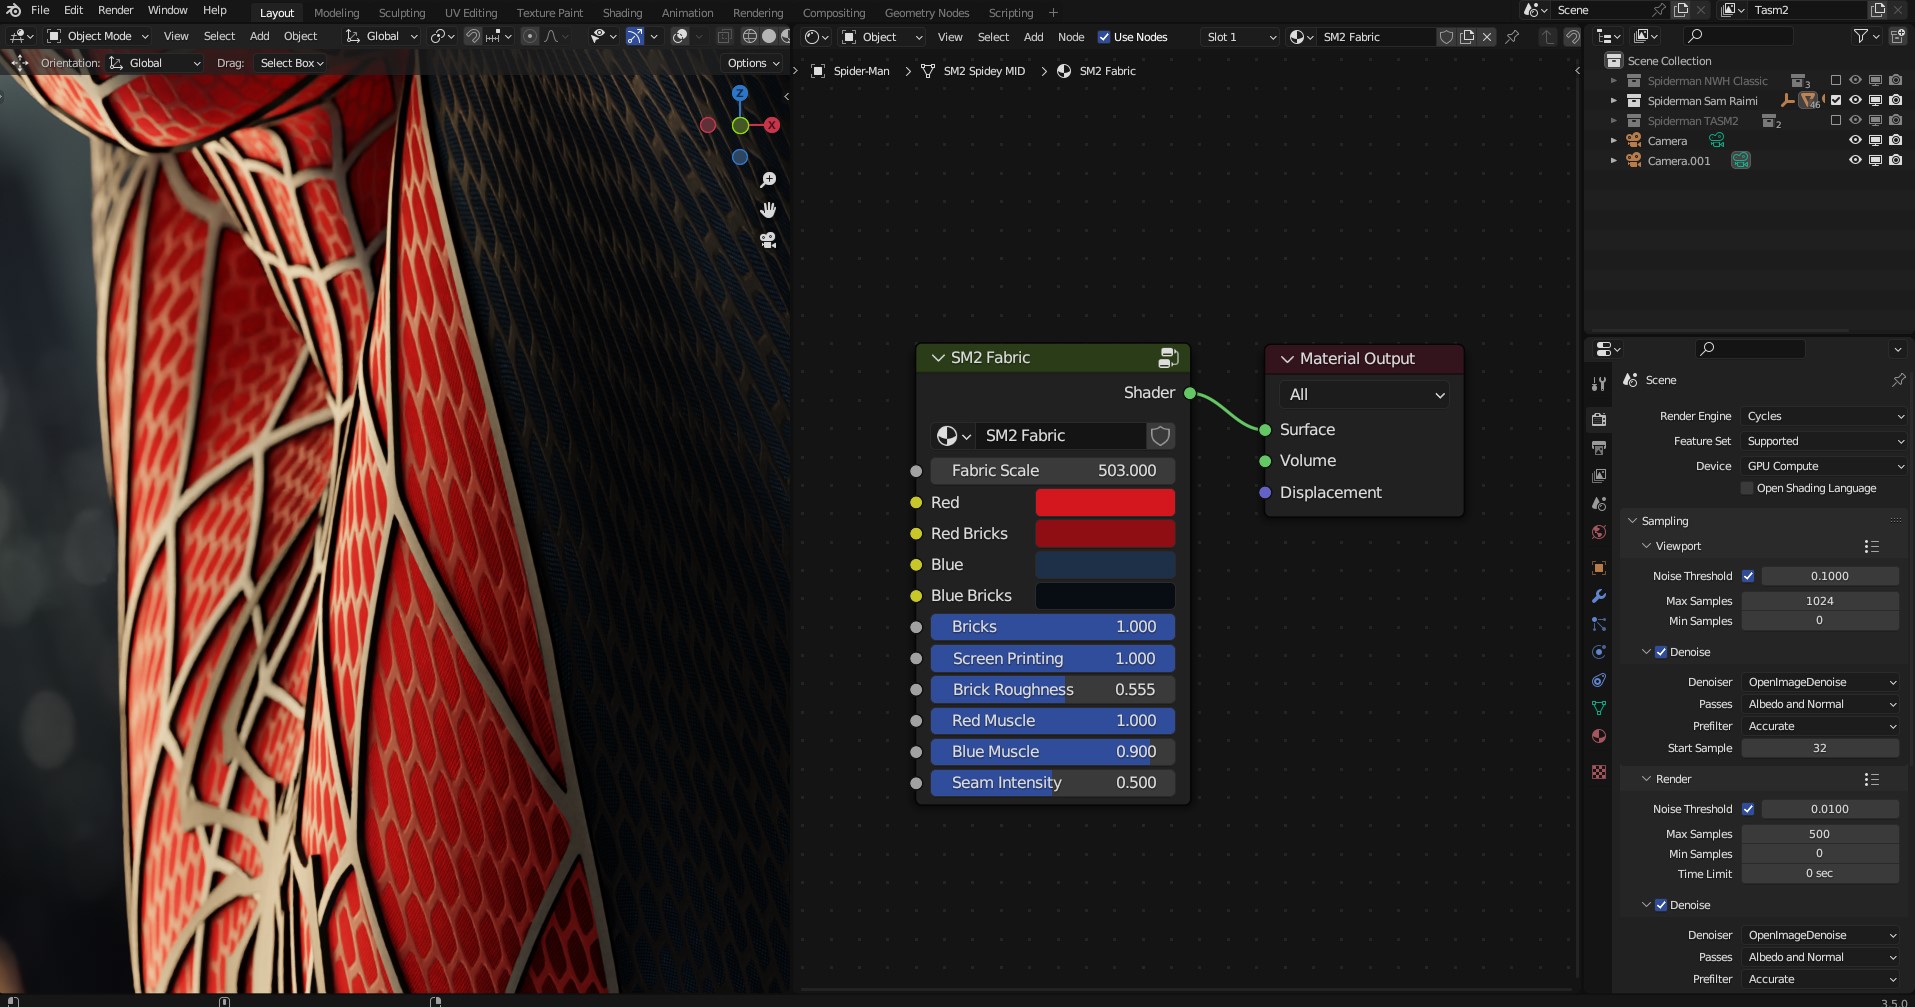
As well as, I additional refined the swimsuit’s look by making the frames surrounding the lenses seem extra metallic with a silver end. I additionally adjusted the inside of the attention to reinforce its reflective properties, leading to a smoother and extra polished look that successfully captured and mirrored the encompassing surroundings.
ENVIRONMENT
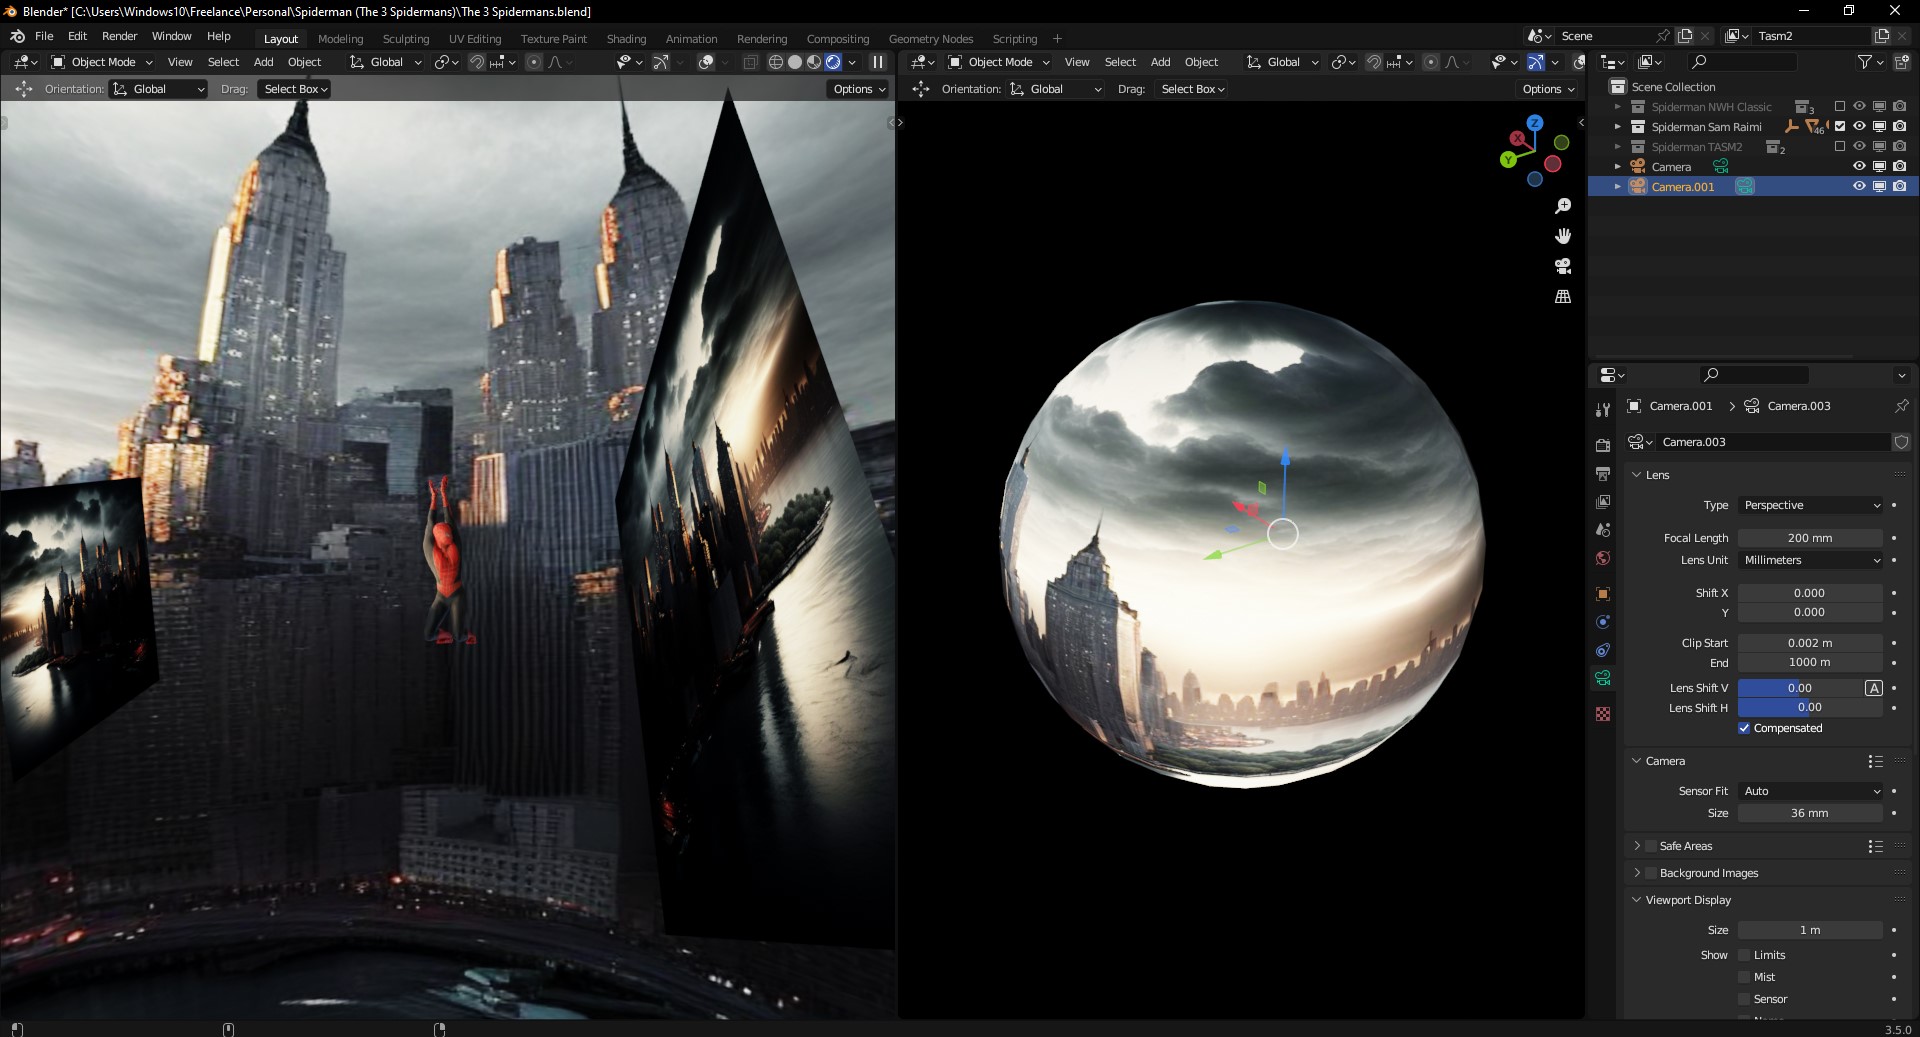
To create the background, I experimented with completely different prompts in Midjourney and generated a picture that match the specified aesthetic.
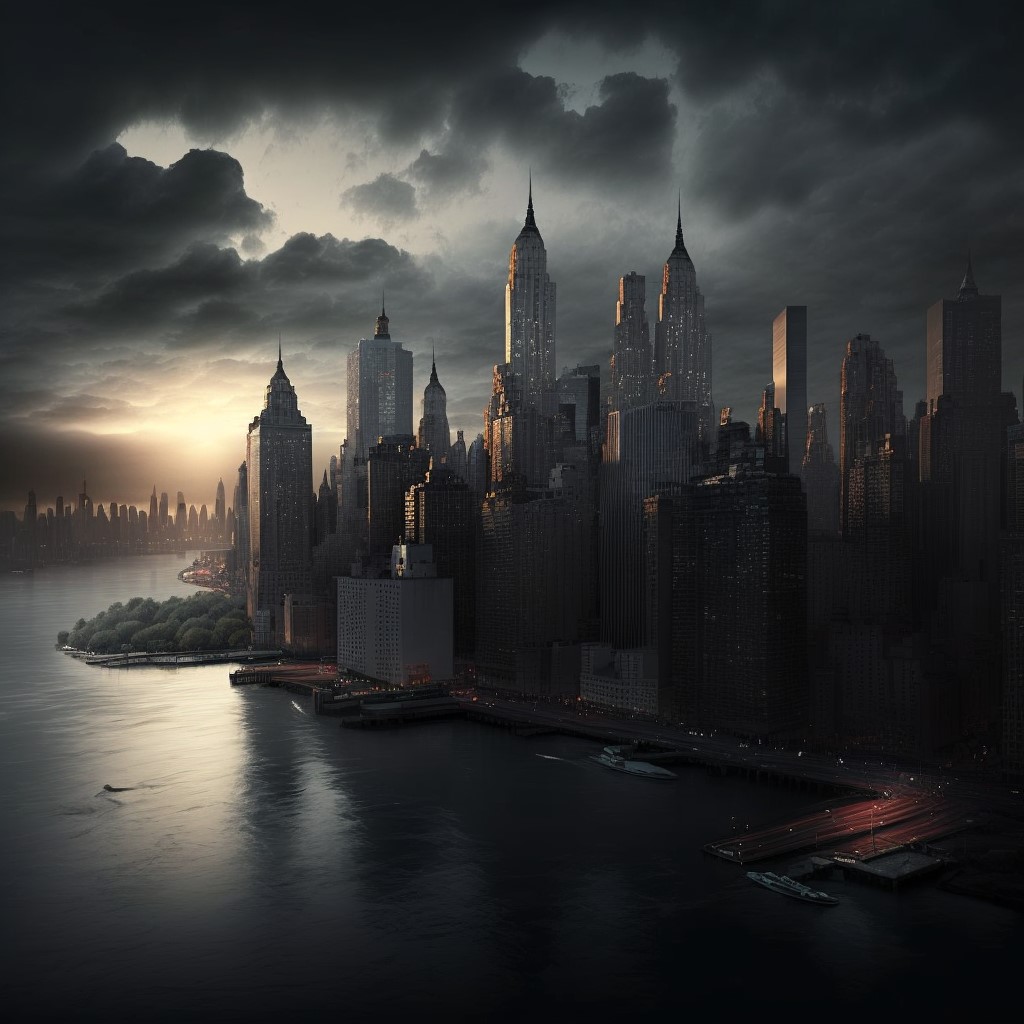
I then used this picture because the background by making a flat sq. with an emissive materials and making use of the Midjourney picture to it. To make sure constant lighting and colour on Spider-Man’s swimsuit, I additionally created a sphere that enclosed the whole scene and positioned the Midjourney picture inside it.
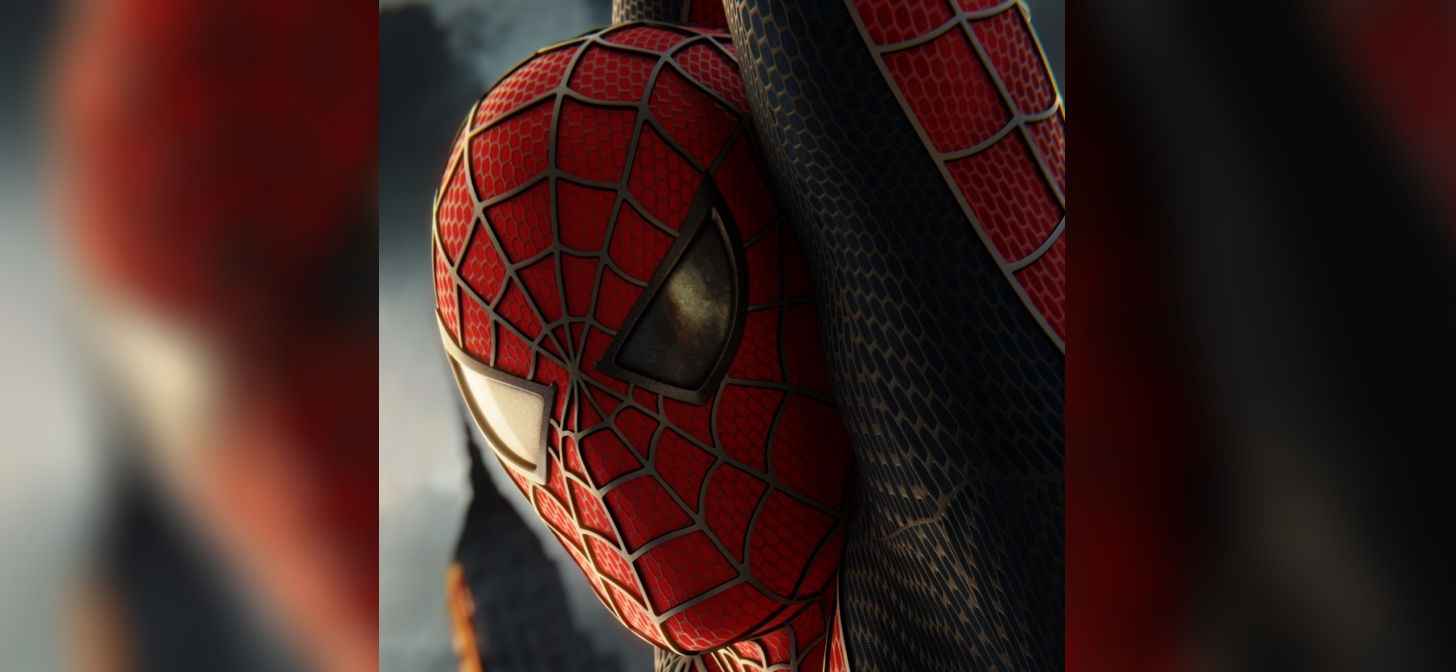
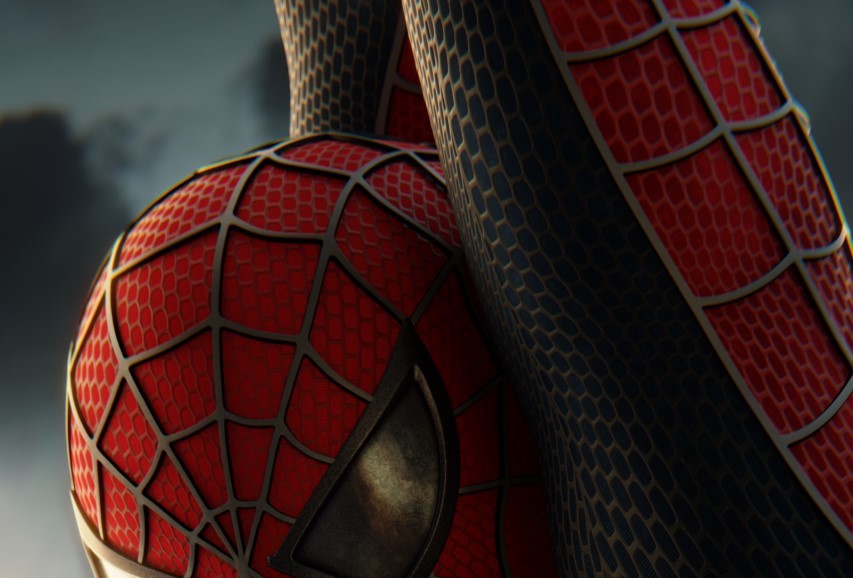
COMPOSITION
To boost the attraction of Raimi’s Spider-Man costume masks, I positioned it prominently within the composition. So as to add a contact of visible curiosity, I integrated highlights on the lens glass by positioning a aircraft with the background texture in entrance of Spider-Man.
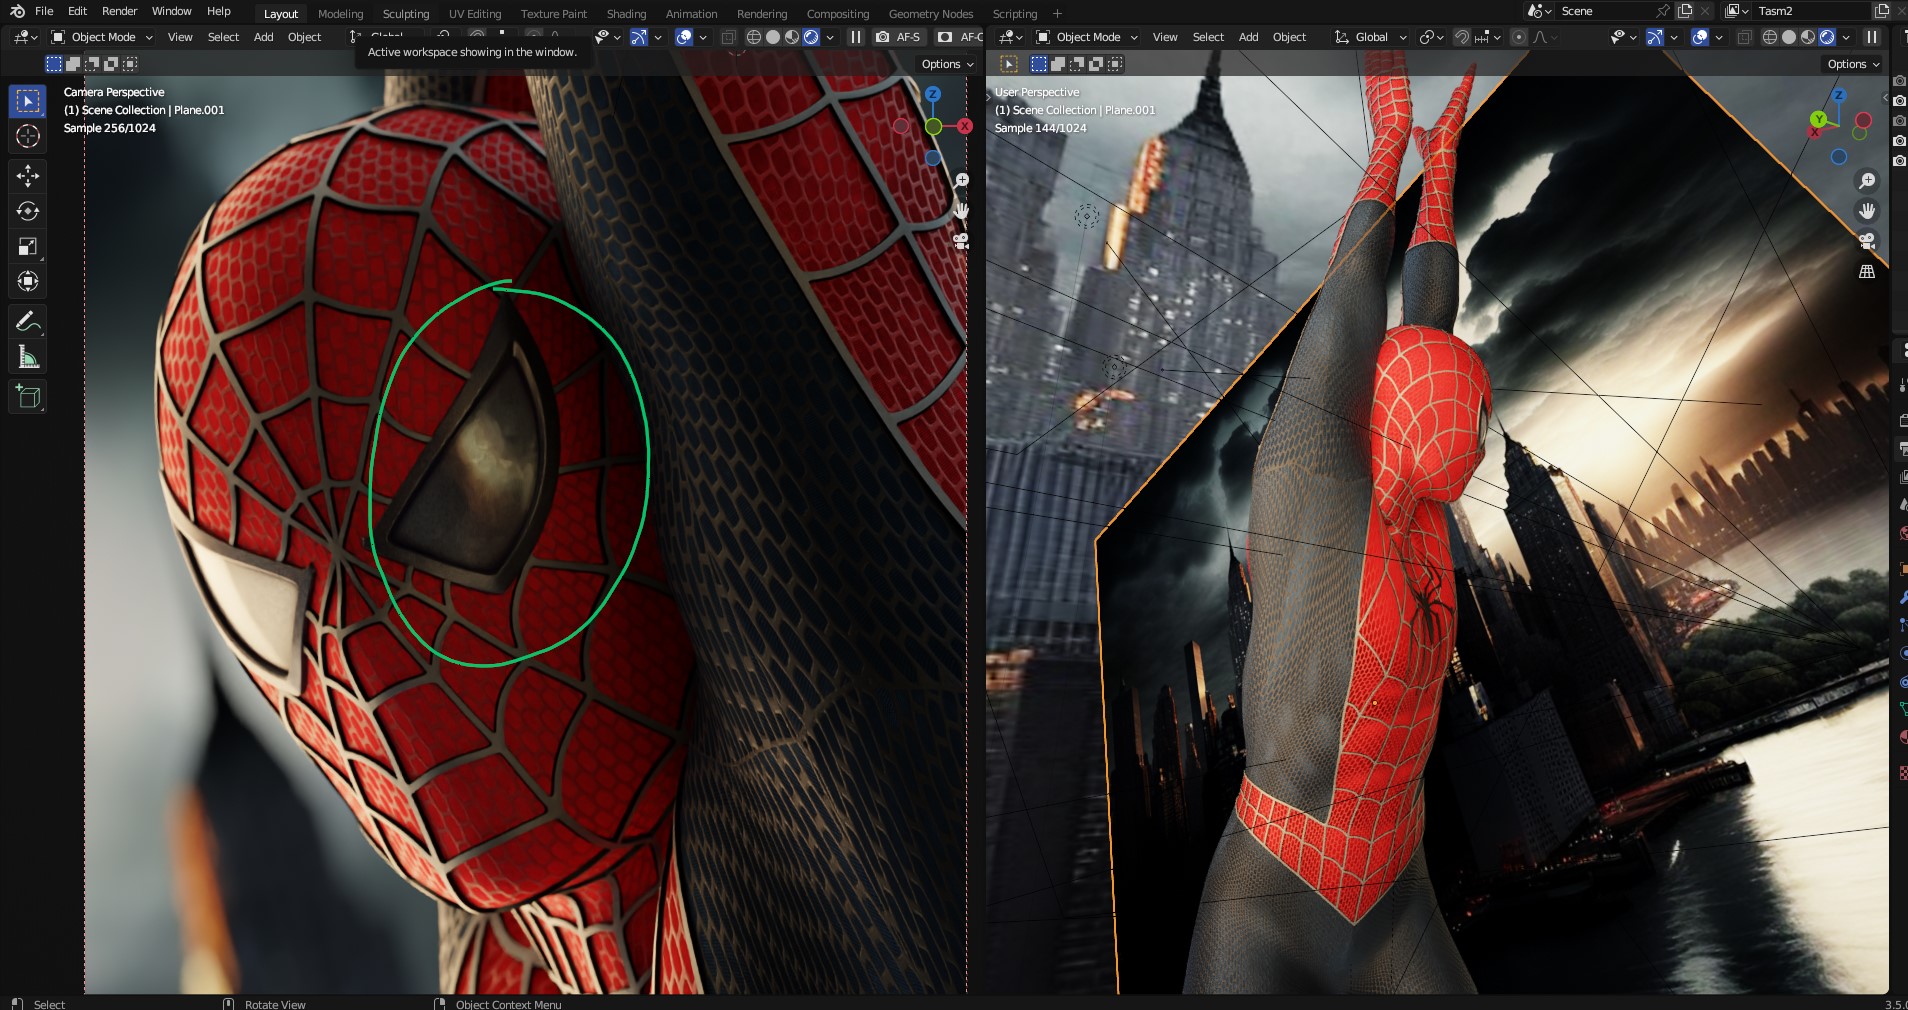
This created an “inverted pupil” impact on the attention, including depth to the general composition.

LIGHTING
Lighting is a vital facet of any art work, and within the realm of 3D digital artwork, any software or method will be utilized to realize the specified impact. To attain the specified picture, I employed a mixture of lighting strategies, together with a mixture of lights and objects with emissive supplies. This strategy allowed me to create a dynamic and visually hanging scene that captivates the viewer.
To attain the specified lighting impact, I created a lighting setup consisting of three space lights. The primary gentle was a heat gentle that simulated the sunshine of a sundown, whereas the opposite two lights have been chilly fill lights that helped to stability the shadows and spotlight the quantity of the 3D mannequin.
To create sharp shadows, the nice and cozy gentle wanted to be comparatively small in dimension, whereas the chilly lights needed to be flat to mimic the oblique illumination of the blue portion of the sky.

General, this setup offered the specified stability of heat and funky tones whereas additionally emphasizing the form and type of the Spider-Man mannequin.
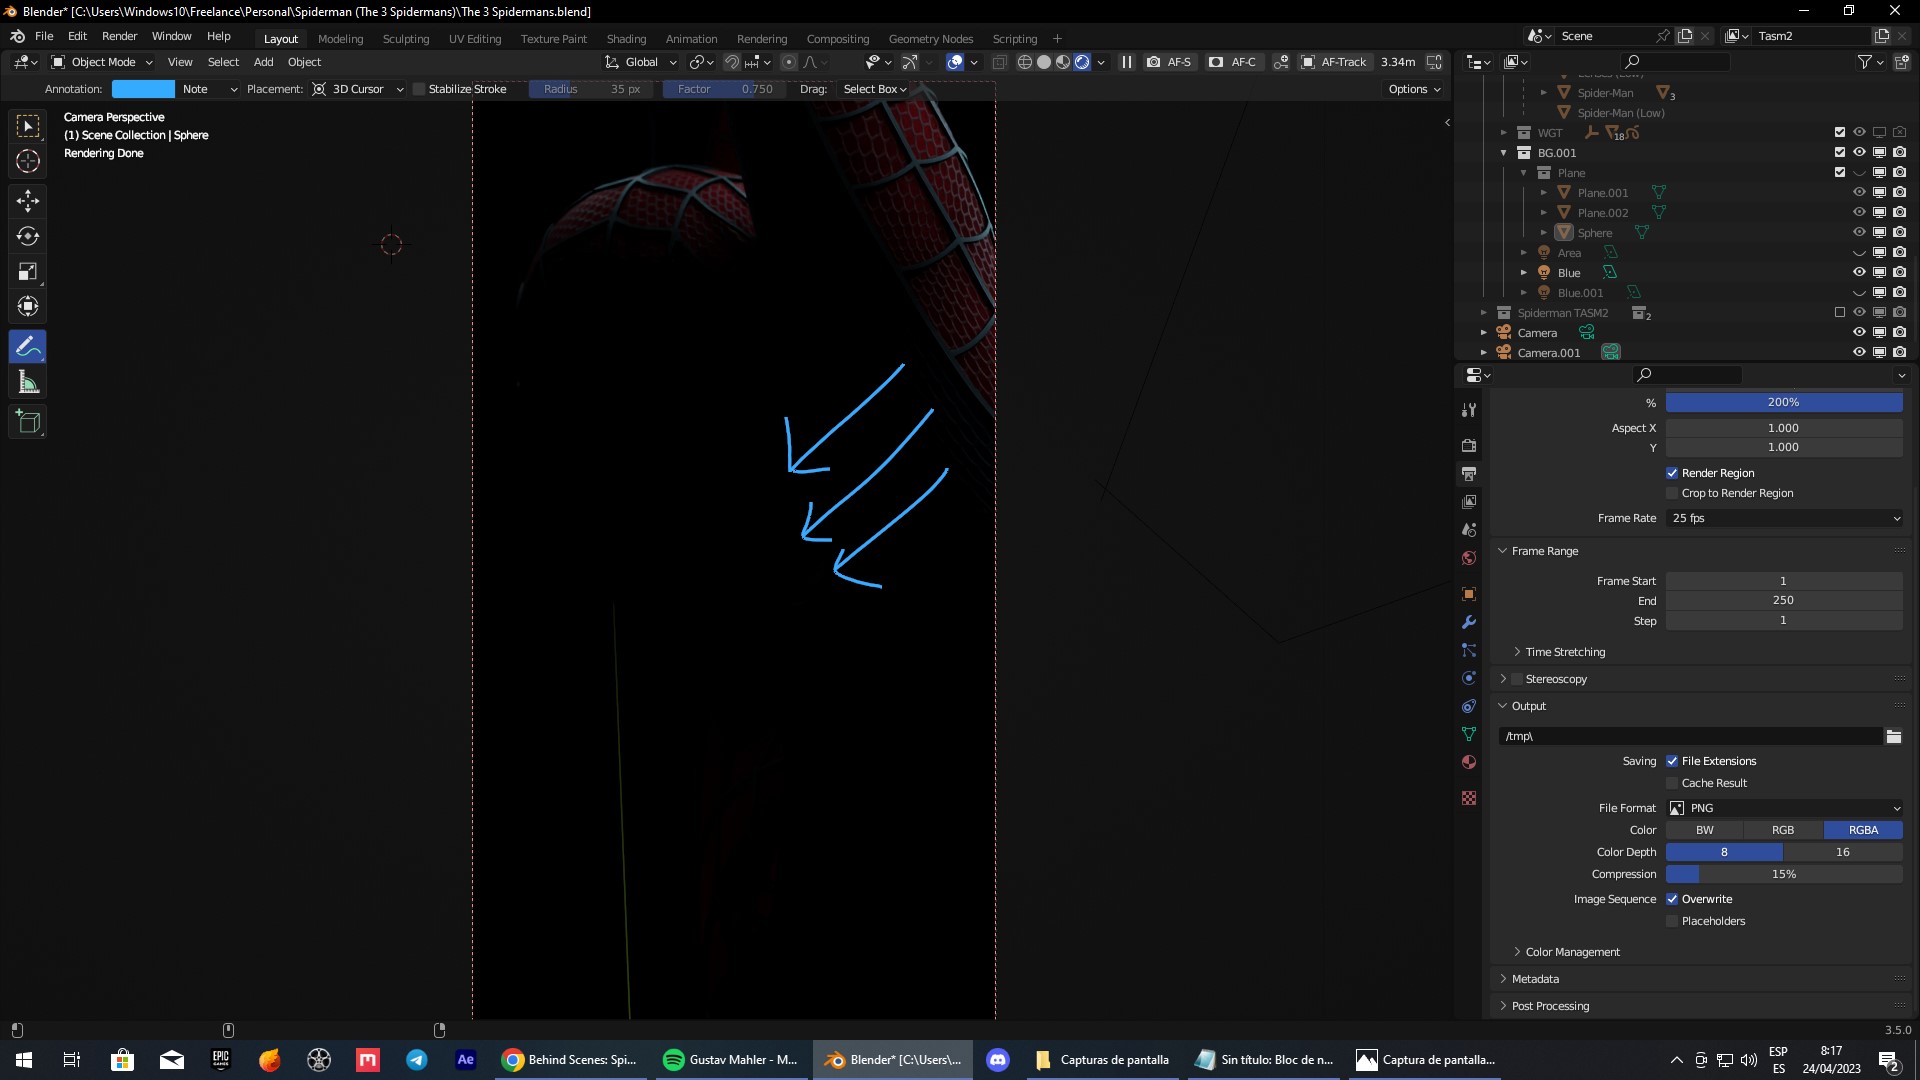
That is how the ultimate lighting appears to be like with out the surroundings:

CAMERA
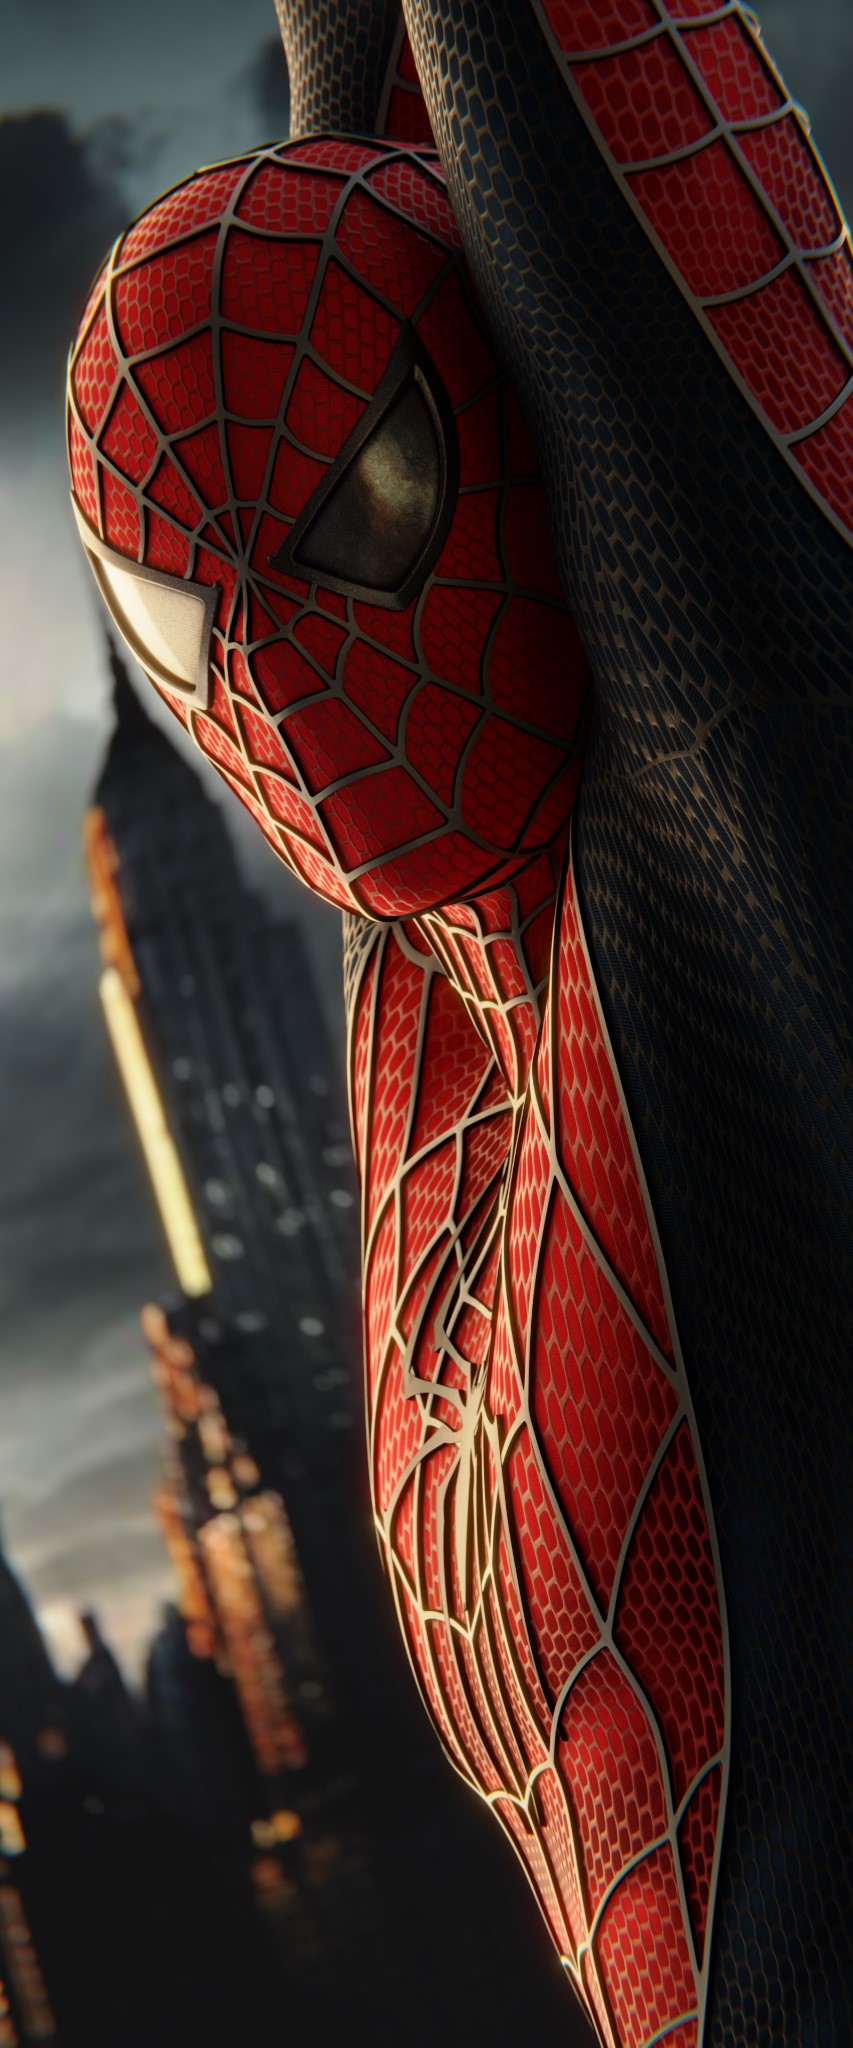
To create a particular appear and feel for the illustration, I utilized a 200mm digicam lens, which offered a flatter perspective and eradicated any indicators of perspective or vanishing factors. So as to add a novel contact to the picture, I barely tilted the digicam to simulate an aberrant shot.
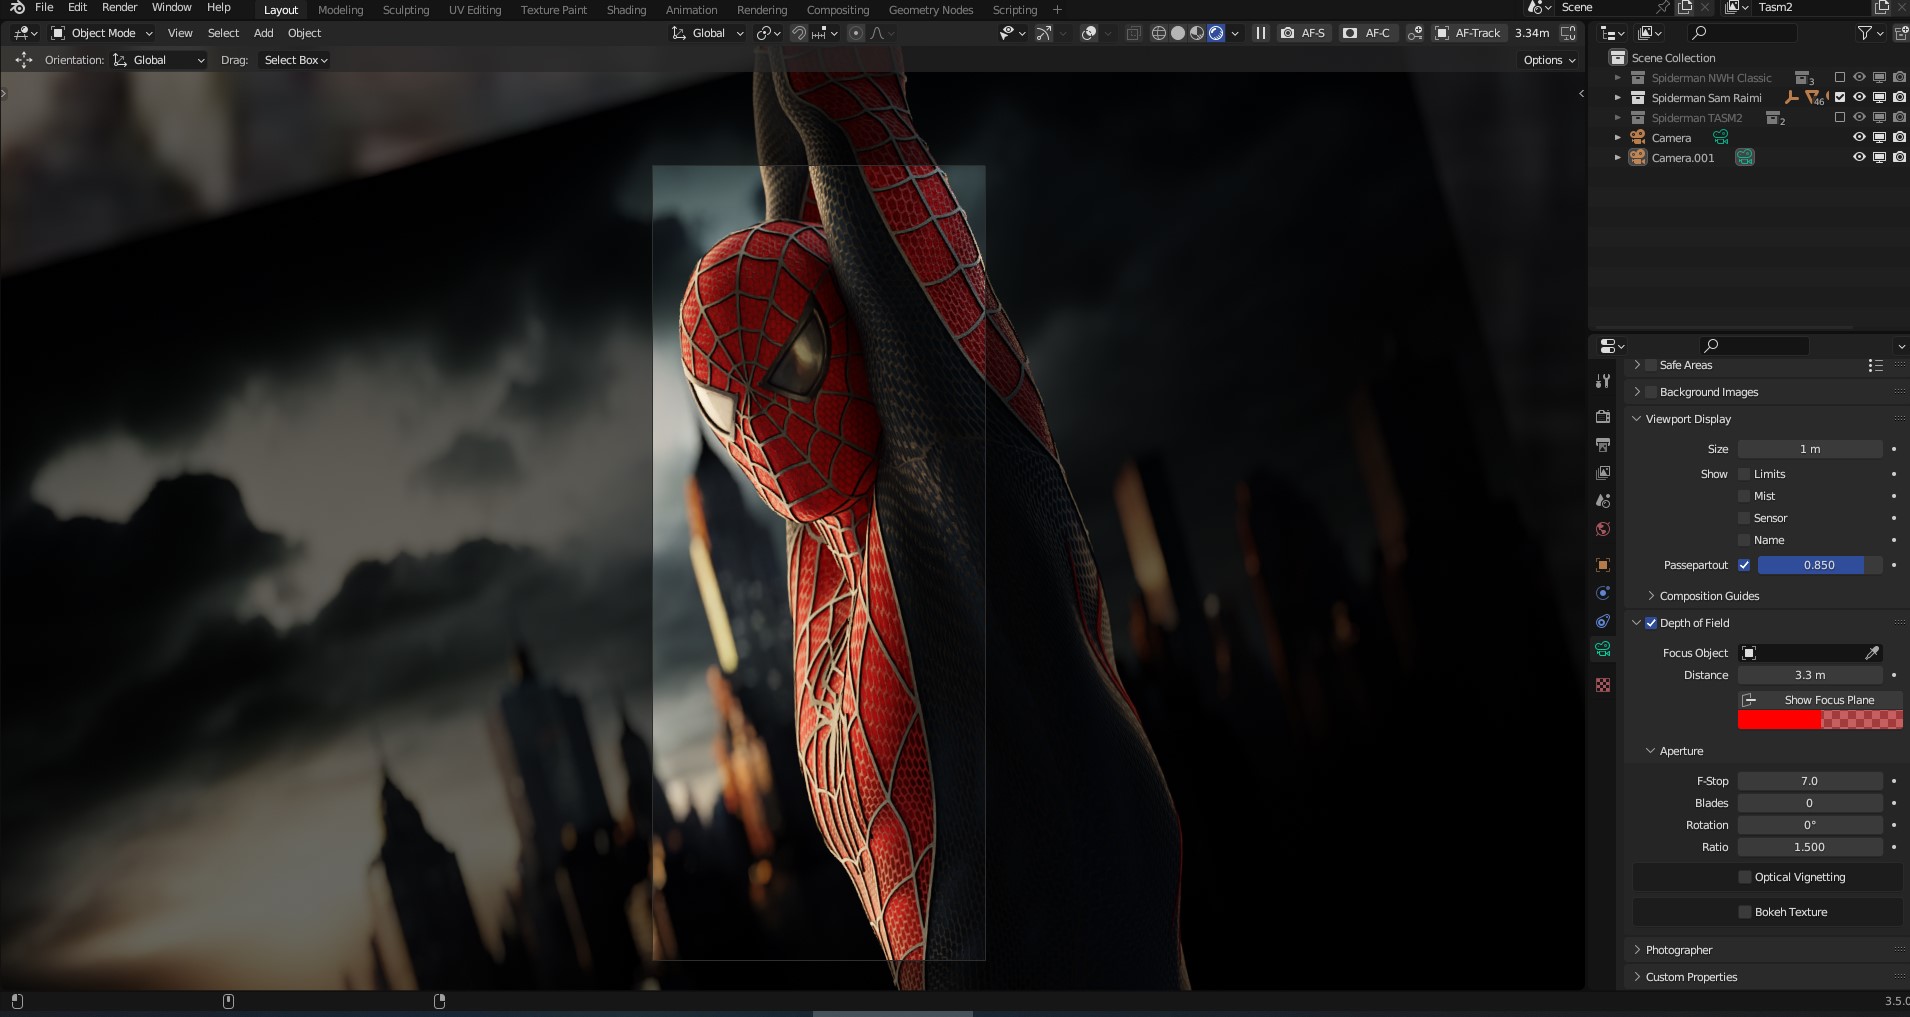
And, for additional separation between the character and the background, I enabled the Depth of Discipline function on the digicam, blurring the background and making a extra cinematic look. Moreover, I utilized a side ratio of two within the aperture choices to simulate the look of anamorphic lenses, that are generally utilized in movie manufacturing.


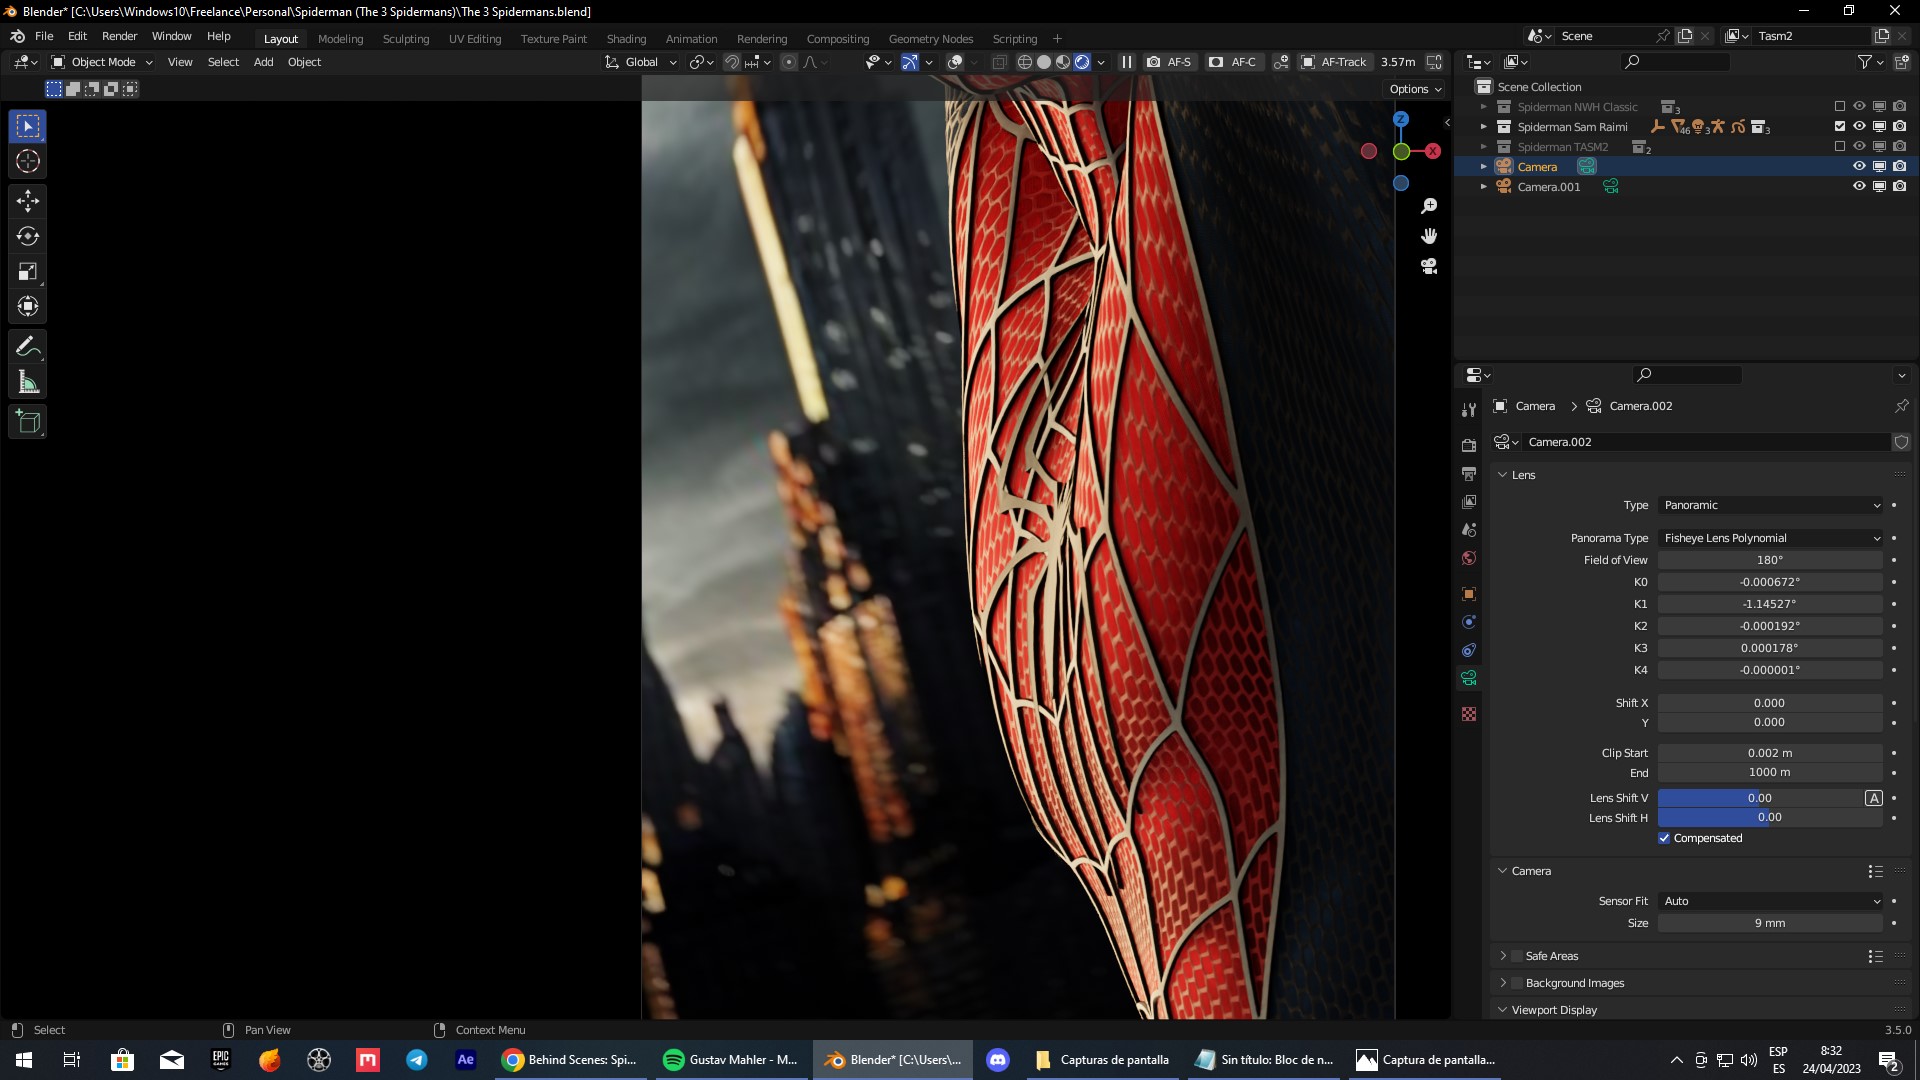
After enabling Depth of Discipline, I modified the digicam’s facet ratio to 2 and switched the digicam lens from “Perspective” to “Panoramic.” This gave a round impact to the bokeh created by the Depth of Discipline, reaching a extra stylized and fewer filmic look.
Whereas this look isn’t realistically attainable within the bodily world, it may be achieved in Blender through the use of a panoramic lens. This added to the general aesthetic of the picture and helped to additional separate the character from the background.
RENDERING
For the rendering, I exported the mixed go that you’ve seen within the earlier picture, in addition to the mist and ambient occlusion go from the surroundings. I used the mist so as to add a slight contact of ambiance to the background, giving the looks of being in a metropolis. Moreover, I used the ambient occlusion so as to add extra distinction to the render.


Then, in Adobe Photoshop, I added a chromatic aberration impact to the sides and adjusted the colour utilizing the “Digicam Uncooked” filter.
I opted for a barely extra conservative and pure look with out oversaturating and over-contrasting the picture. That is in distinction to Spider-Man 3 wallpapers, which generally have excessive distinction and excessive colour saturation.
RENDER – Spider-Man Wallpaper

Thanks for studying. Be happy to ask any questions, and when you like my work, comply with me on social media.
Have an excellent day!
Concerning the Artist
Israel Soteldo, a 3D artist from Venezuela. He’s presently working as a freelancer and creating content material.