
INTRODUCTION
Hello! My identify is Andrew Herman, and I’m a self-taught 3D artist. I noticed a brief movie created in Blender in 2015 and immediately needed to make one myself! After seven years of expertise, I’ve develop into a proficient Blender artist and love creating superior renders in my spare time.
INSPIRATION
I’ve all the time cherished LEGO. It is superb how highly effective such simplicity may be! Once I found LEGO software program like Mecabricks and LDD, it was a no brainer. Now, I might construct and render my fashions with entry to each brick ever! (Not solely that, however my laptop loves the truth that there are solely about 100 polygons in a brick, in contrast to 1.2 million in a photorealistic tree stump.)
I ended up buying the Mecabricks Superior addon for Blender, which is extremely highly effective. It presents customizable values for fingerprints, scratches, SSS, bevels, and dents, considerably enhancing the standard of the ultimate renders.
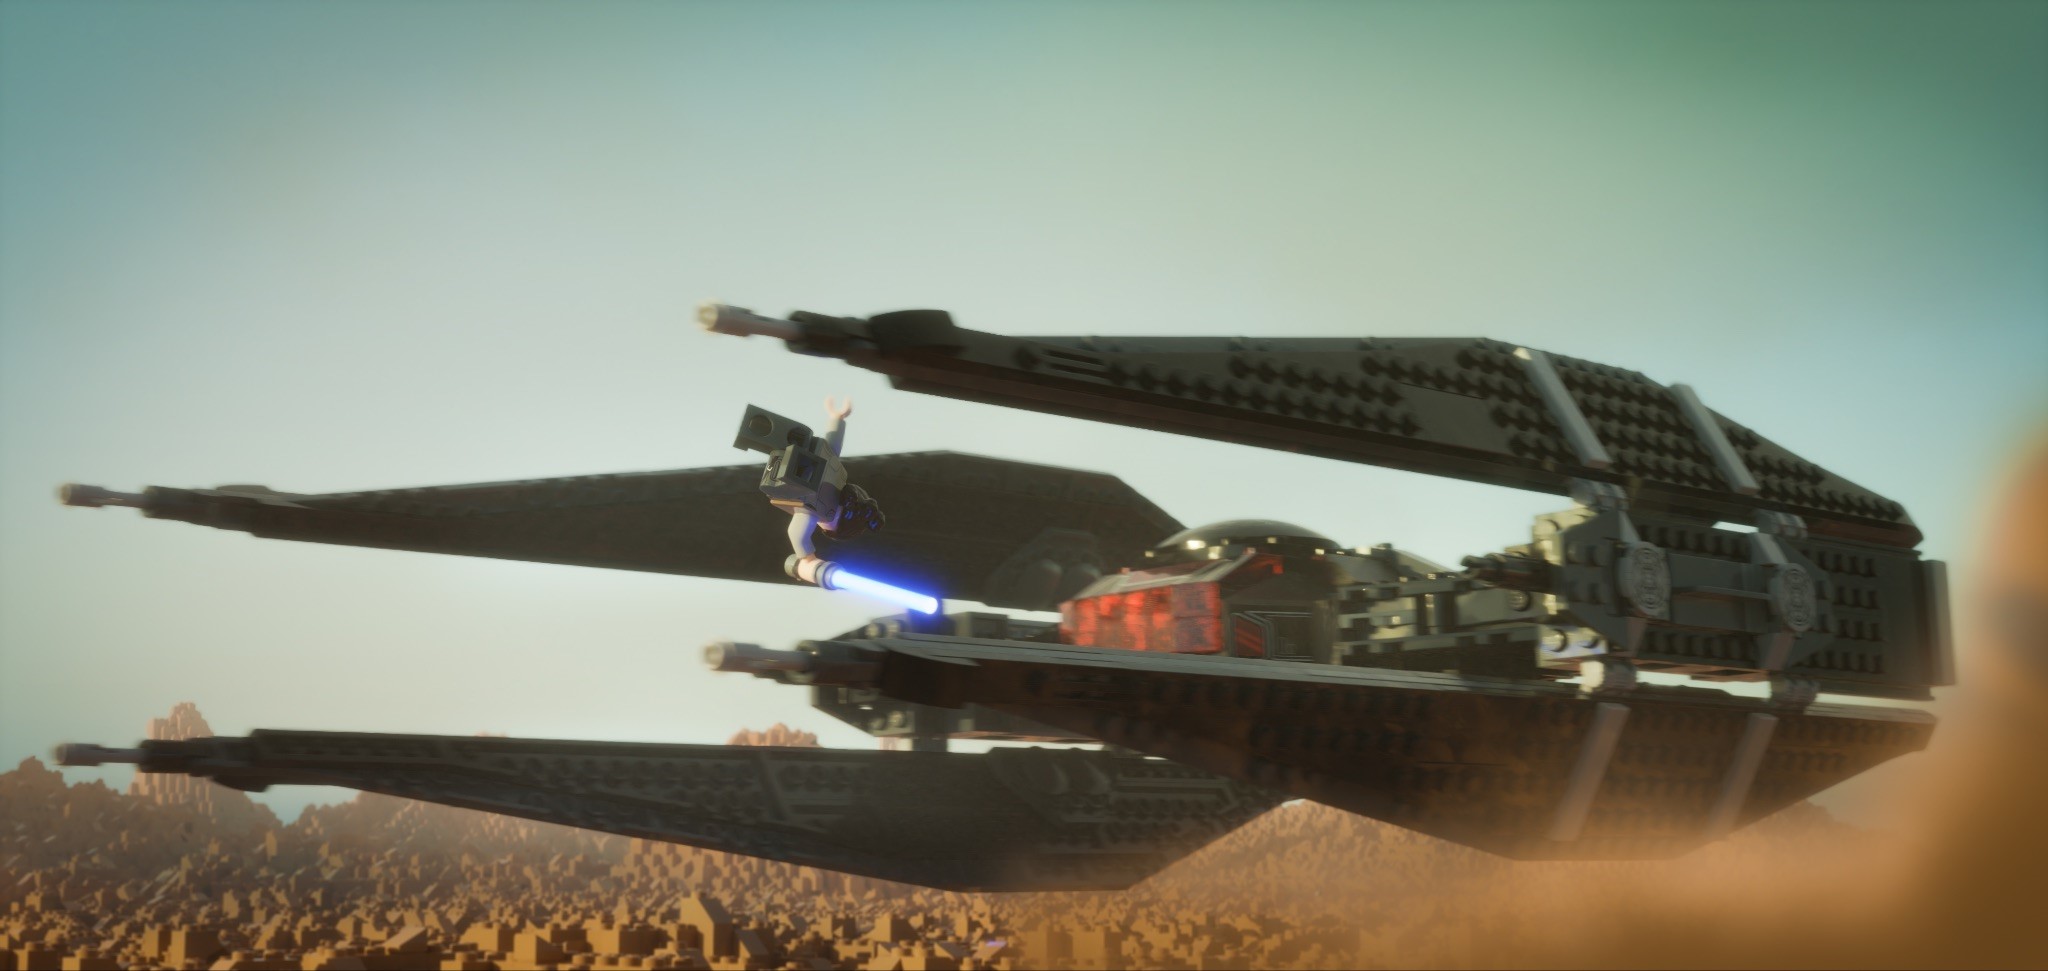
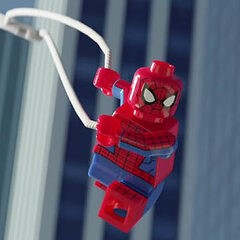
I take pleasure in what I name “body matches” with LEGO in Blender, the place I attempt to replicate a body from a film precisely in Blender, like this body from Star Wars: Rise of the Skywalker:
Body:

Render:
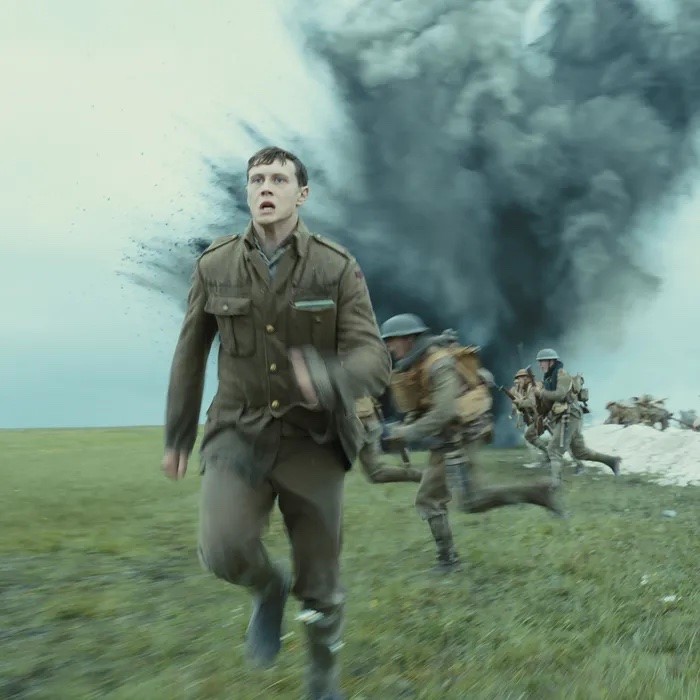
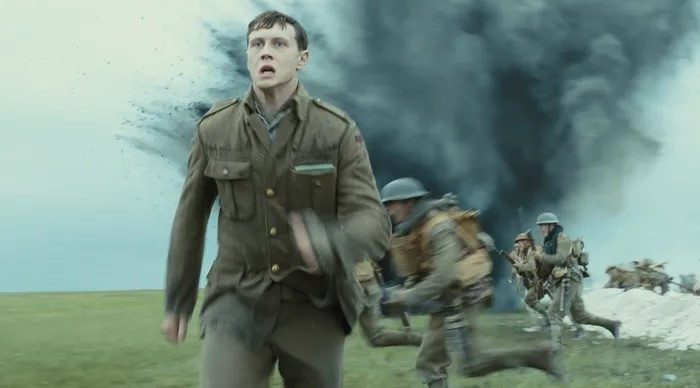
A number of weeks in the past, I noticed the film “1917”, and was like, “I gotta make that!”
TEXTURING
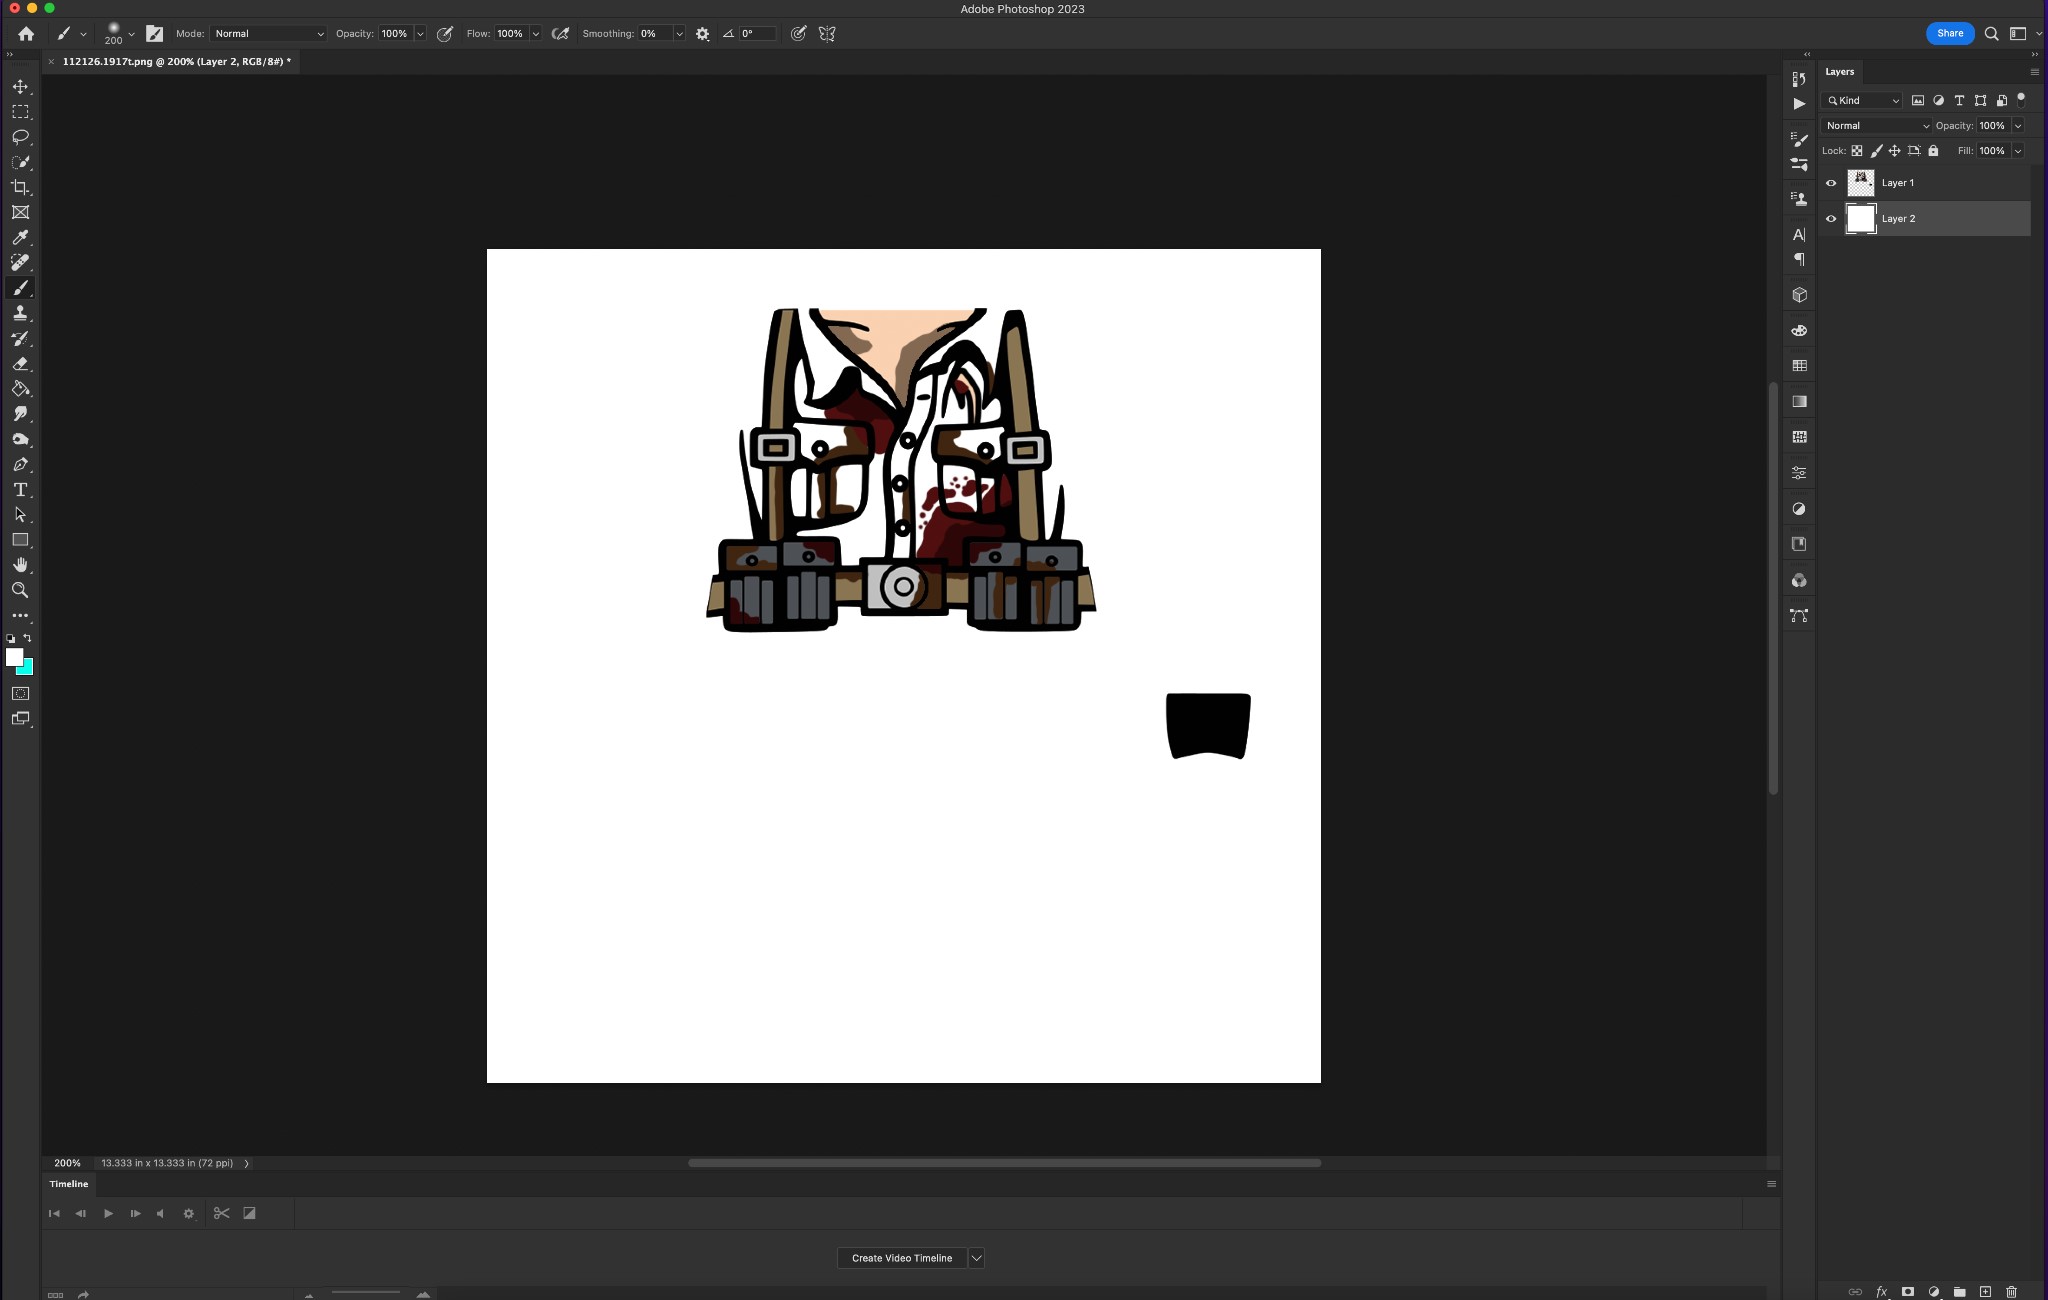
First, I wanted to design a customized minifigure for the primary character, Lance Corporal Schofield. I exported a minifig of a WW1 soldier from Mecabricks, imported it into Blender, after which unpacked the textures.
After that, I imported the textures into Adobe Photoshop and painted over them so as to add blood, particles, mud, mud, and many others., to create that wartime really feel.
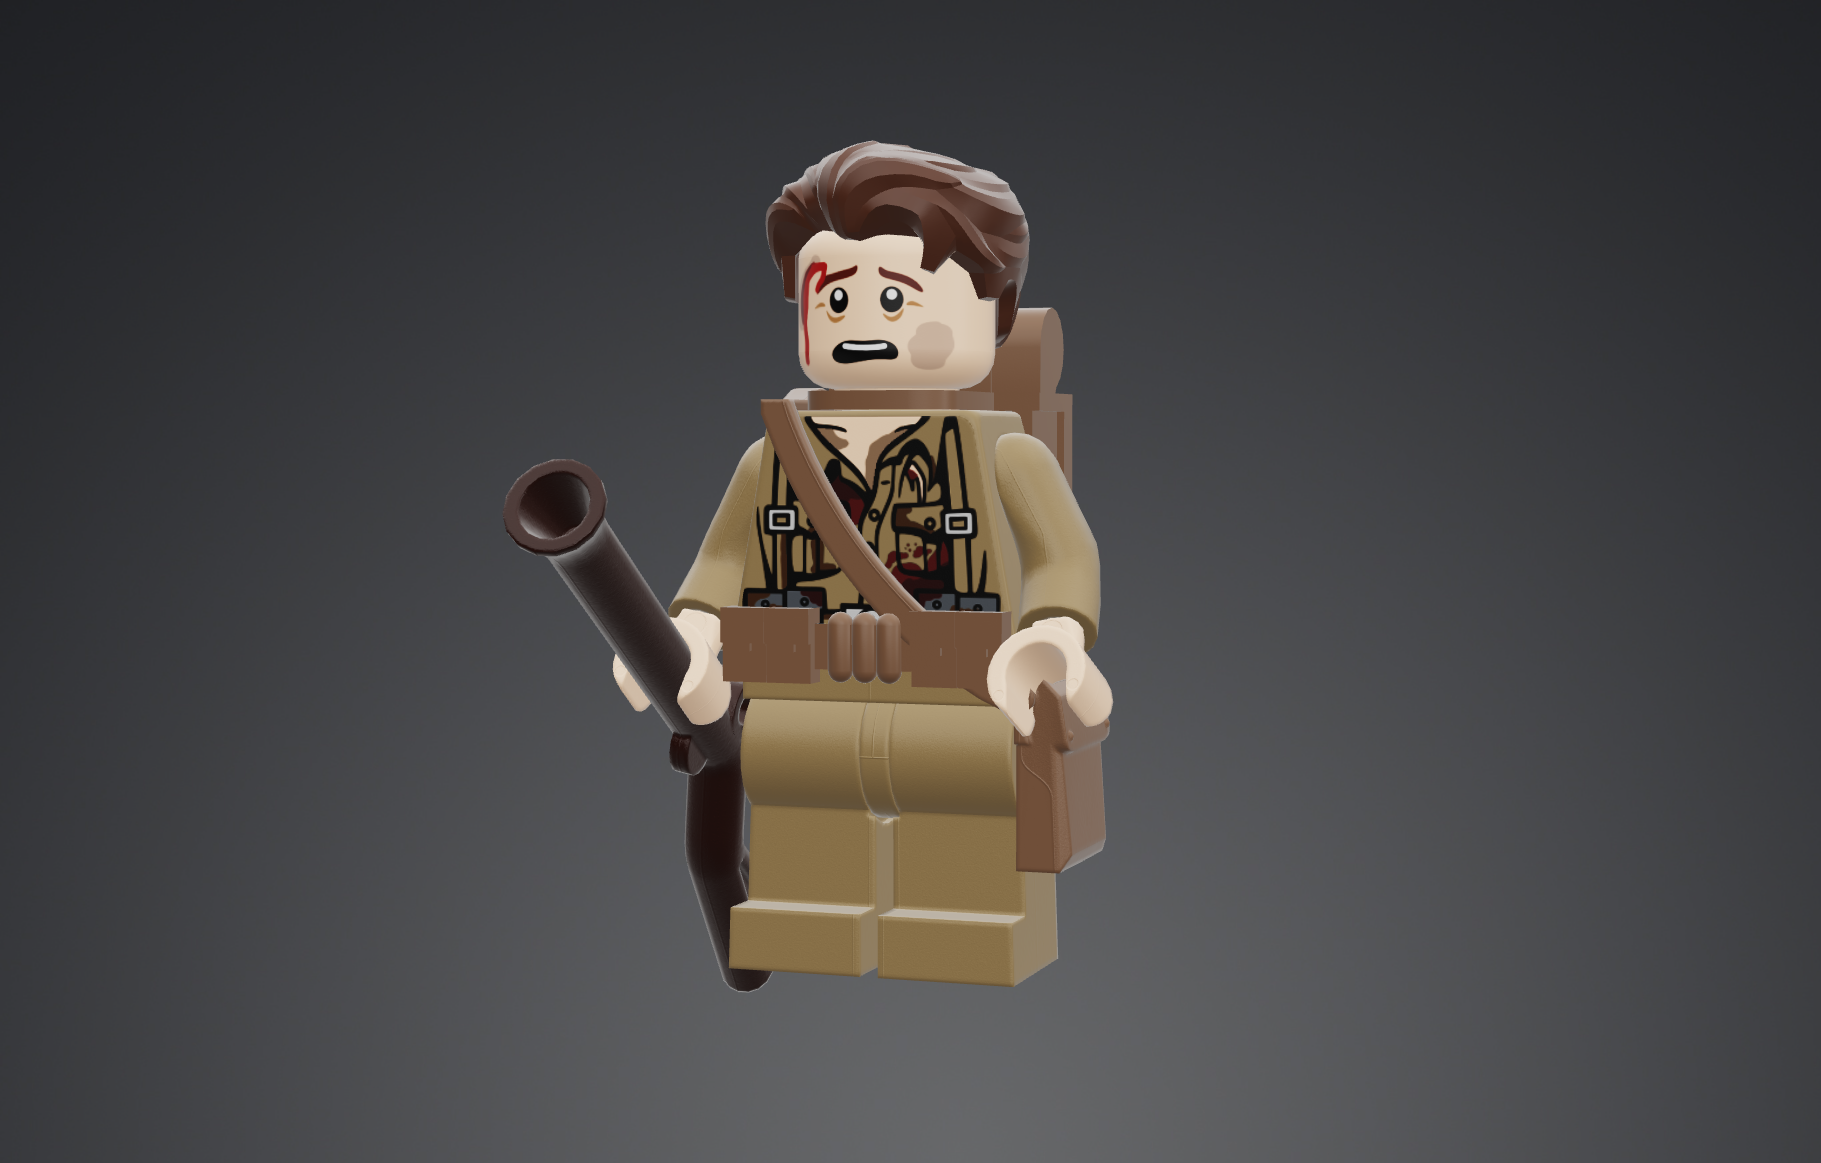
That is the ultimate minifigure I designed of Lance Corporal Schofield.
SCENE
I imported the customized minifigure into Blender and positioned it in a method that finest complemented the scene. Then, I created a digicam with the Arri Mini LF sensor preset, the identical digicam that was used within the film.
Subsequent, I imported a Quixel Megascans grass asset that I bought, particularly Tundra Grass, and scattered it utilizing the superb addon Gscatter from the Graswald Crew.

I adjusted the Gscatter preferences to realize the perfect outcomes after which moved on to lighting.
LIGHTING
The lighting setup was fairly easy. I used an HDRi from Polyhaven, particularly Belfast Open Discipline.
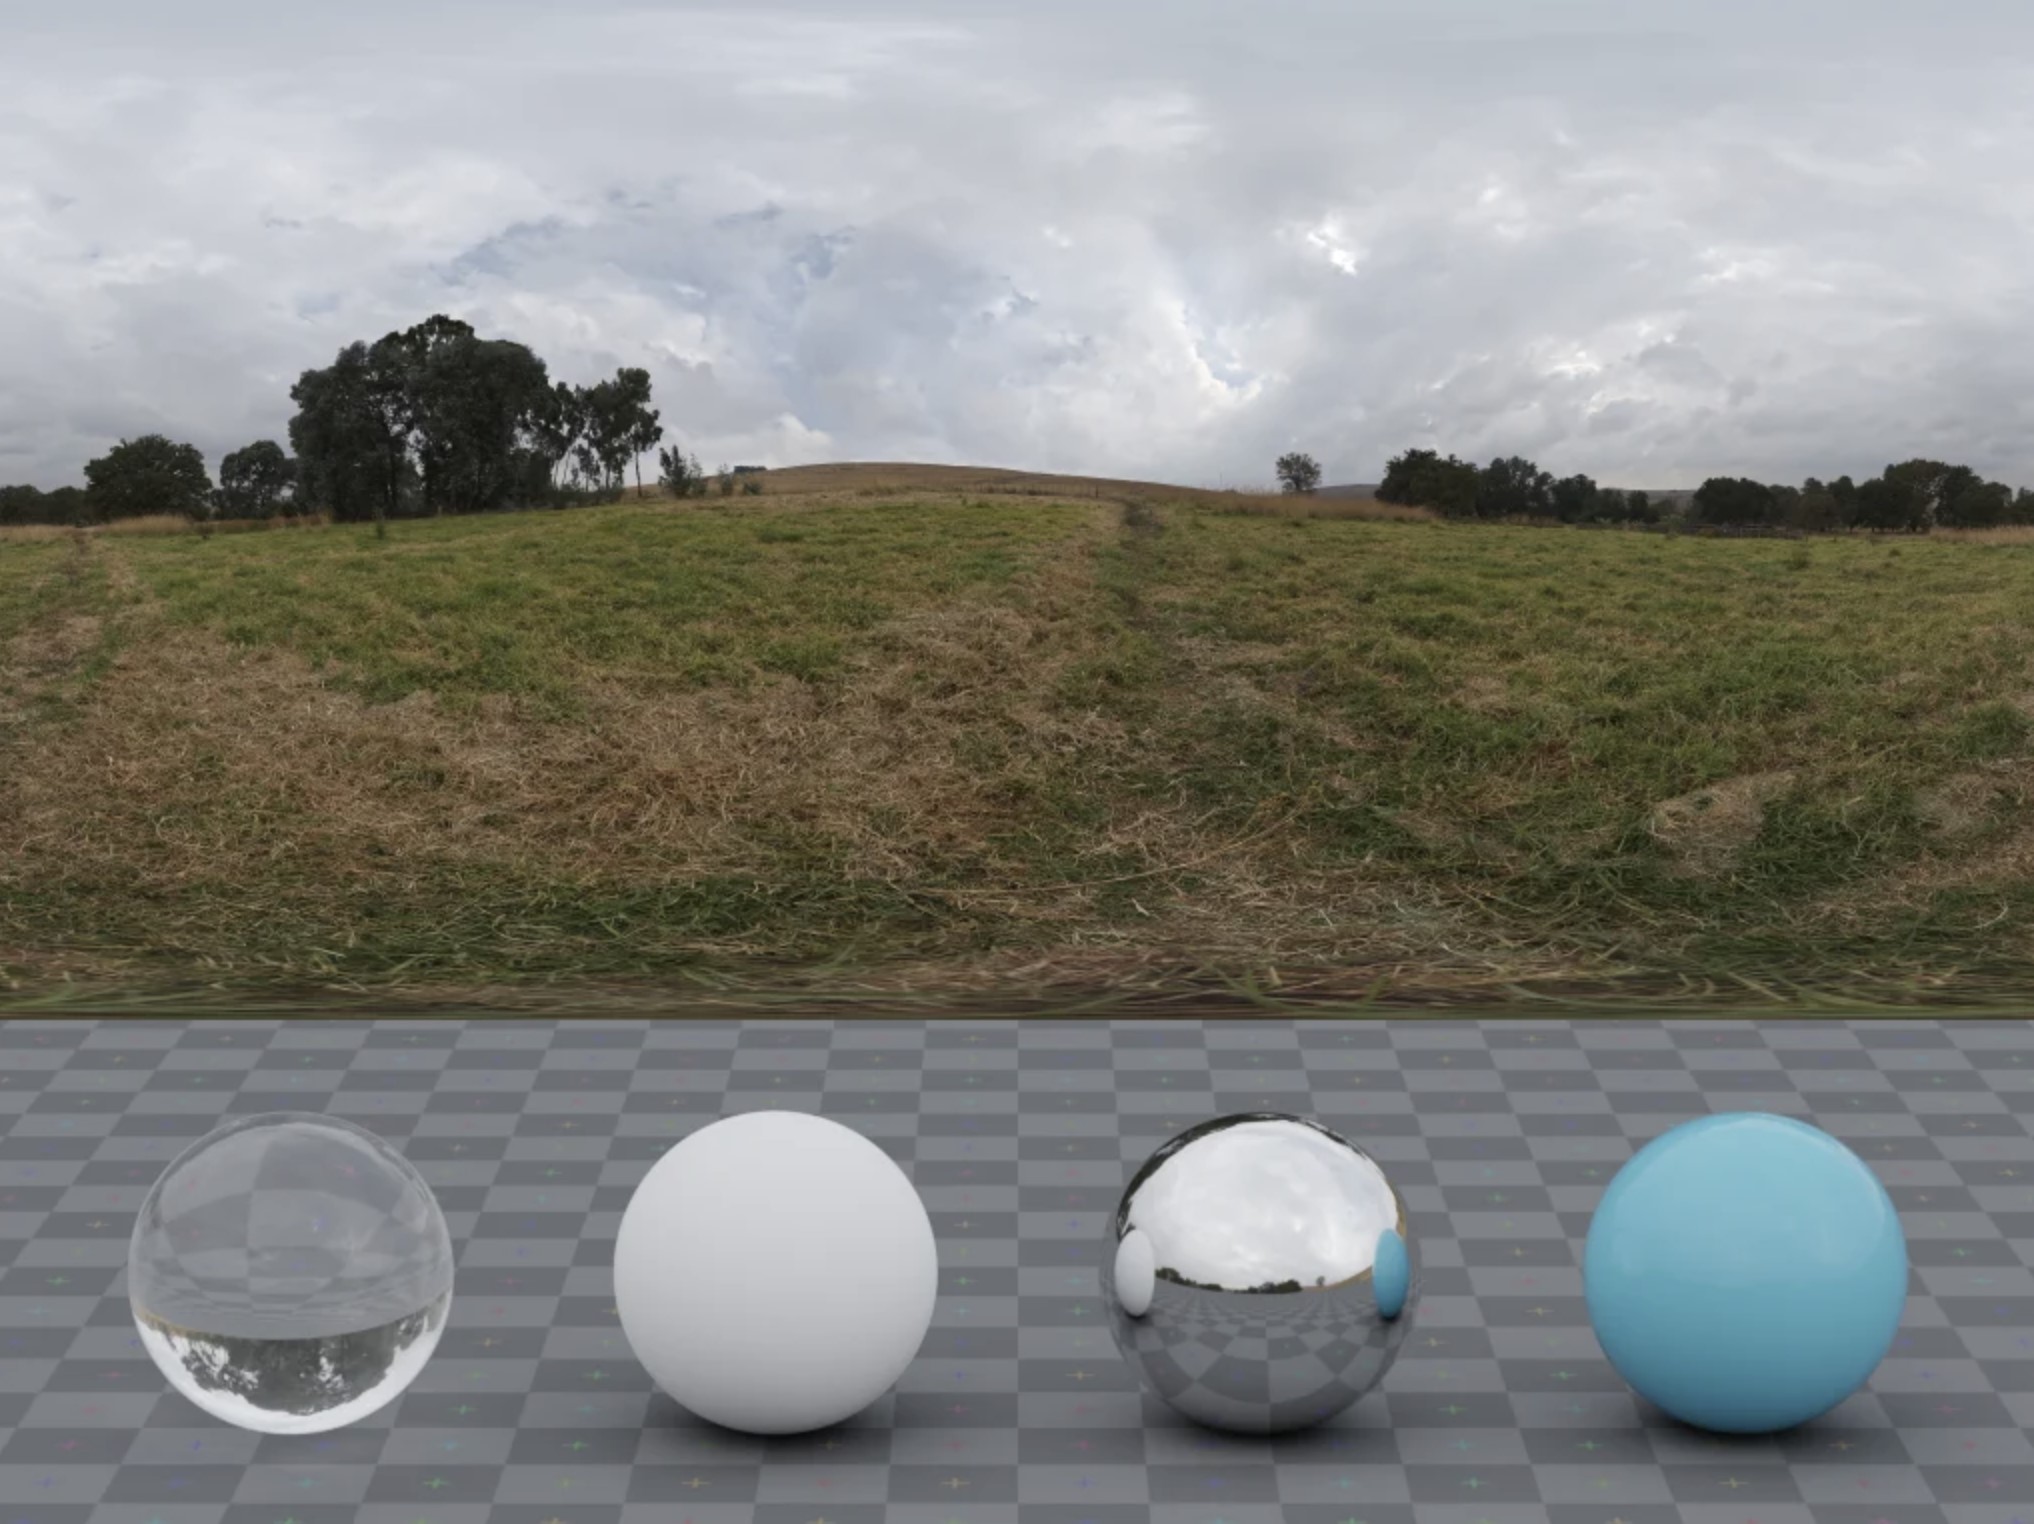
The lighting carefully matched the film:
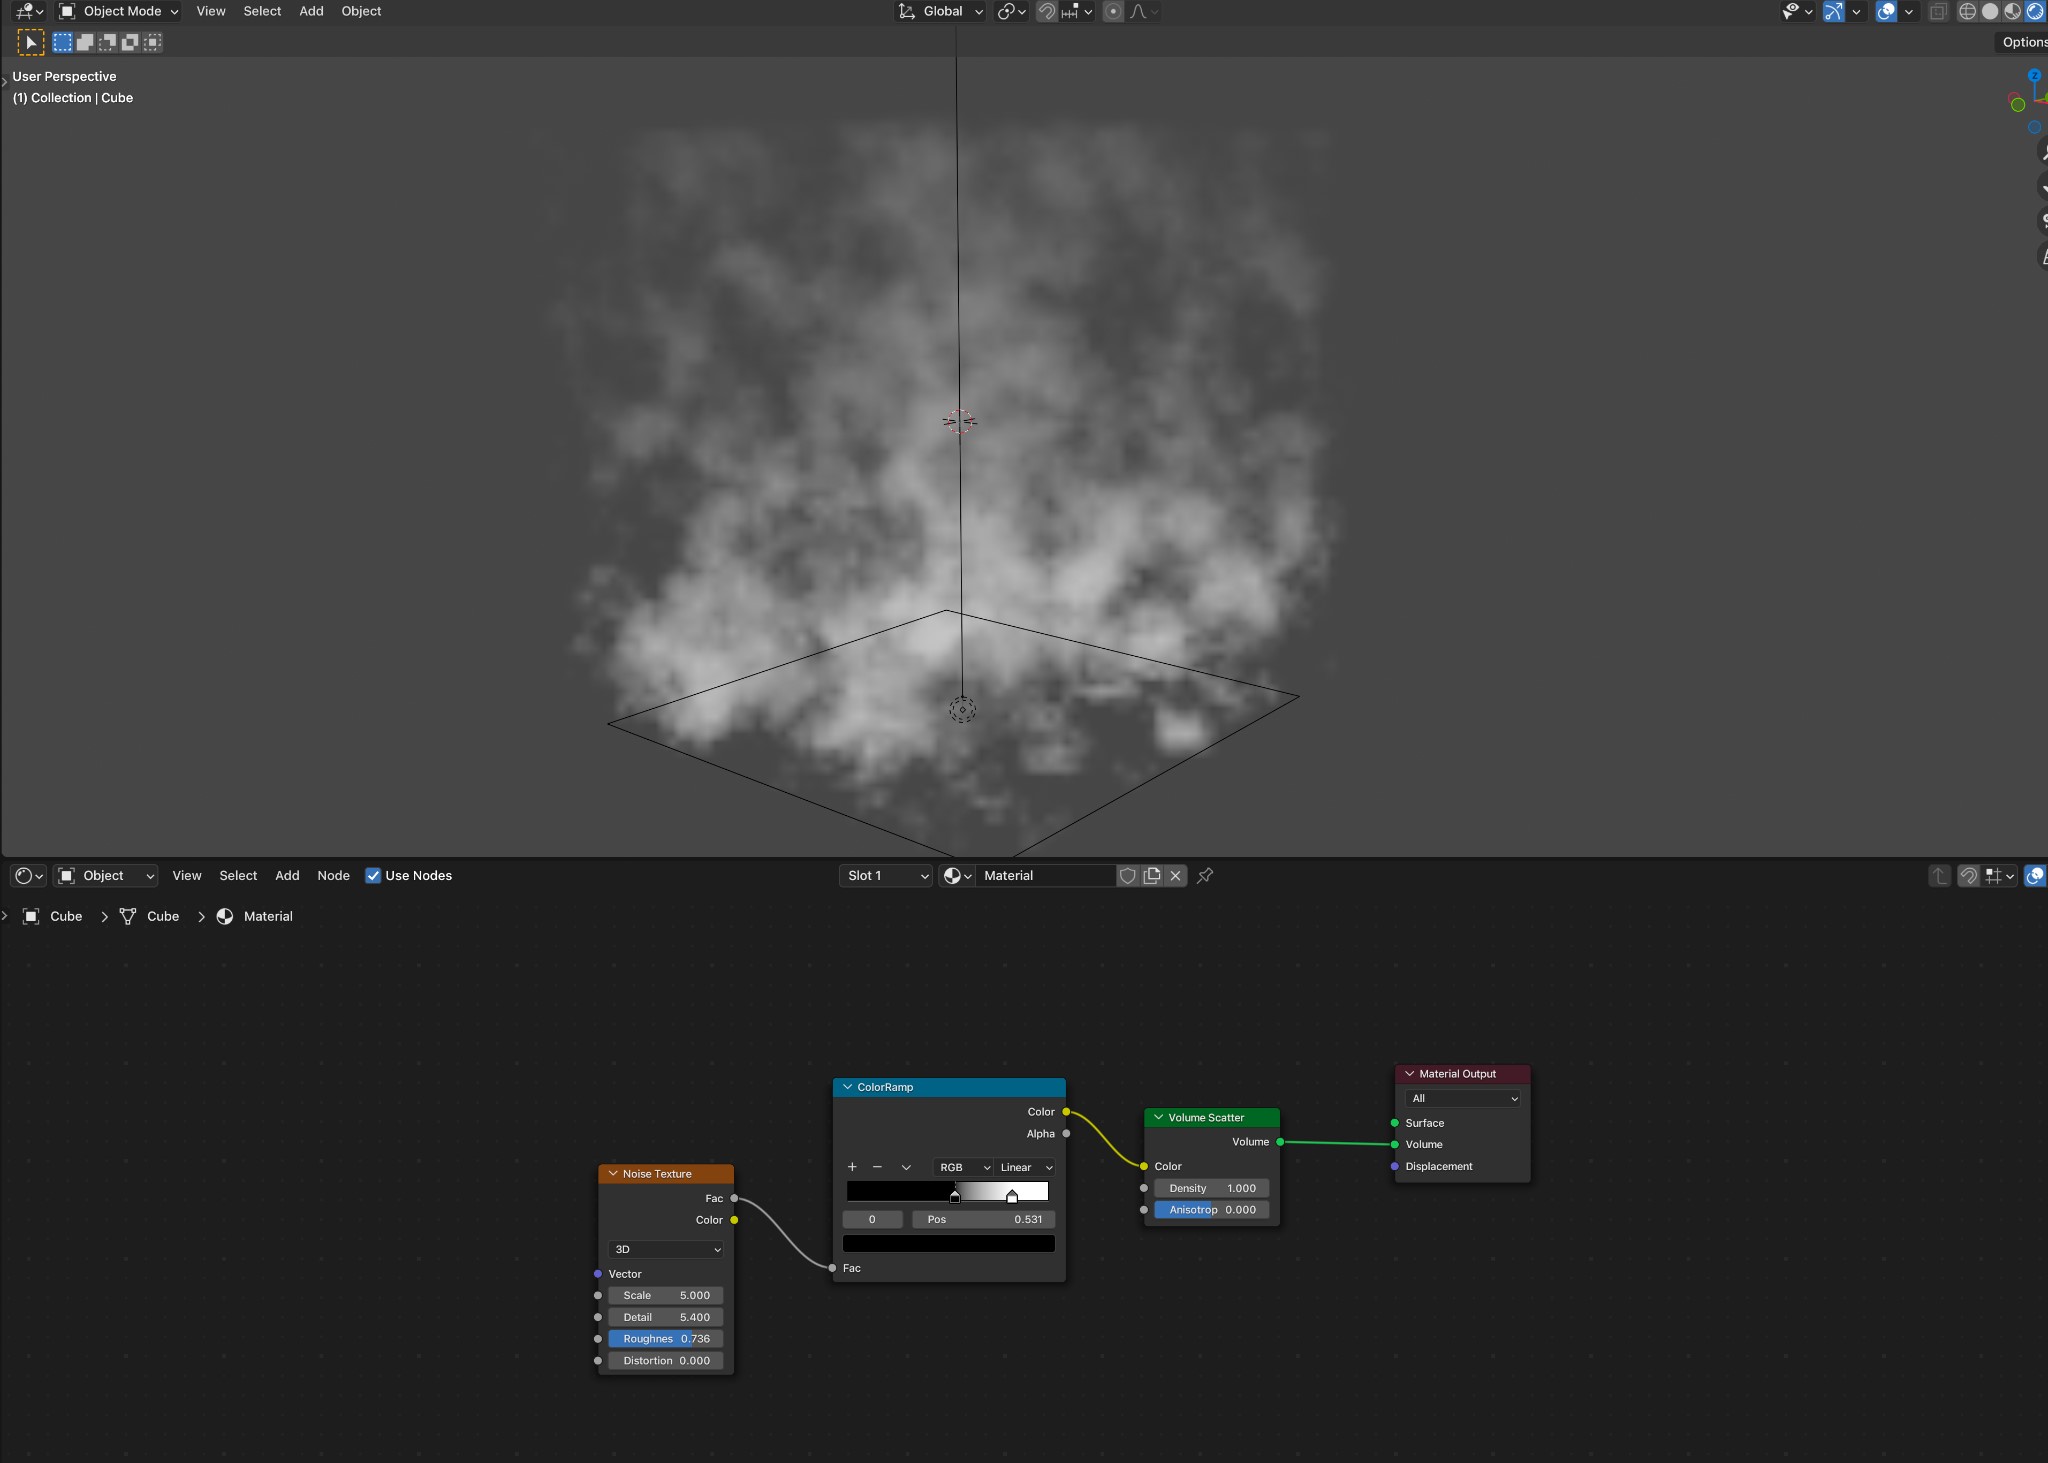
To copy the fog/mist/smoke in my reference picture (above), I added a customized smoke volumetric utilizing this node setup:
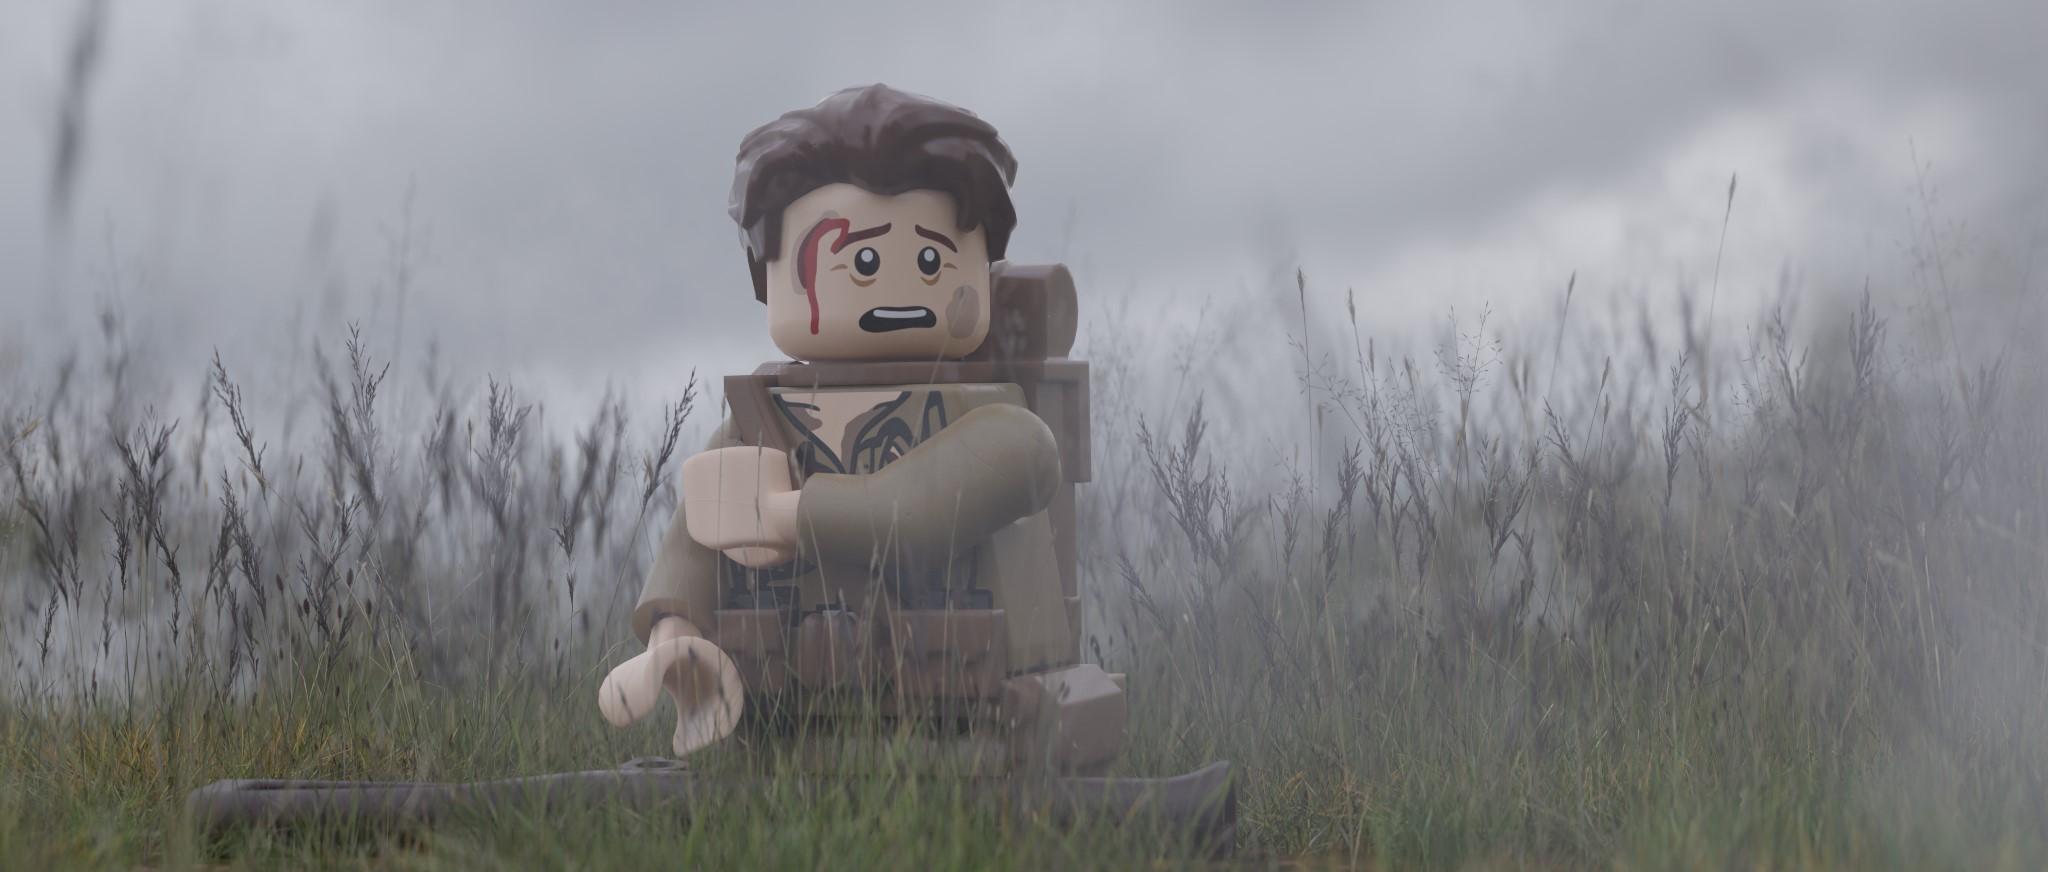
Lastly, I rendered the ultimate picture utilizing my GPU at 500 samples and a decision of three.5K.
POST-PROCESS
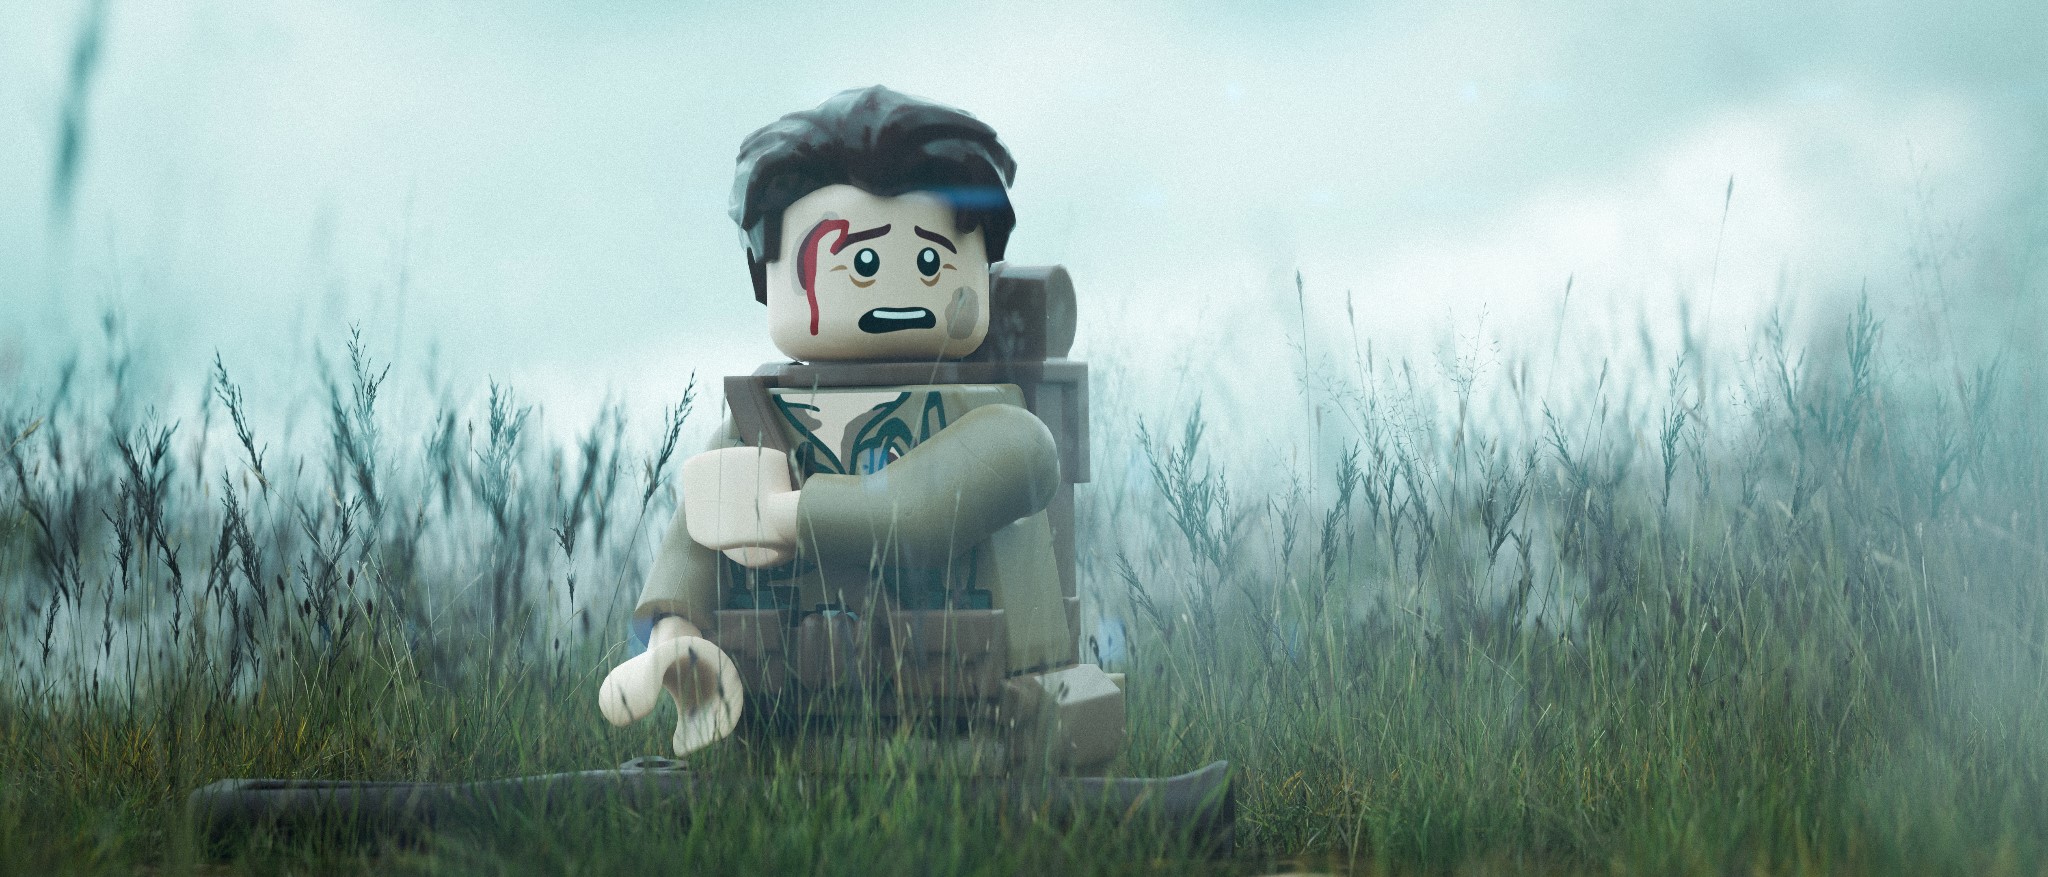
The picture straight out of Blender was “meh”, so I imported it into Adobe Lightroom for shade grading, attempting to match it as carefully as doable to the reference:
Ultimately, I used to be undoubtedly happy with the consequence!
RENDER – Lego “1917”
So, that is how I made it, and I am unable to wait to make extra!
Thanks for studying my article, I hope you loved it and discovered one thing helpful. Have an excellent day!
In regards to the Artist
Andrew Herman, a 17-year-old self-taught 3D artist from the US. At present, he spends his free time rendering “QUILLERS” (QUIck Little LEGO RenderS) in Blender.