
Adjustment layer Premiere options allow you to make constant edits – shortly. A Premiere Professional adjustment layer helps you to add edits, corrections, and results to a number of clips on the identical time. Basically, it sits on prime of clips in your timeline and applies edits to all of these clips. It’s simple to think about how helpful that is to streamline the modifying course of.
On this tutorial, you’ll study how you can add an adjustment layer in Premiere Professional. Fortuitously, it’s a simple and fast course of. Keep in mind, the purpose right here is admittedly to work extra effectively. You’ll discover that while you add adjustment layers in Premiere, you may just do that.
Add adjustment layers in Premiere to benefit from the next:
- Environment friendly workflow. Adjustment layers provide the flexibility to use edits to a number of clips without delay. These layers allow you to edit in bulk, quick.
- Non-destructive adjustments. Need to take away or reverse edits? By altering (or eradicating) your adjustment layer, your whole clips will return to their authentic state.
- Versatility. Adjustment layers are stackable. Which means you possibly can add a number of at one time, one over the opposite. This helps you dial in customized results with nice affect.
Let’s get began! In a couple of steps, you’ll learn to make an adjustment layer in Premiere for your whole challenge wants.
How you can Add an Adjustment Layer in Premiere Professional (Step by Step)
Let’s learn to add adjustment layer Premiere Professional results with ease. It’s a easy course of that you just’re certain to search out your self utilizing time and again. Certainly, it’s the easiest way to make edits to a number of clips without delay. It’s certainly one of my favourite Premiere Professional ideas for that purpose alone.
In our tutorial, we’ll be working with three items of inventory footage. All are from Envato Components. There, you possibly can obtain as many inventory movies as you need for one flat month-to-month fee. You’ll find hyperlinks to them right here, right here, and right here. Obtain them at present if you wish to comply with alongside.
1. Add an Adjustment Layer to Your Undertaking
With Premiere Professional open, let’s get oriented on the interface. As you possibly can see within the screenshot beneath, I’ve three clips positioned on my Timeline. They’re again to again to again, which means they’ll play seamlessly in sequence.


What I’d love to do is apply some edits to all three clips without delay. And a Premiere Professional adjustment layer is the right strategy to do precisely that. For instance, I need to select a brand new vibrant shade grade and use it throughout my challenge.
Adjustment layers work for any impact edit which you could make in Premiere. However one of the vital well-liked methods so as to add adjustment layers in Premiere Professional is for colours.
So as to add an adjustment layer, navigate to the Undertaking panel in Premiere Professional. You’ll discover it within the left part of your display screen. On the very backside, you’ll see a row of small icons. Considered one of them is labeled New Merchandise, and it kicks off the Premiere Professional add adjustment layer steps.


If you click on New Merchandise, a listing of choices will seem proper above the icon. From it, go forward and select Adjustment Layer. You’ll see a menu, confirming the decision choices to your layer.
In nearly each case, the default choices are the best way to go. Click on OK. It will add an adjustment layer to your challenge. It’s that simple!
2. Customise the Adjustment Layer Results
Your Premiere Professional adjustment layer is now created. You’ll see it within the Undertaking panel, proper above the opposite content material listed there. The subsequent step is so as to add the layer to your challenge clips. To do this, click on and maintain on Adjustment Layer.
Then, drag it onto your timeline. Place it immediately above the primary clip in your sequence. And at last, transfer the Playhead over the adjustment layer. By default, the adjustment layer probably received’t cowl each clip you may have in place. That’s no drawback – we’ll make that change quickly.
Now, let’s get to work making edits with these Premiere Professional add adjustment layer steps. To start out, go forward and click on on the adjustment layer in your timeline. You’ll see it chosen with a lightweight border round it.
Then, go forward and launch the modifying panels that you just need to work with. Once more, a typical use right here is shade. With that in thoughts, let’s launch the Coloration workspace by clicking on the Coloration tab.


On the precise facet of your Premiere Professional display screen, you’ll see the Lumetri Coloration sidebar launch. When you add adjustment layer Premiere results, that is an incredible strategy to deliver them to life.
On the toolbar, you possibly can apply an array of shade grading results and edits. For instance, you can also make fast edits to the temperature, tint, and saturation. Equally, we are able to edit the sunshine and the way it exhibits within the clips. You may alter highlights, contrasts, exposures, and extra.


The modifying course of right here can take many varieties, and so they’re past the scope of this tutorial. However, they’re the right follow-up to studying how you can add adjustment layers in Premiere Professional. When you’re curious about a full information to paint grading in Premiere Professional, take a look at our full tutorial:
Within the meantime, you can also make changes right here, and watch them preview in actual time on the primary clip in our sequence. Keep in mind, we’re not truly modifying the clip itself. As a substitute, we’re constructing the adjustment layer.
It applies to any clip that lies beneath it. However the clips themselves stay bodily unchanged. Consider an adjustment layer as a lens that each one clips are filtered by way of.
Right here, your creativity is admittedly the one limiting issue. Discover completely different edits and see how they appear. However when put to good use, adjustment layer Premiere designs allow you to quickly apply vibrant and constant edits throughout your whole challenge.
3. Apply to the Full Vary of Clips
We’re nearly accomplished studying how you can make an adjustment layer in Premiere. The final step within the course of right here is to use your Premiere Professional adjustment layer to the total vary of clips in your sequence. That is very simple to do. It’s how you can add an adjustment layer in Premiere Professional to your whole clips without delay.
Navigate to the Timeline in your Premiere Professional display screen. With the Choice Instrument activated, click on and drag the precise facet of the adjustment layer excessive of the clips on the observe beneath.
Increase! It will apply the edits you’ve made within the adjustment layer to all the clips in your challenge. Premiere Professional adjustment layers offer you consistency with much less work than ever earlier than.
You simply realized how you can make an adjustment layer in Premiere in moments. As you possibly can see, it’s a easy course of that may prevent hours of labor over time.
5 High Premiere Professional Design Ideas and Tips (For 2023 and Past)
You now know how you can add adjustment layer Premiere Professional results shortly and simply. However to succeed and craft your personal superb movies, it pays to study extra. Under, we’ve collected 5 fast design ideas to assist your Premiere Professional tasks look their greatest:
1. Embrace Dynamic Textual content Results
If you work with video in Premiere Professional, it’s simple to overlook a key reality. What’s that? Textual content is a key a part of a profitable video! Consider titles, captions, and extra. These add useful context and hold your viewers targeted.

Caption: The Textual content Opener for Premiere Professional animates textual content in gorgeous types.
By utilizing dynamic textual content results with animations and funky overlays, your movies will shine. Premiere Professional has an array of textual content instruments inbuilt. Verify them out to make sure that your movies look their best possible.
2. Create Smaller, Shareable Movies
The perfect movies are ineffective with out an viewers. So, how will you make certain you’re capable of share with the world? For one, it’s vitally helpful to chop down the file dimension of your tasks. This allows you to share them extra extensively and add to well-liked sharing platforms.
This works completely with what you realized about how you can make an adjustment layer in Premiere. We’ve collected a couple of concepts on how you can do precisely that. Learn the total tutorial right here to study extra. Quickly, you’ll be sharing with a broader viewers:
3. Use Transitions for Dramatic Adjustments
If you transfer from scene to scene, it pays to discover a strategy to make the movement smoother. Merely leaping from one clip to a different can appear uneven and distract your viewers. That’s the place transitions are available.
Keep in mind – you simply realized how you can make an adjustment layer in Premiere for consistency. You need to mix this with transition results between scenes. That provides your manufacturing a cohesive really feel.

Caption: Premium from Envato Components, these Grunge Transitions allow glossy adjustments from scene to scene.
In 2023 and past, you’ll want to use highly effective transition results in your movies. They hold the motion clean, and so they assist your viewers keep engaged with you. Use them everytime you’re transferring from scene to scene in Premiere Professional to ship a extra dramatic look.
4. Be Inventive with Audio and Music
Sounds really from the backdrop of any profitable video. Thus, it’s important to combine and edit them in order that they sound nice. Mixing audio with results is straightforward, and it helps you keep in steadiness.
Need to study extra about audio in Premiere Professional? We’ve a full tutorial only for you, and you may learn it right here:
5. Construct Designs for Social Media
Movies are supposed to be shared. And more and more, which means posting them on social media. However consider the most well-liked social media apps. Many of those absolutely embrace short-form content material, vertical movies, and extra.
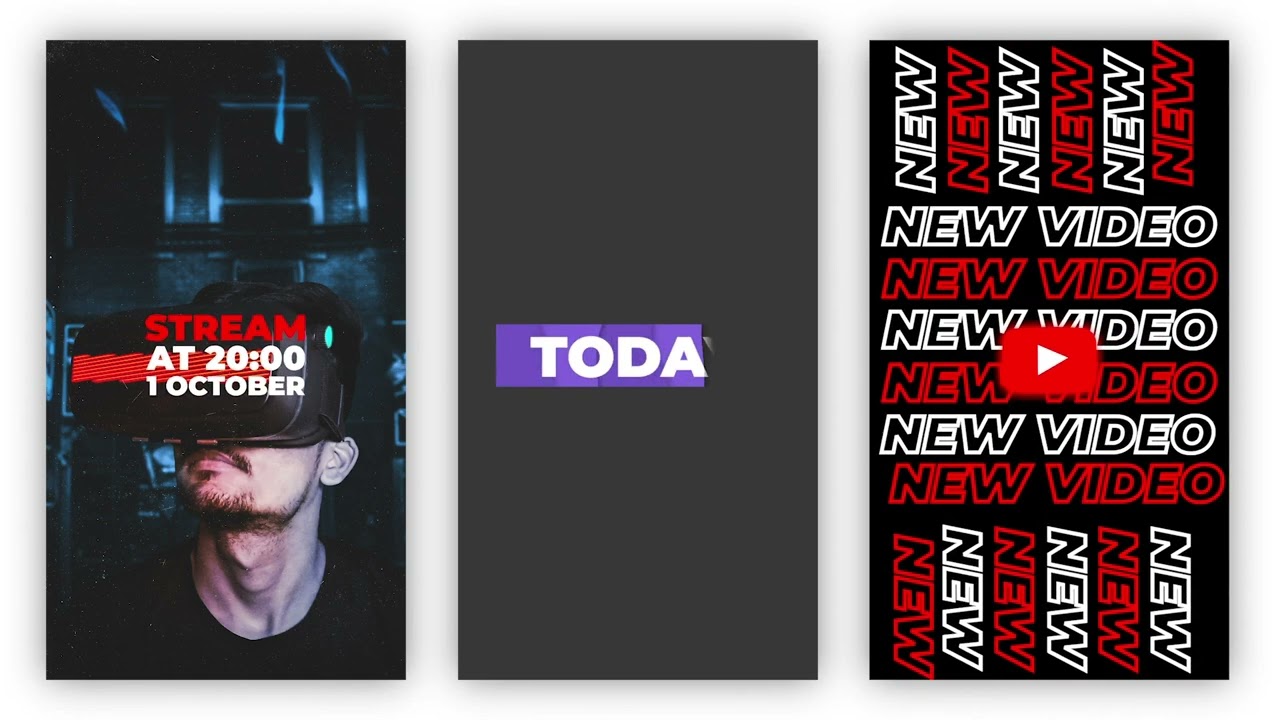
Caption: These Premiere Professional templates are optimized for Instagram tales.
That’s the place Premiere Professional templates with a social focus are available. These designs are optimized for social media sharing. Contemplate them an important a part of your 2023 modifying toolbox in Premiere Professional.
The High Supply for Beautiful Premiere Professional Video Templates (With Limitless Downloads)
Envato Components is the final word supply for the perfect Adobe Premiere Professional video templates. With 1000’s of designs to select from, yow will discover prime choices for your whole challenge wants.


The Components provide is unbeatable: limitless downloads. For a flat month-to-month fee, you possibly can obtain and use as many premium Adobe Premiere Professional templates as you need! And that’s just the start.
Additionally included with Components are inventory movies, music, fonts, graphic templates, and a lot extra. The total library numbers 14 million digital property and counting.


If you select premium Premiere Professional templates from Envato Components, you’ll expertise the perfect in design and high quality. Obtain one at present and revel in:
- Modern, cinematic options. Movies constructed with Envato Components templates look proper at house on the films. No fundamental, easy results might be discovered right here! As a substitute, you’ll get pleasure from studio-grade designs that work nice for tasks with even the most important audiences.
- Simple-to-use layouts. Premiere Professional premium layouts from Components are crafted with you in thoughts. You received’t must battle by way of complicated designs or complicated options. These templates are intuitive. And lots of include useful help choices as nicely, like written guides or video tutorials.
- Inventive designs. Looking for design inspiration? You’ve discovered it, because of premium Envato Components templates. Designs listed below are sturdy and inventive, serving to you share your content material in new and inventive methods.
The selection is easy. Envato Components is totally the perfect worth for creatives at present. Be part of now and begin exploring the huge library of digital property. You’ll be glad you probably did!
Now You Know to Make an Adjustment Layer in Premiere Professional
Immediately, you realized how you can make an adjustment layer in Premiere Professional. This is likely one of the best methods to edit extra effectively. That’s as a result of you possibly can apply similar results and edits to a number of clips on the identical time! Gone are the times when you must repeat changes again and again.
So, why wait? Take your new adjustment layer for Premiere abilities and put them to make use of at present. Studying how you can add an adjustment layer in Premiere Professional saves you time and frees you as much as create extra nice movies.