
On this quick-tip video tutorial, we’re going to take a look at one of the simplest ways to scale back aliasing points that usually happen on motion digicam footage. To do that, we’re going to be working in After Results, utilizing a free plugin referred to as FXAA.
Aliasing is a distortion artifact that may happen on any footage, however this can be very widespread on footage from motion cameras, drones, and cell telephones.
Aliasing makes edges seem jagged or “stair-stepped” relatively than clean. That is attributable to a phenomenon generally known as “sampling error,” which happens when the digicam’s sensor is just not capable of seize sufficient element to precisely symbolize the picture. This is sensible as a result of motion cameras usually have tiny digicam sensors, as a consequence of their small dimension.
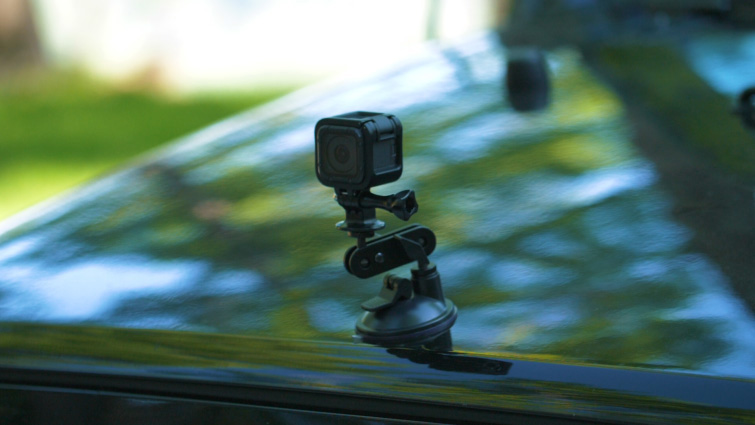
Why Is This an Concern with Motion Cameras?
Moreover motion cameras having small sensors, they may normally have actually excessive video sharpening turned on by default. And, in some instances, you may additionally not have the ability to flip the over sharpening off, or cut back it as a lot as you want.
One other widespread drawback with motion digicam footage is compression artifacts, which might make aliasing look even worse.
Utilizing Gaussian Blur to Repair Aliasing (The Previous Methodology)
Beforehand, the one strategy to cut back aliasing on motion digicam footage in submit, can be to use a refined blur to all the shot. Nevertheless, the disadvantage to this technique is that it’ll cut back some particulars that aren’t aliasing that we’d wish to maintain.
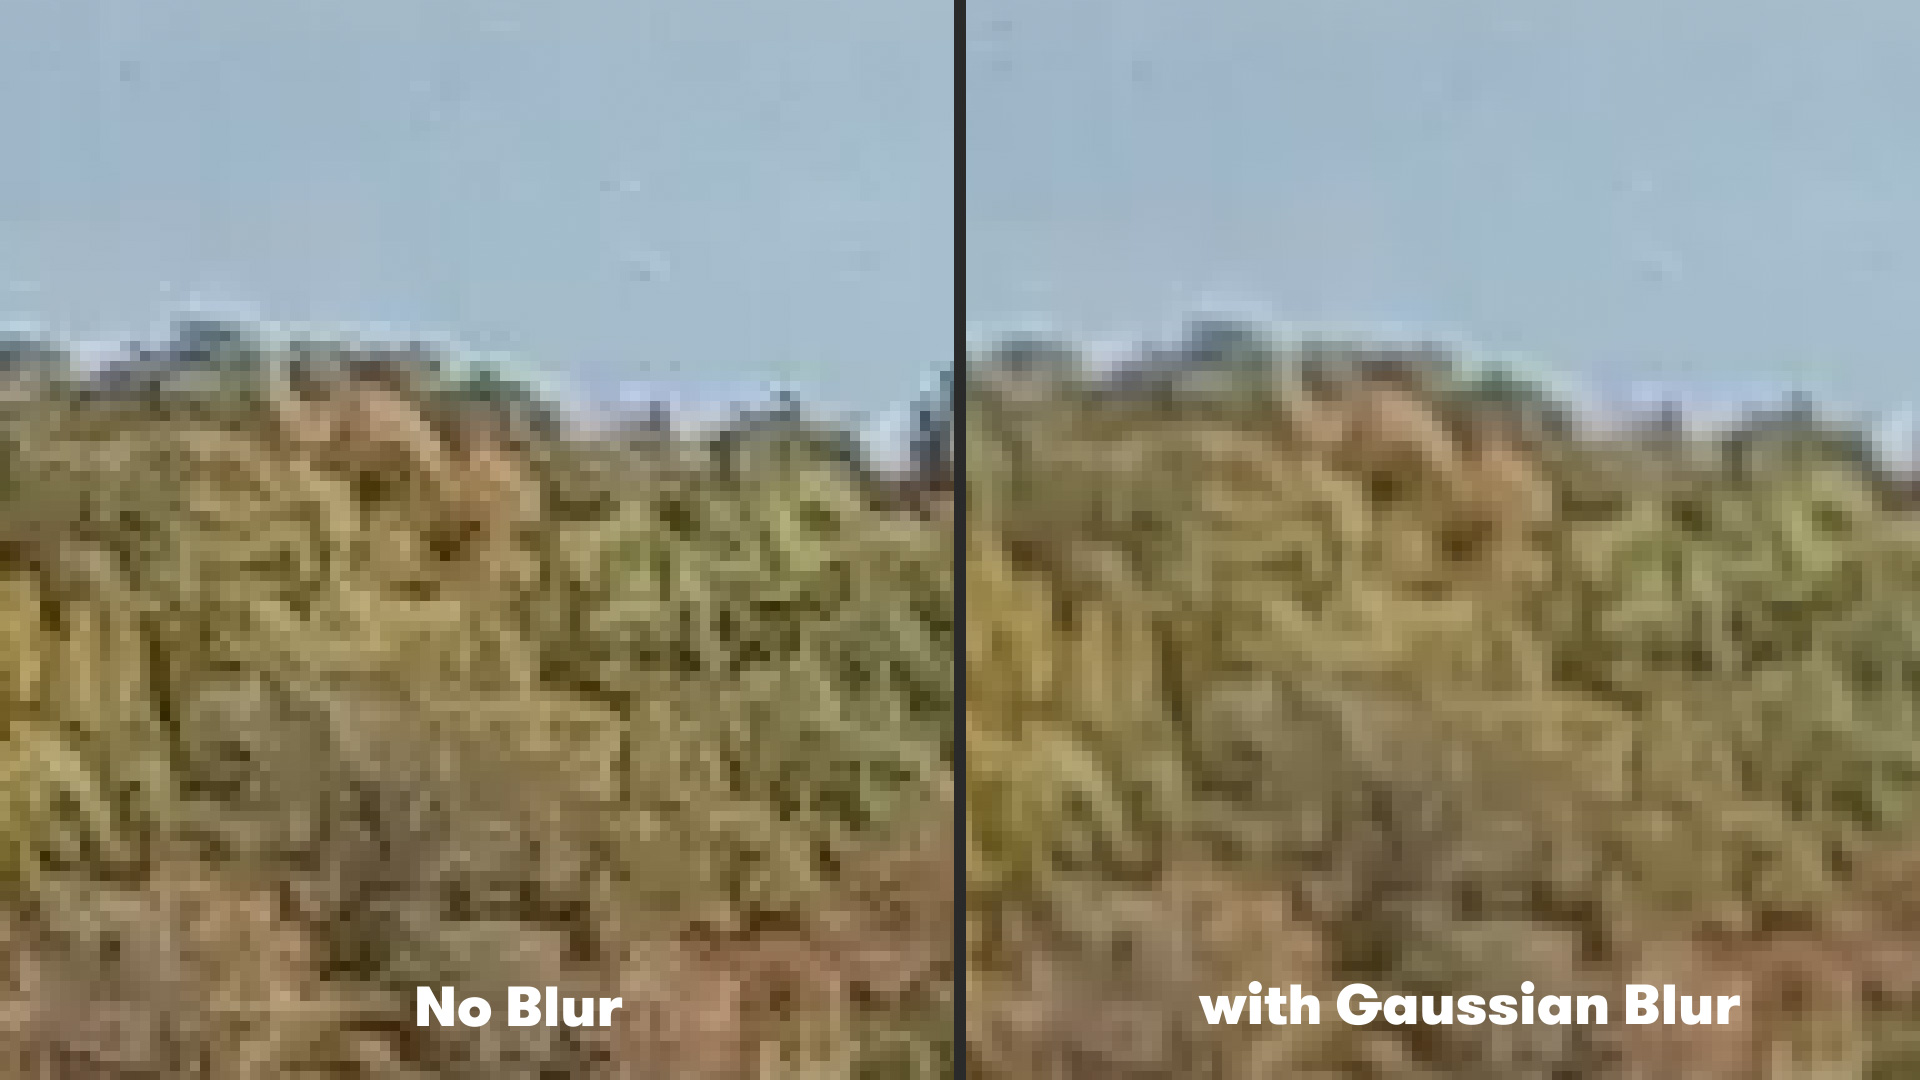
To do this technique, merely choose your footage and navigate to Impact>Blur & Sharpen>Gaussian Blur. Then set the Blurriness quantity to 2. This can apply a refined blur to all the shot that can cut back undesirable aliasing flickering.
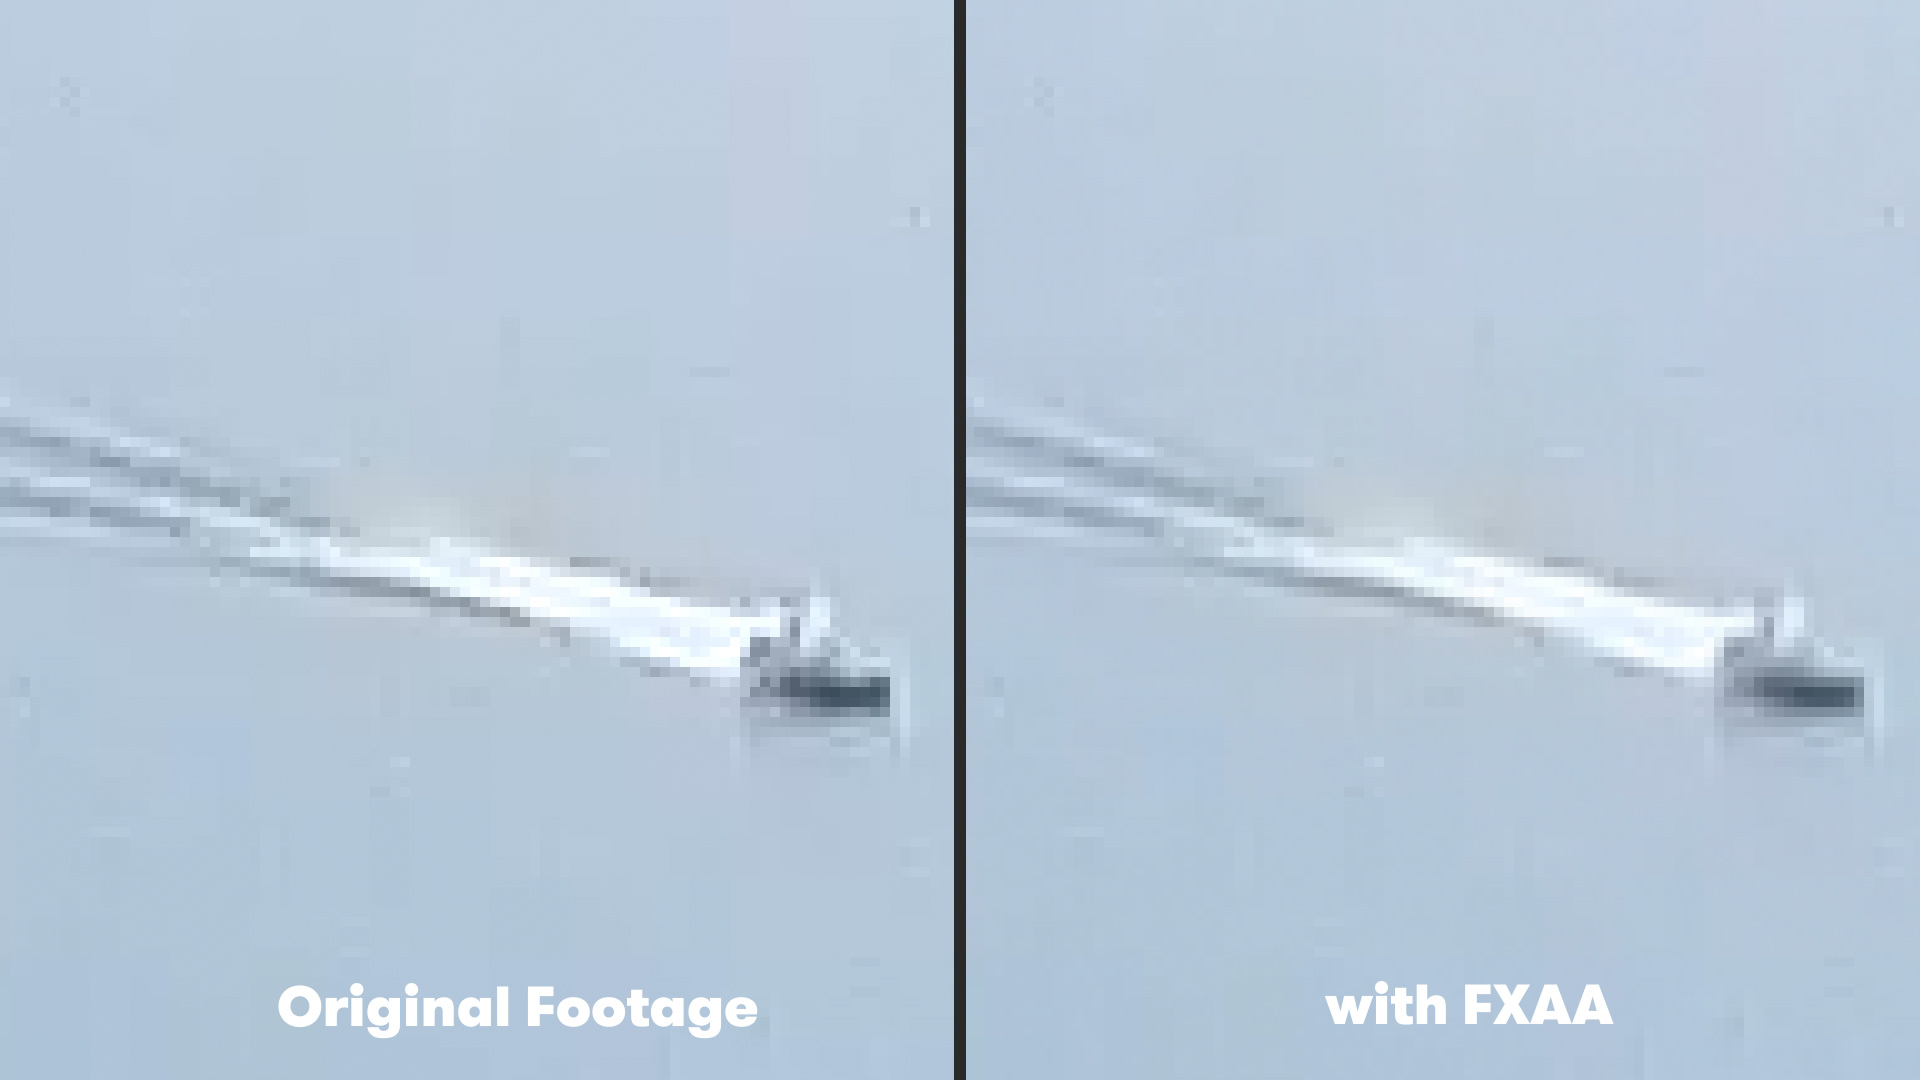
Utilizing the FXAA Plugin
FXAA is a free anti-aliasing plugin from Plugin All the pieces. The plugin seems in any respect the pixels in your footage and makes use of an edge detection algorithm, which then applies a blur that smooths out the jagged edges.
Due to this, FXAA renders actually quick, making it nice to be used on motion digicam footage.
Utilizing the plugin in your footage is extremely easy. Simply choose your footage within the composition, then navigate to Impact>Plugin All the pieces>FXAA. That’s it!
It is best to see some lowered aliasing in your motion digicam footage. It’s also possible to apply a number of cases of FXAA to your footage to stack the impact, lowering the aliasing artifacts much more!
Are you searching for extra methods you possibly can enhance your motion digicam footage? Take a look at our tutorial on Stabilizing GoPro Footage with the ReelSteady GO App!
within the royalty-free tracks we used to make this video? Give them one other hear:
License this cowl picture by way of Denis Kornilov.