JPEG artifacts elimination AI software in Photoshop actually offers us nice outcomes with only one click on. It offers our low-resolution picture a fast enhancement of decision, which is nice. That in any other case would require numerous time on our half to attain the identical outcomes.
Using JPEG artifacts elimination filter in Photoshop is to easy making our photos look sharper and eliminating any artifacts brought on by the compression course of. Which results in an general higher picture high quality.
Because the title advised is for JPEG picture format, does this imply that we are able to’t use it for different picture codecs resembling PNG!
The reply isn’t any. We will use this nice AI filter that Photoshop has to supply in nearly any picture format. My guess is that Adobe gave that title (JPEG), since it’s recognized that each time we save a JPEG picture format, every time it’s dropping some high quality. JPEG artifacts elimination filter comes to revive that misplaced high quality.
Utilizing JPEG artifacts elimination filter in Photoshop:
The method of utilizing this AI filter is de facto easy.
1 Step:
Open up your low-quality picture in Photoshop.
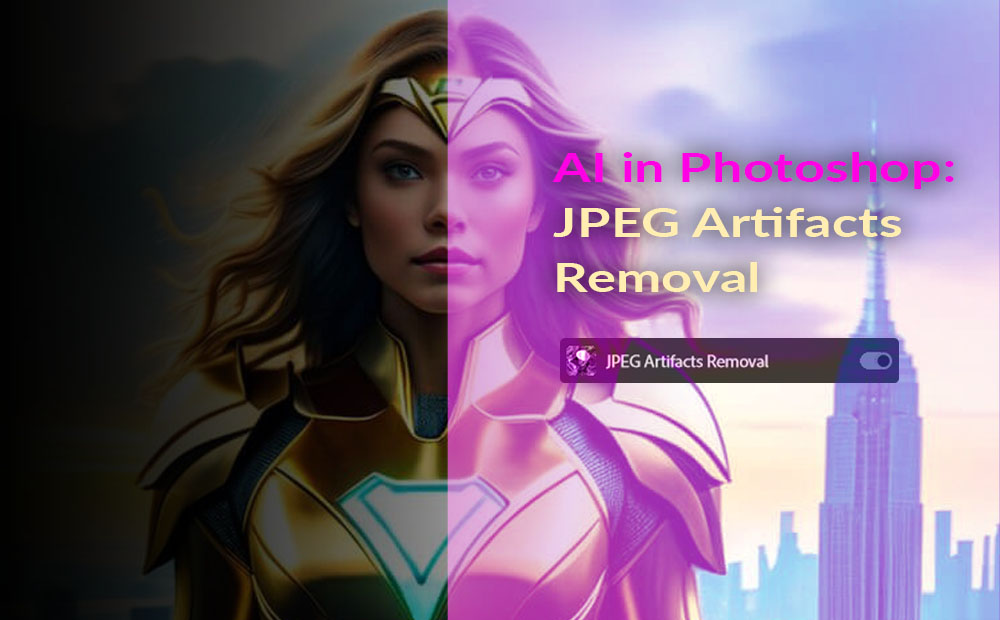
I’ve simply downloaded this superior superhero woman image from the net in low high quality on function.

There are clearly some artifacts throughout this image.
2 Step:
Go to Filter – Neural Filters – JPEG AArtifacts Elimination.
If this filter is grey, you must obtain it first. Simply click on on the little cloud icon subsequent to it.
3 Step:
After you obtain it, let’s activate it, simply with one click on (as I promise). So click on on the small on-off bar subsequent to it.
4 Step:
This AI filter doesn’t have a lot of choices to play with. There is just one. The energy of the impact. I set mine to Excessive, for stronger impact. Instantly after we turned it on, the impact has taken impact.
We will flip on-off the visibility of our new results, so we are able to clearly see the end result by the small icon beneath:

5 Step:
Now if we’re proud of our end result, of lowering the artifacts on our picture, it’s time to use the impact to our picture.
To take action, we’ve got to specify the output.
I prefer to set the output to “New layer masked”. In that means, I’ve extra flexibility and management over the utilized impact with masking if I resolve to make some changes in a while.
I hope you discover it helpful and reap the benefits of it.