I’m sorry I couldn’t do a progress report like different contributors as a result of I used to be actually busy this month. Here’s a breakdown of my submission and the technical bits I’ve learnt when creating this impact.
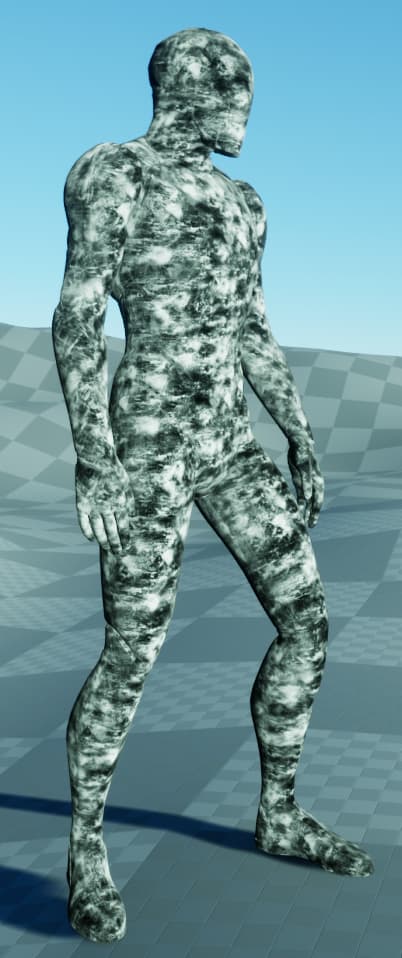
My thought of this frozen sketch is to cowl the skeletal mesh in snow and ice crystals, as an alternative of remodeling the character into an entire icicle or snowman, so my key phrases when searching for reference photographs on Google had been “frozen meat” and “cowl in snow”.
The composition is a frosty materials which takes benefit of UE 5.1’s overlay materials (despite the fact that the same factor has already existed in Unity for greater than a decade) and a Niagara particle system which emits snowflake and icy vapor particles from the skeletal mesh.
For the frost overlay materials, it’s translucent lit with volumetric directional mild mode. The primary half is the “glitter” which sparkles every time the gap between the digital camera and pixel world place adjustments.

Then a frost texture with triplanar mapping for opacity and world place offset.
As a result of this materials is used for a skeletal mesh, the native place worth for the feel UV have to be pre-skinned, however pre-skinned knowledge is within the vertex shader. This sadly signifies that the identical triplanar mapping needs to be executed twice for opacity with pixel shader interpolation and WPO with out interpolation respectively.
Anyway WPO is for faking the amount of snow accumulating on the character. I attempted to spawn mesh particles across the character, nevertheless it seems horrendous and I don’t wish to present how unhealthy it obtained.
On to the Niagara System.
The “snowflake” mesh is a quite simple hexagram as a result of I’m spawning it like >50k, there isn’t any cause to make it tremendous detailed. Nobody would care.
Concerning the skeletal mesh location module, I’m not sampling random triangle as a result of it doesn’t unfold correctly. From this display screen shot you may see the particles are literally positioned to the vertex. Including random offset doesn’t assist a lot.
My answer is to pattern the vertex and the vertex of subsequent vertex index, after which I do a lerp between the two sampled positions with random vary [0,1] float worth. This surprisingly doesn’t make the emitter heavier. In actual fact it’s barely sooner than sampling triangle.
Clearly not all neighboring vertex indices are bodily neighbors to one another, so I kill the particle if the two sampled positions are too far aside.
Let’s take a look at the elephant within the room. As a result of the fingers have extra vertices so extra particles are positioned on these. I pattern the bones of each fingers in System Spawn, 1 location module per 1 hand, then once more I kill the particles inside sure radius of the sampled hand location with a chance for about 95%. It’s that unhealthy, however I can’t actually construct a brand new model mannequin with evenly distributed vertices, not my specialty.
Lastly the icy vapor makes use of flipbook texture baked from modified Niagara Fluid smoke pattern. The simulation would wish extra fine-tuning for higher consequence, however operating Niagara Fluid is popping my pc right into a BBQ and I don’t wish to inflate my electrical invoice like loopy throughout this time period.
Sampling of skeletal mesh location is much like the snowflake emitter to forestall lopsided sampling, however this time I pattern 2 bone positions, as an alternative of vertex, and once more interpolate with random vary [0,1] float worth. In whole I filtered 20 bones for this, the hand, upperaram, lowerarm, foot, calf, thigh, and many others.
So right here it’s:
")