INTRODUCTION
Hello, my title is José María Barbenza. I am a 29-year-old freelance 3D artist from Argentina. I’ve all the time appreciated all points of 3D, however I specialise in 3D modeling, sculpting, and texturing.
From a really younger age, I labored in movie and brief movie productions, which helped me achieve sturdy expertise within the 3D world. Then, I began working freelance for movie productions, sequence, video video games, and commercials. I have been utilizing Blender since 2011, and I’ve all the time beloved its nice flexibility for all areas.
INSPIRATION
I’ve all the time appreciated The Lord of the Rings, and I wished to do a venture associated to it. As quickly as I had the time, I did it. I used to be impressed by the elves within the motion pictures in addition to the stylized elves within the Dragon Age online game.
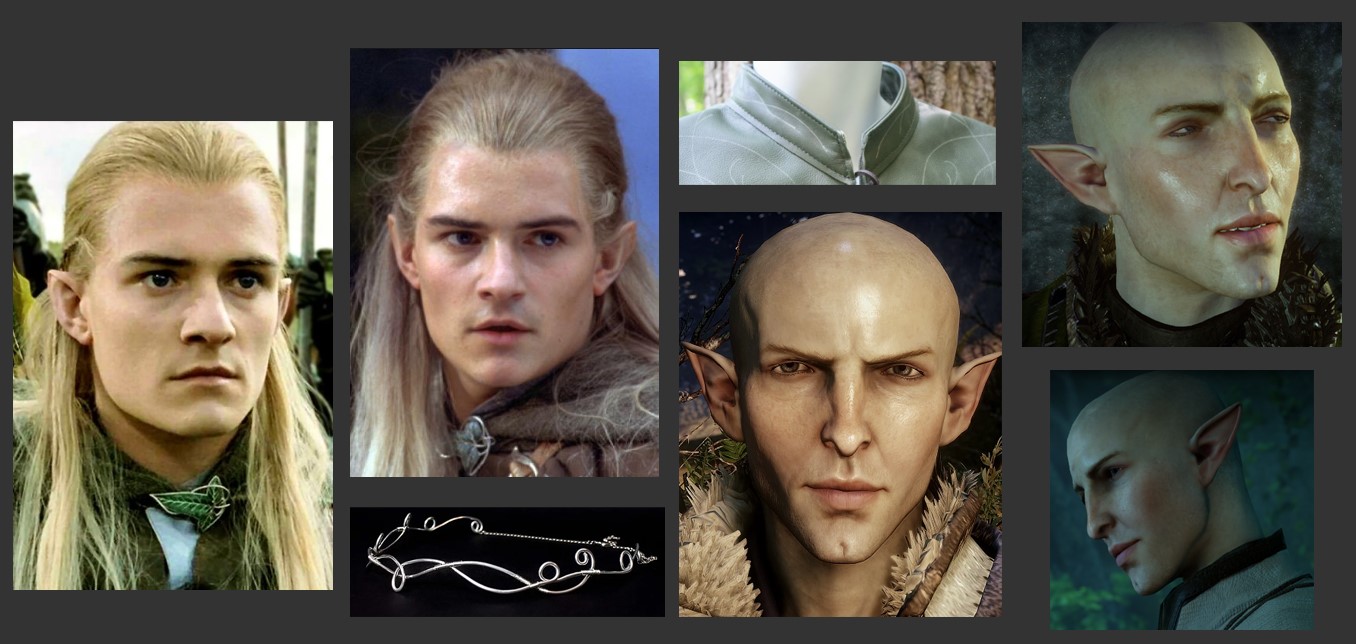
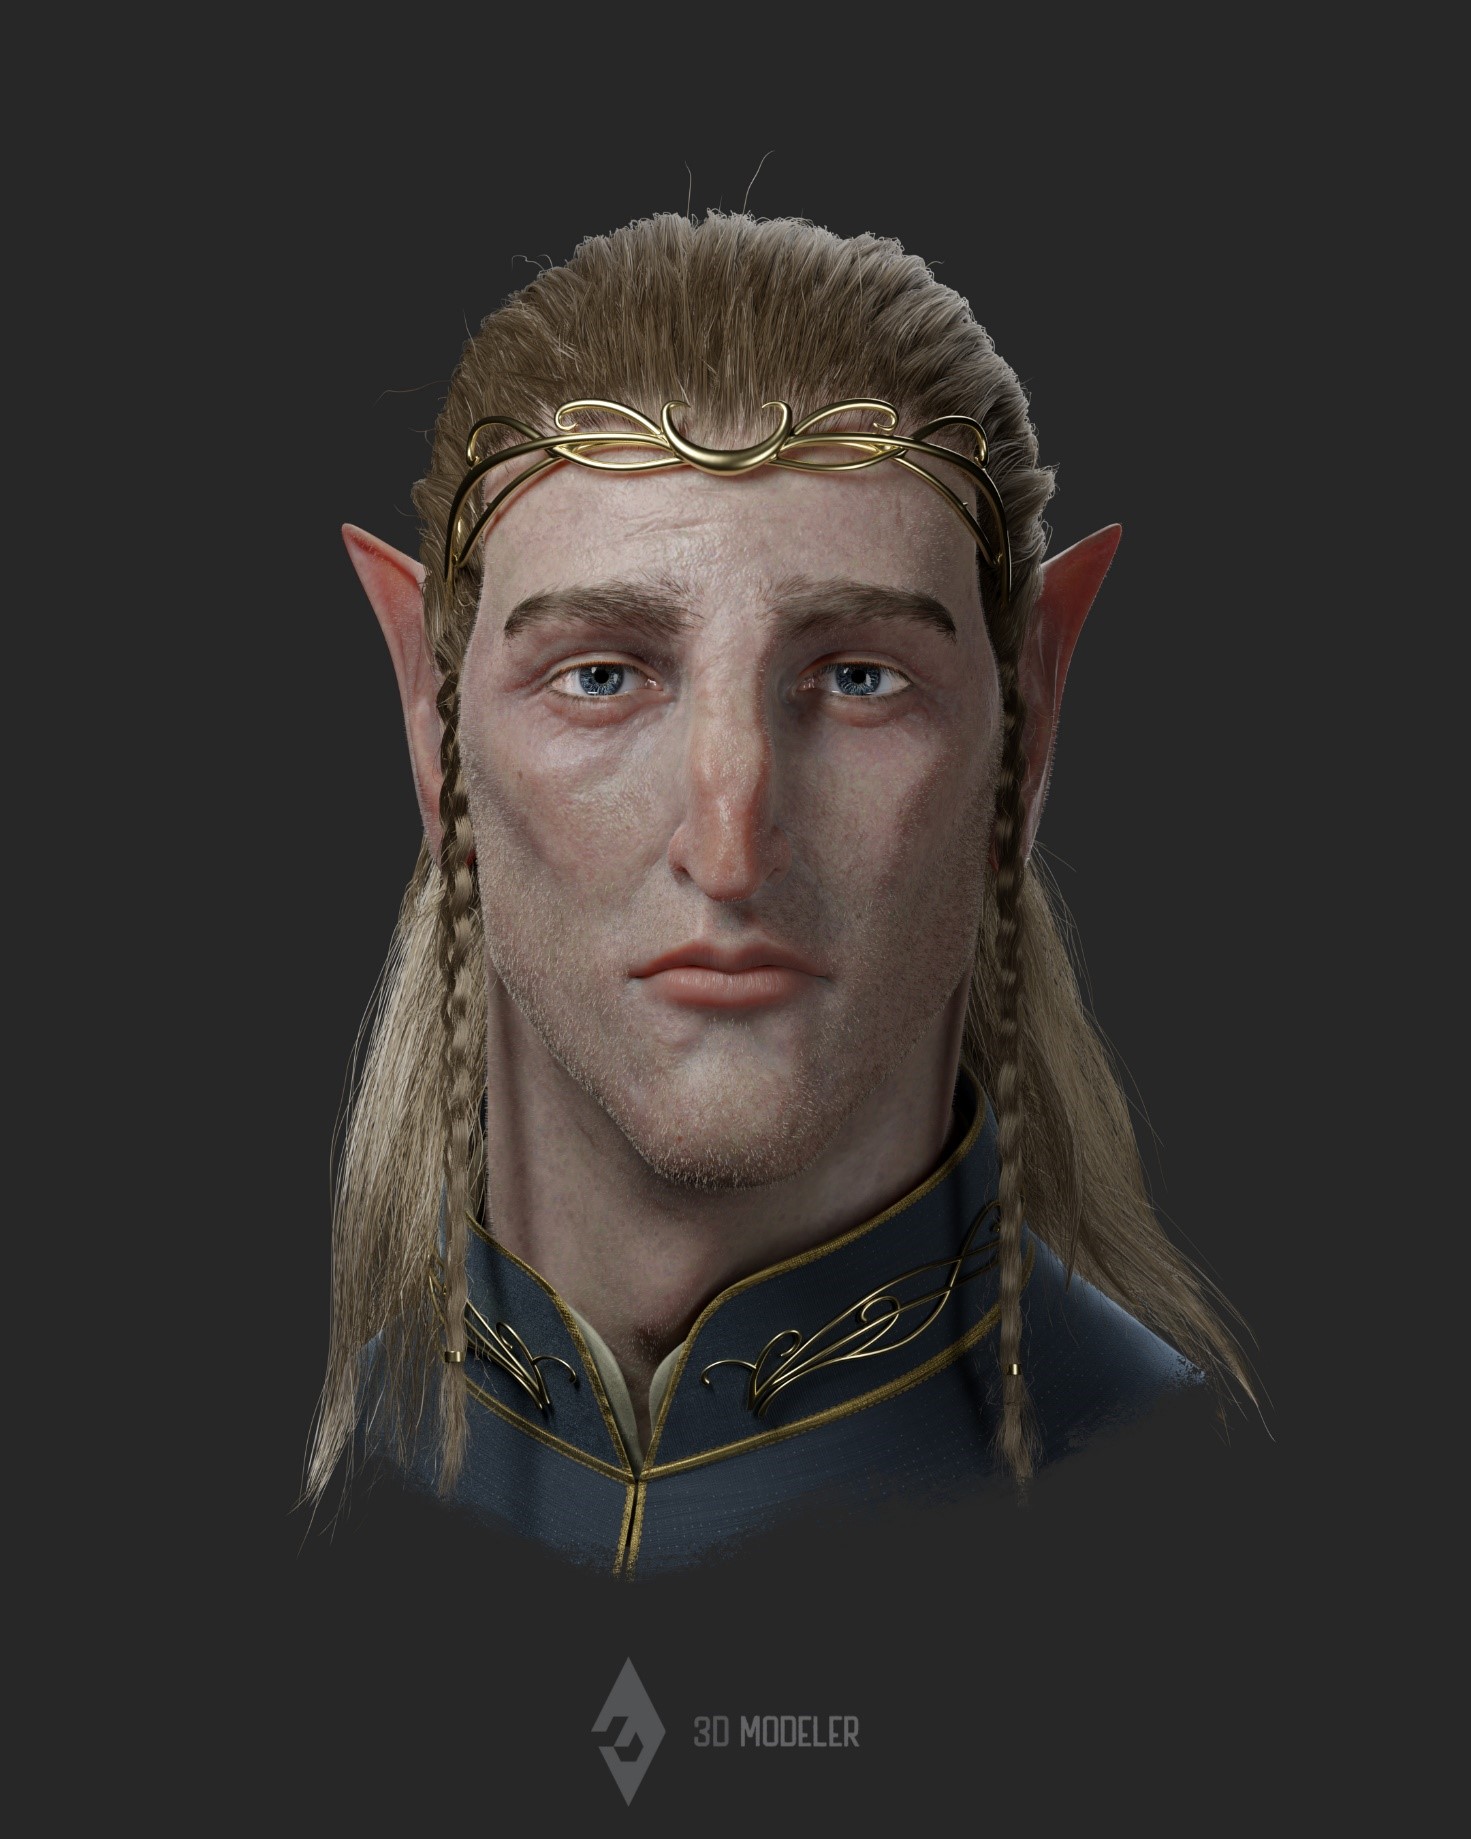
I made a decision to combine types and create a semi-realistic elf with a mix of sensible and stylized options.
MODELING
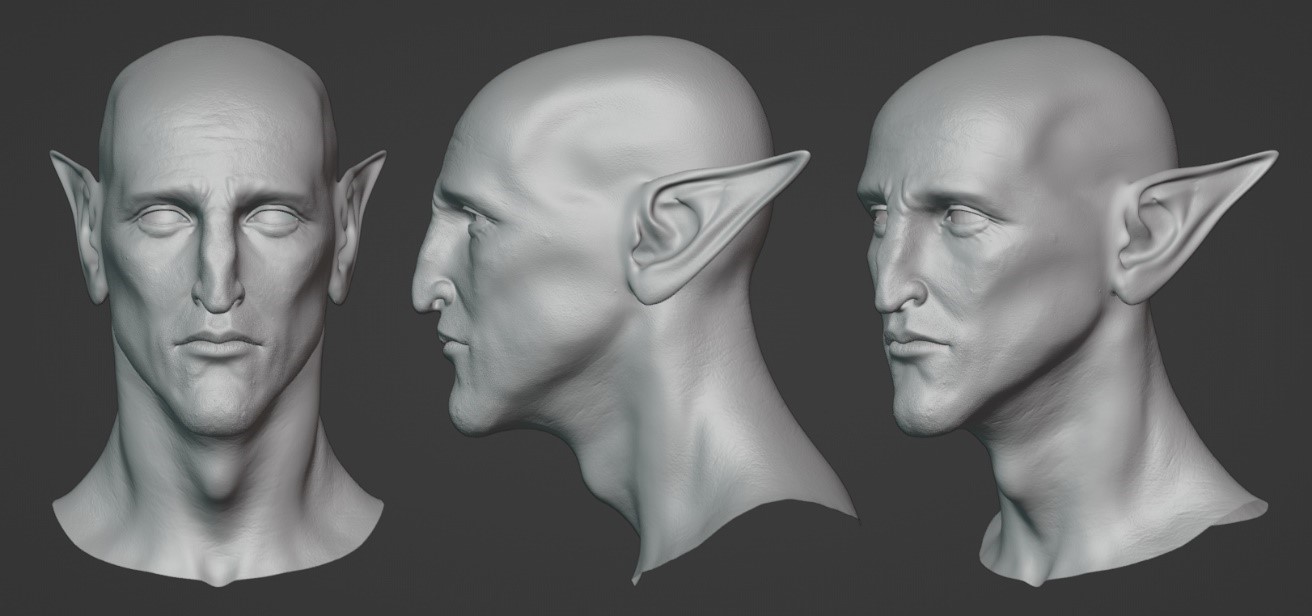
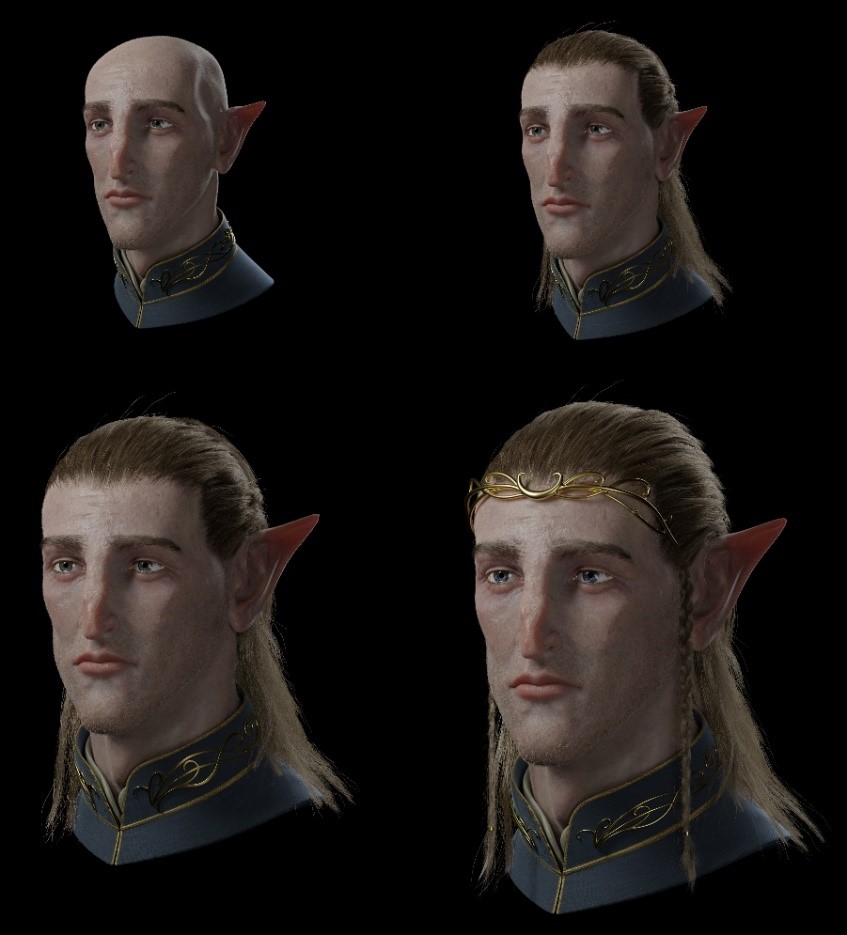
First, I all the time begin with a tough blocking of what I take note of after which add particulars in a selected order. I started by sculpting the top after which re-topologized it utilizing conventional Blender instruments.
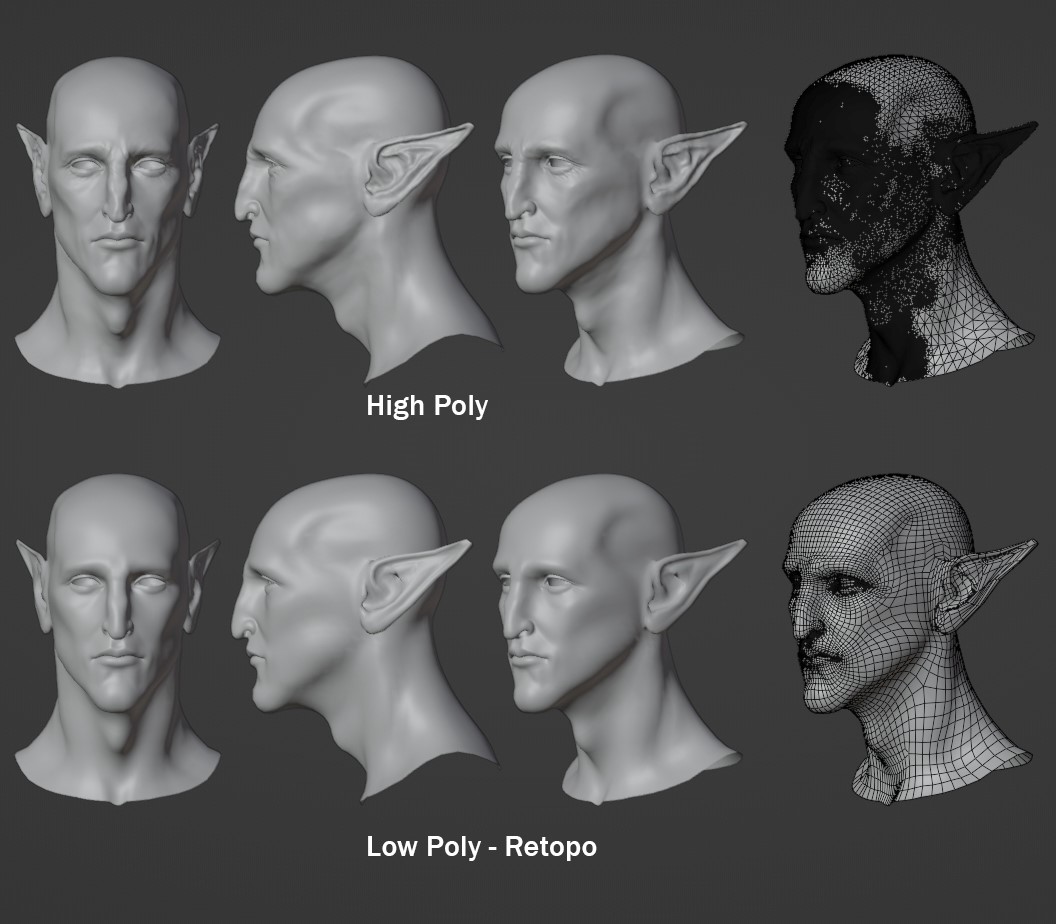
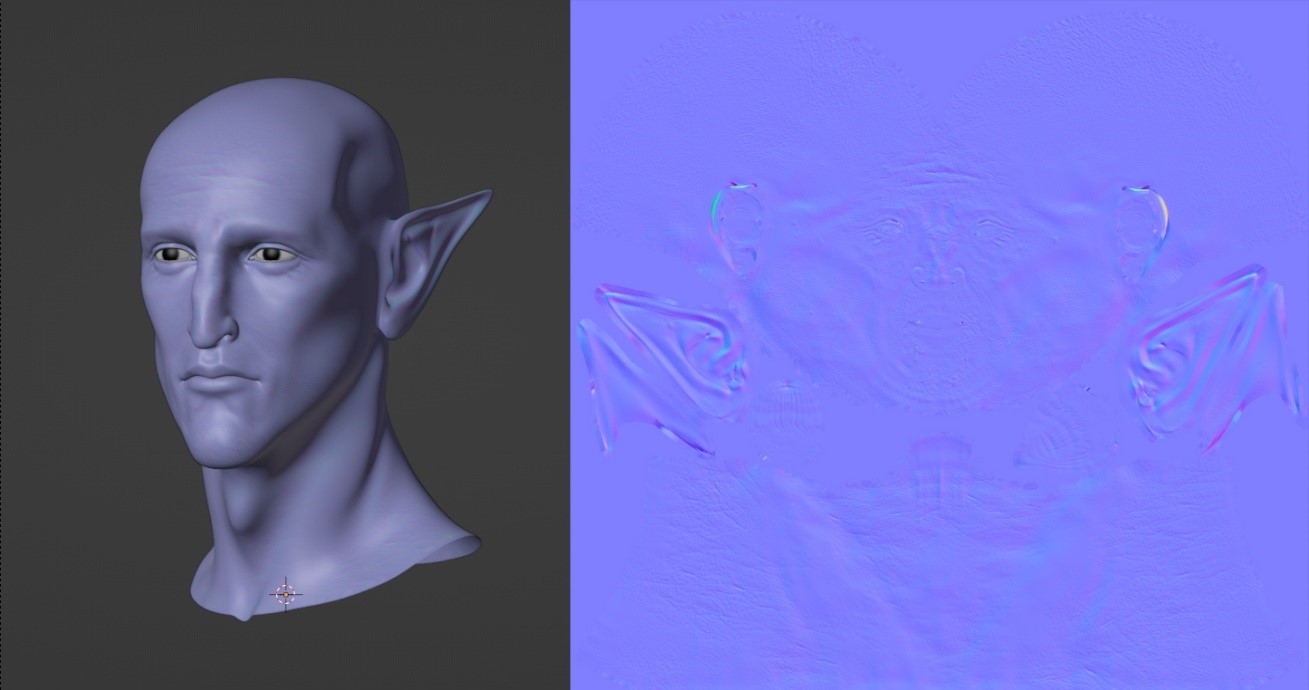
Subsequent, I used the high-poly mannequin so as to add extra particulars, equivalent to pores and skin texture and tweaked it to create a traditional map and displacement map for the high-poly to low-poly mesh conversion in Substance Painter.
I additionally added the eyes and a teardrop.
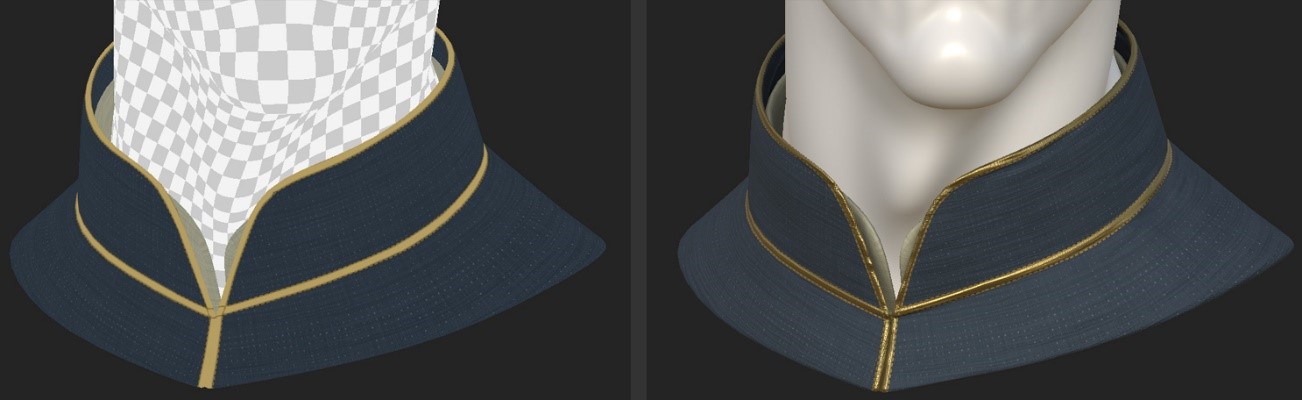
After ending the top detailing, I proceeded to mannequin the clothes and ornaments.

TEXTURING
I used Substance Painter to texture the mannequin.
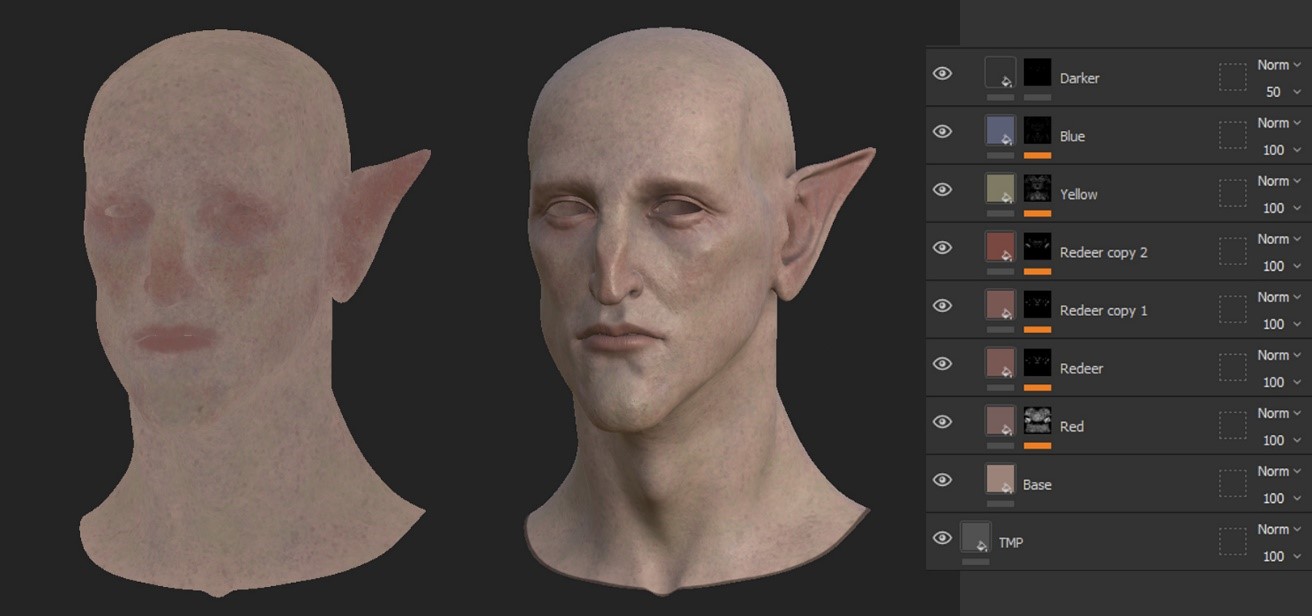
For the pores and skin, I prefer to hand-paint it by combining totally different colours till I get the appropriate one.
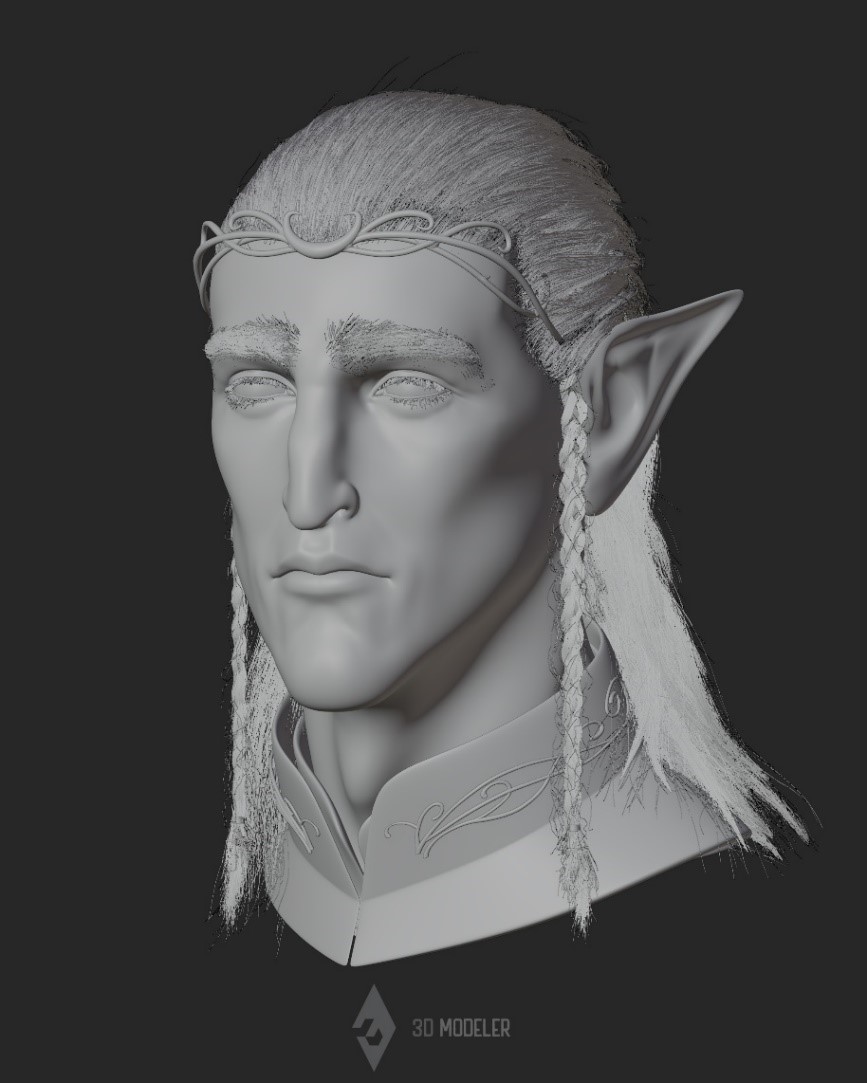
HAIR
First, I posed the bust and ready the digital camera. Then, I used Blender’s particle system and divided it into components:
- Facial Hair
- Eyebrows, Eyelashes, and Beard
- Hair and Braids (I used HairNet for the braids in order that the particles observe information curves)
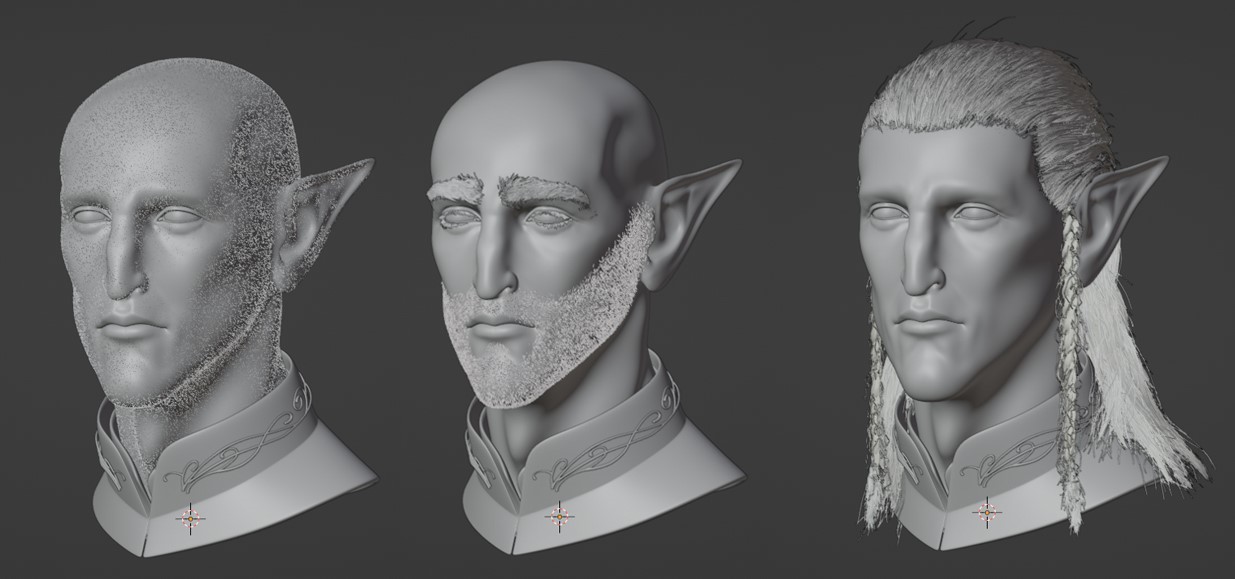
It’s a advanced and tedious work, nevertheless it’s vital to get the main points proper. It was in all probability essentially the most time-consuming a part of the venture.
RENDERING
This stage can also be lengthy. I make lighting assessments till I discover the appropriate form, appropriate errors and particulars.
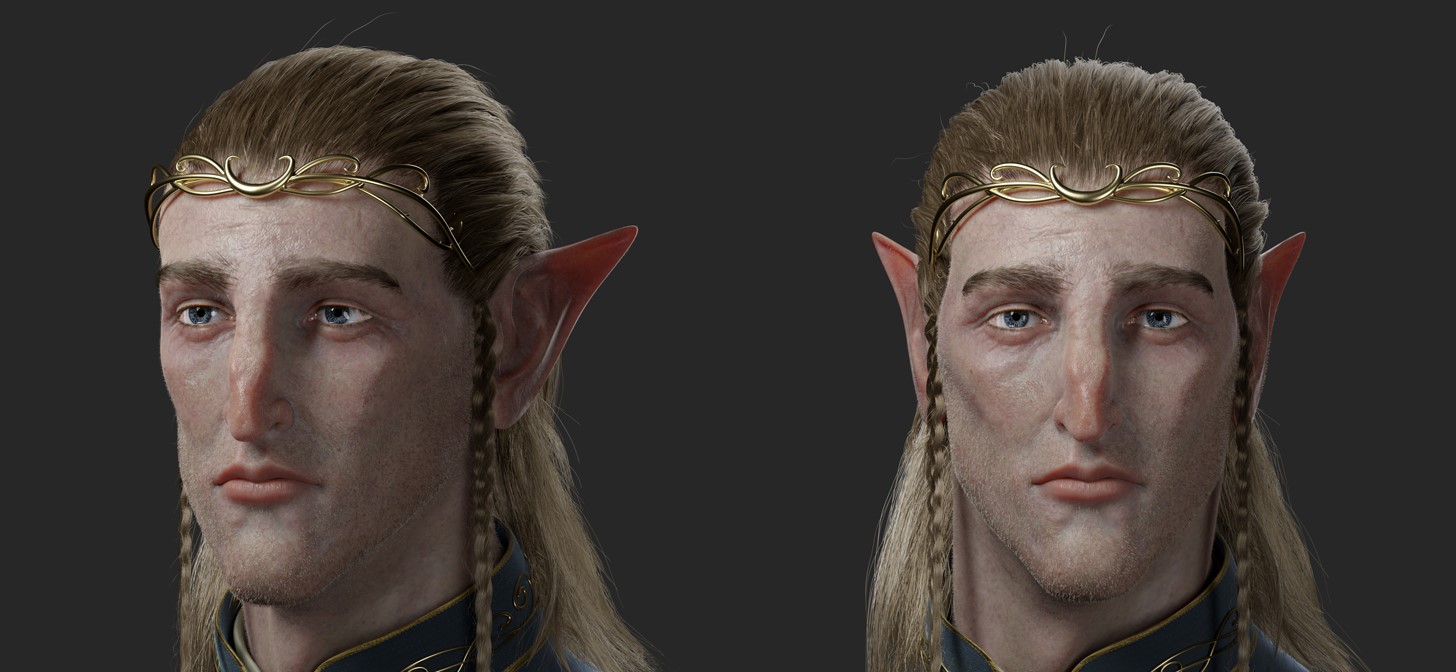
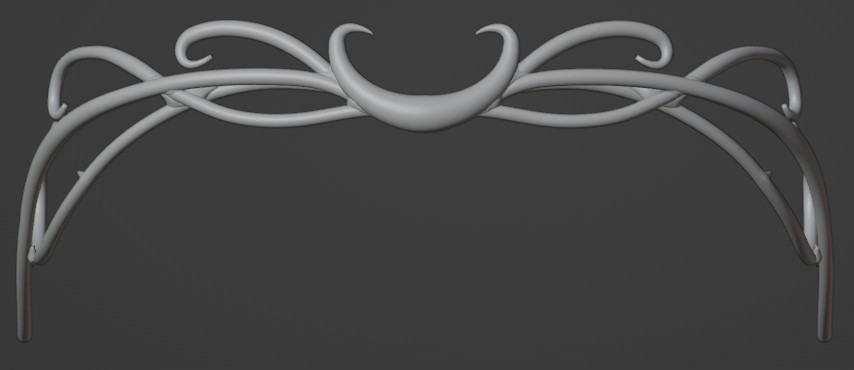
On this stage, I additionally added the crown that I modeled with curves.
ELF BUST


Thanks for studying. I hope it has helped you perceive the method.
Greetings!
Concerning the Artist
José María Barbenza, a Senior 3D Artist / 3D Modeler from Argentina. At present freelancing in movie productions, video video games and commercials.