
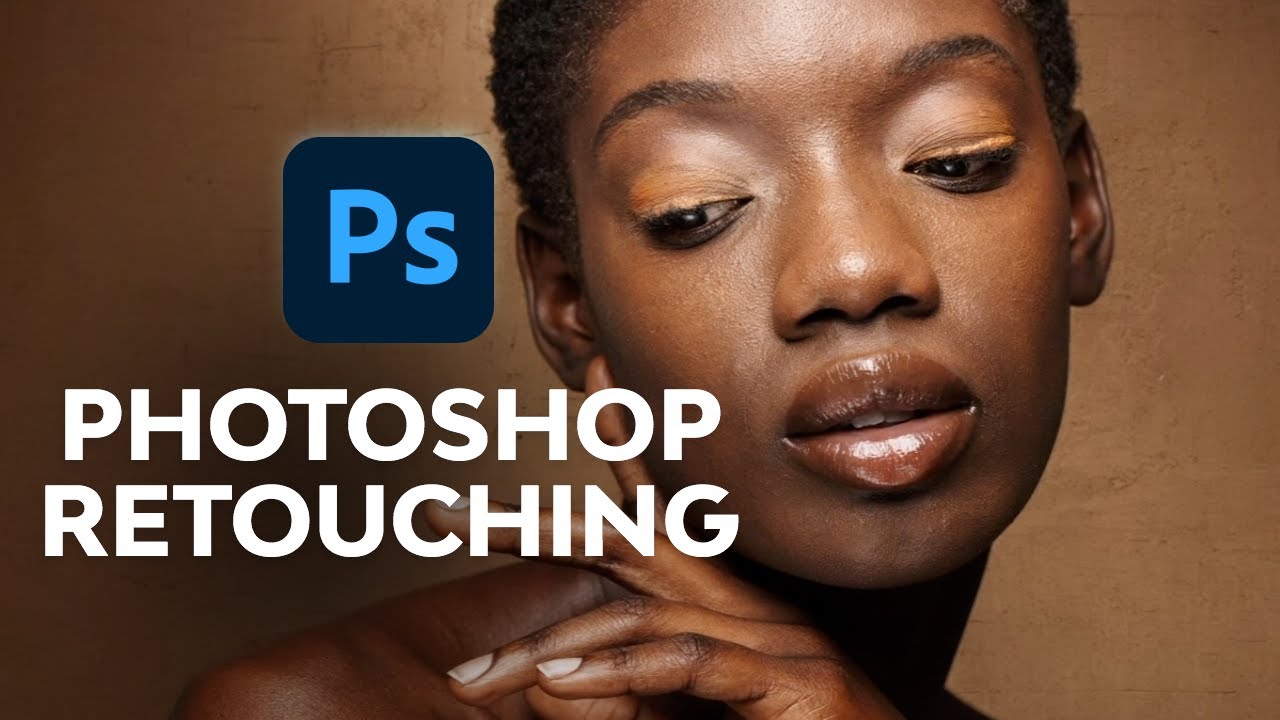
On this tutorial, you will discover ways to take away flyaways in Photoshop. Watch the video beneath from Abbey Esparza to discover ways to put these methods into motion, or comply with together with the textual content.
We display right here utilizing Adobe Photoshop, however the methods are relevant in nearly any picture editor, so in the event you’re utilizing Affinity Picture, Lightroom, Digicam Uncooked, Photopea, or no matter your favorite is, you must be capable of comply with alongside to repair hair in your photographs.
What You may Be taught
- discover the stability when fixing flyaway hair in your photographs
- take away flyaway hair in Photoshop with the Clone Stamp Device
- use the Therapeutic Brush Device to take away flyaways in Photoshop
- modify your brush settings when retouching hair
- use floor blur to take away flyaway hairs in footage
Discover a Steadiness When Fixing Flyaway Hair
There are three essential methods to sort out fly-aways whereas protecting the outcome natural-looking. As with all retouching, it is a balancing act of style towards want. When you go too far, then you definitely’ll find yourself with “helmet hair”, which regularly seems to be faux.
Retouching a picture is meant to be sufficiently subtle that the viewer would not discover it. Numerous that comes from producing the shot correctly within the first place, however the remainder comes from good method and software. That is why it is necessary to discover ways to edit flyaway hairs effectively.
Having your topic well-groomed or utilizing a hair stylist might be actually useful in decreasing the quantity of effort and time wanted later. For the remainder, use these three methods for utilizing Photoshop to repair flyaway hairs in your photographs.
Clone Stamp is the plain selection in Adobe Photoshop for eradicating flyaway hair. Pattern the clear space after which brush the hair to mix it with the background.
When you’ve used this instrument earlier than, you will discover that it has shortcomings. Its essential power can also be a weak point; it copies precisely what you pattern, which could be a drawback with textured backgrounds or variations in colour or luminosity. Nonetheless, with evenly lit and evenly colored backgrounds, the Clone Stamp is the proper instrument to Photoshop away flyaway hairs.


You may refine your cloning and scale back problematic variations by utilizing completely different Mix Modes for the comb. I exploit three completely different modes:
The Regular mode works more often than not, however typically it is too exacting and could be a drawback with backgrounds which have a slight texture. Utilizing the opposite two modes could make my modifications hair-thin.


I exploit the Darken mix mode to retouch lighter hair towards a darker background. I exploit the Lighten mix mode to retouch darker hair towards a lighter background.
The impact stops as soon as the hair reaches the identical luminosity and colour worth because the sampled space. It should depart the areas that already match untouched, so your corrections are solely a few pixels extensive, even when your brush measurement is many instances bigger.
The Therapeutic Brush is a extra refined model of the Clone Stamp instrument, so it should be thought-about when studying take away and edit flyaway hairs in footage. It copies the colour, luminosity, and texture from the sampled space over to the goal space. It then applies some math and seamlessly blends the 2 into one thing that appears pure.
The Therapeutic Brush is nice for eradicating blemishes, pimples, undesirable facial or physique hair, sensor mud, and so forth. It really works higher than the cloning method, primarily as a result of it is not a precise copy however as an alternative easily blends the pattern areas with the goal’s environment.
Use this instrument for backgrounds which might be slightly extra advanced or textured. You can even use it to scrub up errors that Clone Stamp has made whereas preserving the feel. I exploit it for hair that crosses the face or is on clothes in order that I might be rid of it with out dropping the complexities of the pores and skin or material.
Once more, you should use the Mix Modes to additional refine your retouching.
Sadly, Therapeutic Brush would not do effectively when the goal space is just too near a tough line, like the sting of somebody’s head. You may get a blurred bleed, and it seems to be messy. On this case, the Clone Stamp instrument could also be higher suited; modify the comb’s hardness to match the transition.


Modify Your Brush Settings
Now that I have been by two instruments you should use to take away errant hair, we’ll undergo some frequent settings so you’ll be able to discover ways to take away flyaway hairs in your footage higher in Photoshop.
I exploit a Wacom pill for max management and suppleness, however this can work with a mouse too. When you do not personal a Wacom and also you’re doing retouching, then purchase a pen pill. They begin at about US$80 and final a very long time. Mine is six years previous.
Clone Stamp
I normally preserve the default form settings, a circle, and use it at 100% Opacity. I range the hardness of the comb, however hardly ever go over 80%. In actual fact, I exploit this brush at 0%, 20%, 50%, and 80% increments as I’ve discovered it covers most of my wants.
There are occasions that I will use a distinct hardness setting, however that’s case by case, and with the pen pill, I can range that additional with pen stress.
As I discussed earlier, I exploit completely different Mix Modes after I must. Appropriately matching these completely different settings to your state of affairs will end in superb cloning and a quicker workflow.
Therapeutic Brush
Lots of people would inform you to make use of this brush with a delicate edge, however I’ll inform you to do the alternative. Maintain it at 100% Hardness on a regular basis. Moreover, change your brush’s form (Roundness) to a slim ellipse between 20 and 30%. I additionally angle it and alter the route, relying on my wants.


These settings assist the Therapeutic Brush work higher by forcing it to resample extra typically and extra randomly than a soft-edged circle. Because the Therapeutic Brush mechanically applies mixing, you actually do not want a delicate brush.
The outcomes are very pure and have a vastly diminished danger of that edge blurring I discussed earlier.
Lastly, preserve your brush measurement solely barely bigger than the realm you want to appropriate, particularly when attempting to repair a flyaway hair near the sting of somebody’s head or if the background modifications colour or luminosity an excessive amount of.
Use Floor Blur to Retouch Hair
Whereas this method is especially impartial of the opposite two, it does incorporate the others for max effectivity. It is a very fast technique if you wish to know take away practically all flyaway hair in Photoshop with a single filter impact and a few primary masking.
Not like Gaussian Blur or the opposite blurs, Floor Blur would not mix the sides past its threshold setting. Floor Blur considers one thing an “edge” when there’s a important change in colour and/or distinction. Issues like pores and skin, clothes, and different effective particulars shall be smoothed, however not the sting of somebody’s face—or the principle mass of hair.


Floor Blur is an effective way to scrub up a hair edge when you’ve gotten a gradient background the place the Clone Stamp would wrestle. It should do a pleasant job of sustaining gradual tonal modifications, whereas protecting arduous edges effectively outlined. Give it a go when you’ve gotten a picture with a graduated background.
Let’s get into the steps for utilizing Floor Blur to scrub up hair in your pictures.


Step 1: Create a New Layer
Drag the layer onto the Create New Layer icon (Command-J or Management-J) so as to work non-destructively. You may convert this new layer to a Sensible Object (Layer > Sensible Objects > Convert to Sensible Object) to have the ability to change your settings with out having to reapply the filter from scratch. Changing to a Sensible Object is non-obligatory.
Step 2: Apply the Floor Blur
Go to Filter > Blur > Floor Blur to use it. You may see a preview of the impact at its present settings.
The Floor Blur filter has two sliders, Radius and Threshold. The Radius determines the quantity or power of blurring. The Threshold determines the tolerances of what the filter considers to be an “edge.”
Going too low with the Radius provides you with a halo, and going too excessive with the Threshold will make you lose your edges. You may want to regulate the sliders in order that the fly-away hair disappears as a result of blurring, however the principle physique of hair and the arduous edges stay fairly sharp.
It will take some experimenting and can range from picture to picture. Nonetheless, I’ve discovered {that a} Radius of 40 pixels and Threshold of 20 pixels offers me nice outcomes.


As soon as you have bought the settings fairly shut, apply it and consider the outcomes. Numerous the remoted hair needs to be gone or largely gone.


Step 3: Clone Stamp Cleanup
There are occasions when the Floor Blur will get the job accomplished, however typically you will must sort out the few that bought away. With a soft-edge brush, Clone Stamp these escapees by sampling very near the goal space to keep away from noticeable colour variations. I preserve my brush no greater than 50% hardness.


Attempt to not make the hairline too clear as a result of then it’ll look unnatural. You are able to do a second spherical of Floor Blur at decrease settings if it might use slightly extra basic refinement to repair the hair in your picture.
Step 4: Create a Layer Masks
Now it is time to apply the impact solely to the outer hairline. Create a Layer Masks in your layer with the Floor Blur by clicking the Create Layer Masks icon. Invert the colour of the masks from white (seen) to black (invisible) with Command-I (Mac) or Management-I (PC). It will disguise the impact as we use Photoshop to edit these flyaway hairs.


Now, with a hard-edged brush (about 80%), reveal the impact by portray on the masks with white over the areas you want to take away. You do not must be very exact as a result of Floor Blur ought to preserve the edging of the principle physique of hair.


Step 5: Add Noise
Floor Blur normally removes all of the noise (grain) in a picture. This lack of texture can wreck the impact by being too easy. We’ll want so as to add noise in a dosage that matches the remainder of the picture.


Be sure to’re engaged on the picture on the Floor Blur layer and never the masks by clicking on the thumbnail of the layer. Go to Filter > Noise > Add Noise.


Within the Add Noise dialogue field, activate the Gaussian and Monochrome settings. Modify the slider till the noise sample and density intently match the remainder of the picture. Whereas not totally needed, this small element does a superb job of hiding the retouching you have accomplished to the hair.


Here is how your picture appeared earlier than you discovered take away flyaway hairs in footage in Photoshop:


And here is the way it seems to be now that you know the way to edit flyaway hair:


When you’ve gotten a fantastic portrait, fly-away hair can typically be an actual ache. Whereas cloning and therapeutic are nice, they do have limitations. Utilizing them along side the Floor Blur method can’t solely enhance your retouching outcomes, but additionally minimize down on the time and tediousness of both method alone.
With follow, you can consider a picture and shortly resolve which of those methods shall be handiest in eradicating fly-away hair.
Discover Extra Tutorials and Assets
Discover ways to edit and retouch extra than simply flyaway hair. We’ve got many helpful retouching tutorials from our Envato Tuts+ instructors that may show you how to enhance your Photoshop abilities.