On this video tutorial, study the fundamentals for working with audio and sound results in After Results.
After Results in all probability isn’t your first selection with regards to working with audio information. That being mentioned, you’ll doubtless nonetheless must know a number of audio suggestions and methods once in a while.
On this tutorial, we’ll cowl all the fundamentals for working with audio information inside After Results.
Audio Panels
First, we have to take a look at two totally different audio associated panels you may have entry to in After Results. The primary is the Audio panel.
Navigate to Window>Audio. The Audio panel lets you see the sound stage for any audio you play again in your composition. It’s also possible to alter the playback stage. (This solely impacts the playback preview audio.)
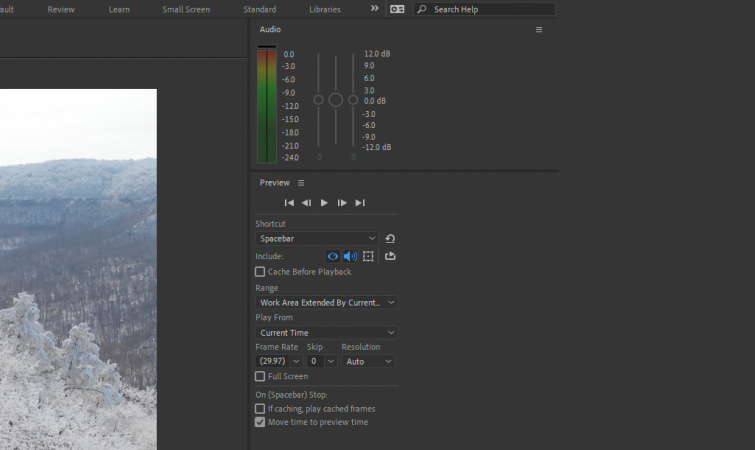
Subsequent, you may have the Preview panel.
Navigate to Window>Preview. This panel lets you alter your preview playback settings, together with turning on and off the audio sound if you preview your composition.
Audio Shortcuts
There are a number of helpful audio shortcuts you have to to know.
The primary is “spacebar.” It will Preview your composition. (Simply make sure that audio playback is enabled within the Preview panel.)
Subsequent is “0” on the Numeric Keypad. It will begin the Ram Preview, which all the time performs each the audio and video of your composition.
Subsequent is “.” on the Numeric Keypad. It will begin the “Audio Solely” preview and solely play again the audio in your composition.
Lastly, deciding on your audio file in your composition and shortly urgent “L” twice will toggle the Waveform to your audio file.
Working with Audio within the Composition
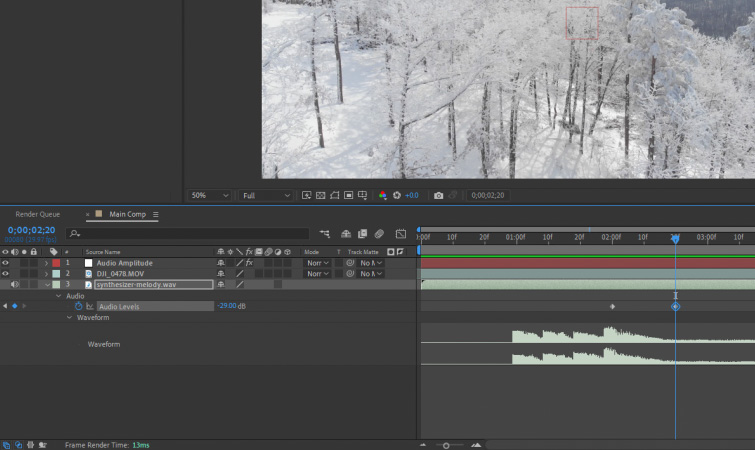
If you add an audio file into your composition, you’ll be able to allow and mute the audio by clicking the Speaker Icon positioned to the far left of the audio layer. You may then toggle down the layer settings to see the Audio Ranges and the Waveform.
It’s also possible to keyframe the Audio Ranges if you need to have your audio information fade in or fade out. (Additionally, you will see the audio fade out mirrored on the audio waveform.)
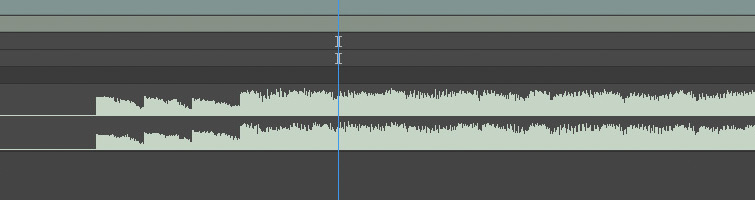
It is very important word that when you’re enhancing based mostly on the beat of the audio in After Results, it’s significantly better to base your edits off of the waveform, and never the sound of the audio when it’s enjoying again. It is because audio playback in After Results typically suffers from a slight delay.
So, in an effort to get extra actual edits, base your enhancing off of the beats on the waveform.
Audio Results
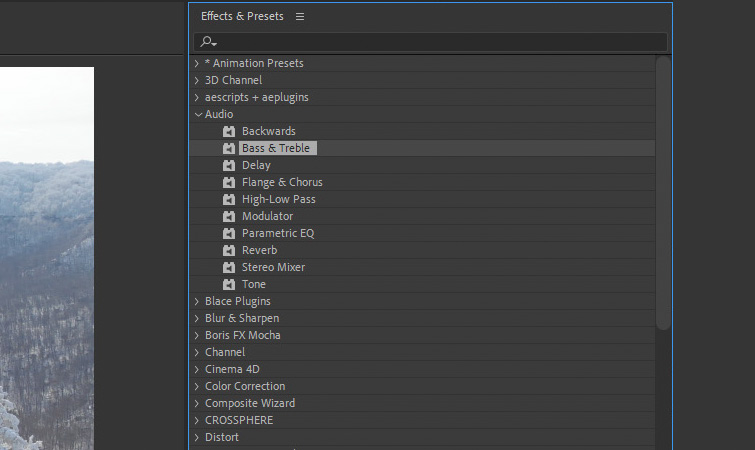
After Results additionally consists of a number of easy audio-based results you should utilize. They’re positioned below Results>Audio. These results are pretty simple, akin to: Bass & Treble, Reverb, and Stereo Mixer.
Typically, I might suggest utilizing a greater suited audio program to edit your audio in, akin to Adobe Audition or Premiere Professional. Nonetheless, in a pinch, it may be helpful to have entry to those results in After Results.
Convert Audio to Keyframes
Lastly, the most effective audio options After Results provides is the flexibility to transform the waveform of an audio file to keyframe values. This may be helpful for linking an impact or property to the beat of music.
To create these keyframes, right-click in your audio file in your composition, then navigate to Keyframe Assistant>Convert Audio to Keyframes. It will create a brand new Null Object layer named Audio Amplitude.
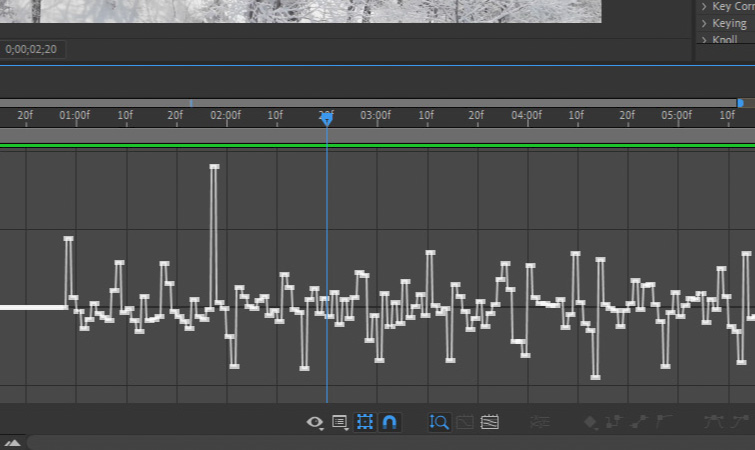
When you choose that Null Object, you will note three sliders that every have keyframed values for the Left Channel, Proper Channel, and Each Channels. You may see the values mirrored within the Graph Editor view.
In search of Free Sound Results?
Are you searching for some free sound results? Take a look at our Free Epic Sound Results for Movie & Video Trailers! This assortment of high-quality sound results will give your trailers most impression and assist obtain that cinematic aptitude!
within the royalty-free tracks we used to make this video? Give them one other pay attention:
License this cowl picture through GaudiLab.