
For this tutorial we’ll discover ways to create a call-to-action finish display animation in After Results. This shall be used on the finish of our collage animation undertaking instance, which contains of many alternative scenes and animations transferring throughout the display. Nonetheless you should use the following tips and strategies on the finish of your individual tasks as effectively!


A name to motion is a immediate that occurs often on the finish of a video that encourages the viewer to take some type of motion. An instance of this might be on the finish of a video business the place it asks the viewers to purchase their product.
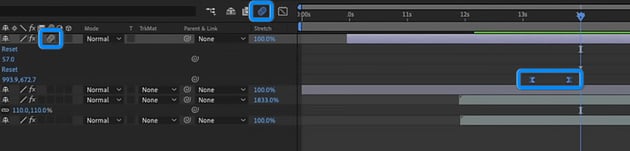
For our undertaking right here, we’re going to determine the place within the timeline we wish the decision to motion to happen. That is often in direction of or on the finish of the composition.
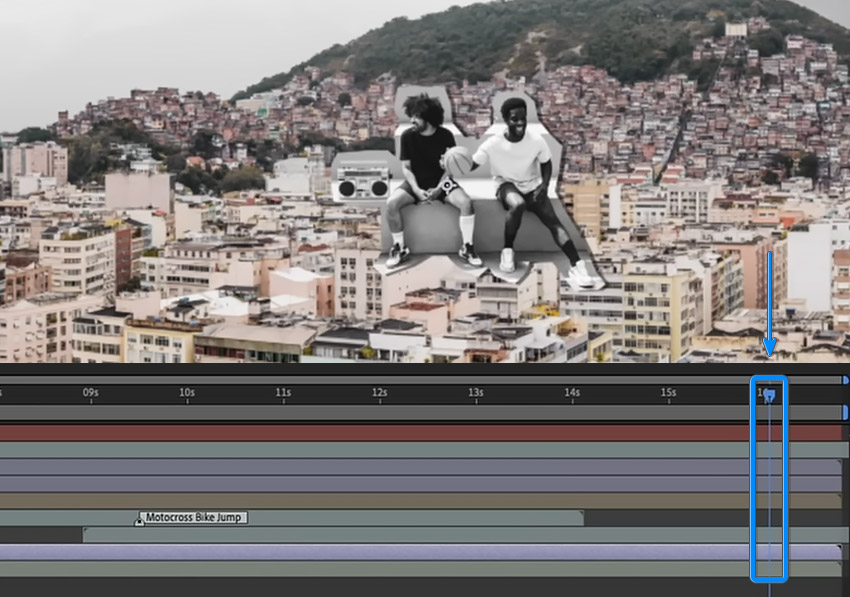
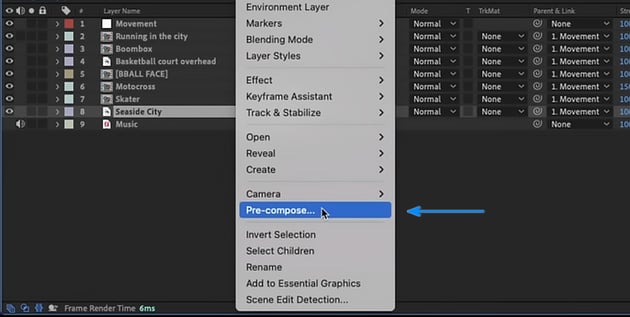
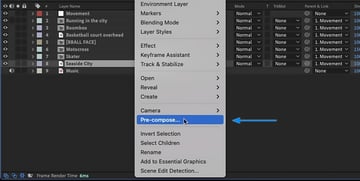
As soon as you have finished that, we have to pre-comp the property that we need to use for the decision to motion animation. On this case we’ll be utilizing the background picture and the picture of the 2 basketball gamers right here.
You are able to do this by proper clicking in your chosen layers after which clicking on Pre-compose.

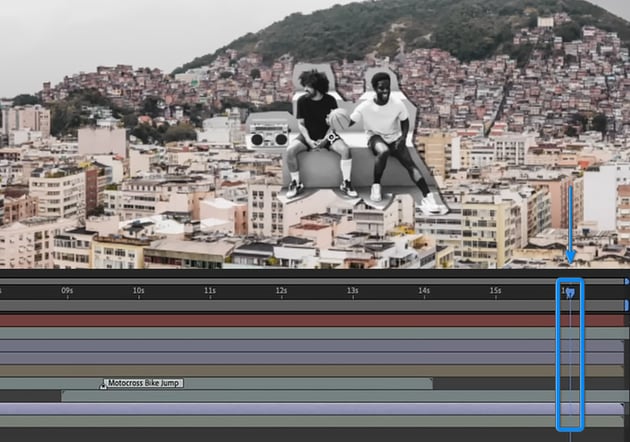
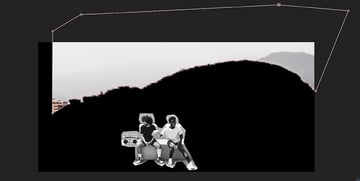
We’ll place our basketball gamers close to the underside of the scene after which change again to our predominant composition to be sure that every thing is seen and it nonetheless works visually.


Now let’s masks out the sky and exchange it with one thing just a little bit extra enjoyable. To do that, simply choose the Pen Instrument (G) and draw across the sky.
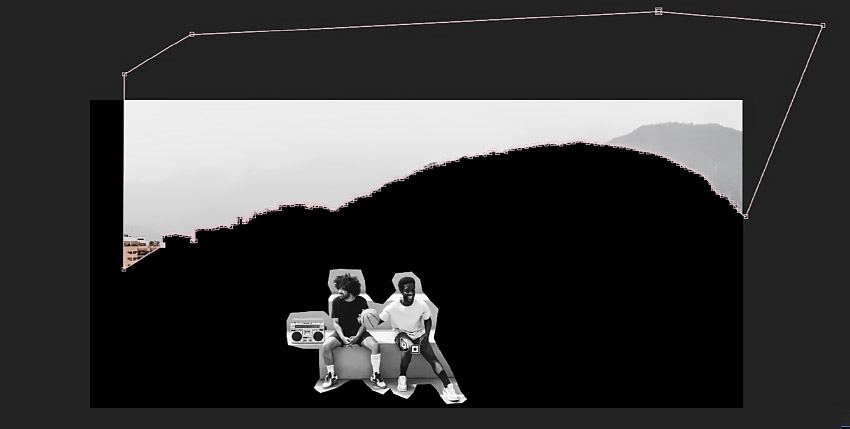
Go into the masks settings and choose Inverted.
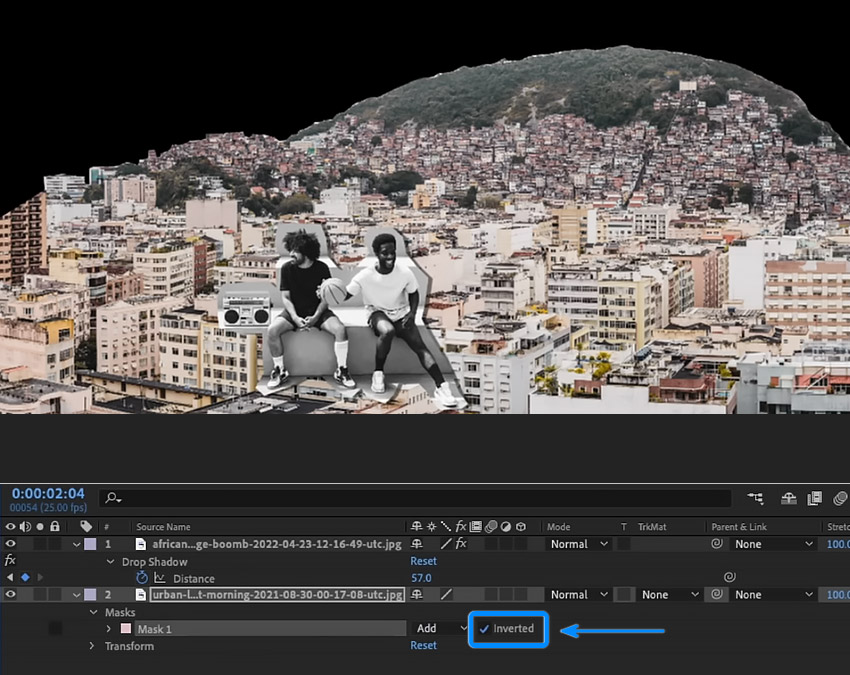

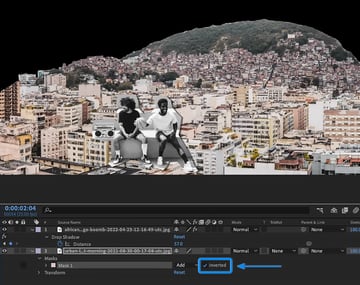
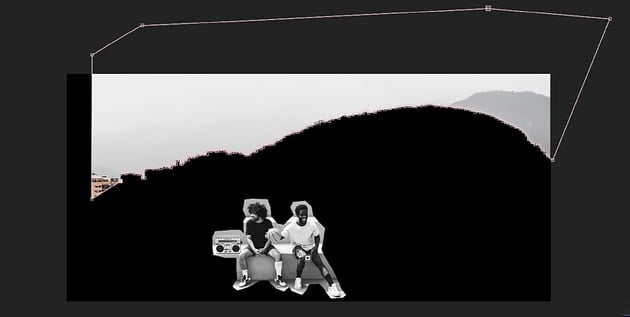
Now we’ll fill the sky up with one thing extra fascinating. We’ll be utilizing inventory pictures and animations right here for this tutorial, however be at liberty to make use of your individual. Make it possible for they’re positioned beneath the background layer in order that they seem beneath the present picture.


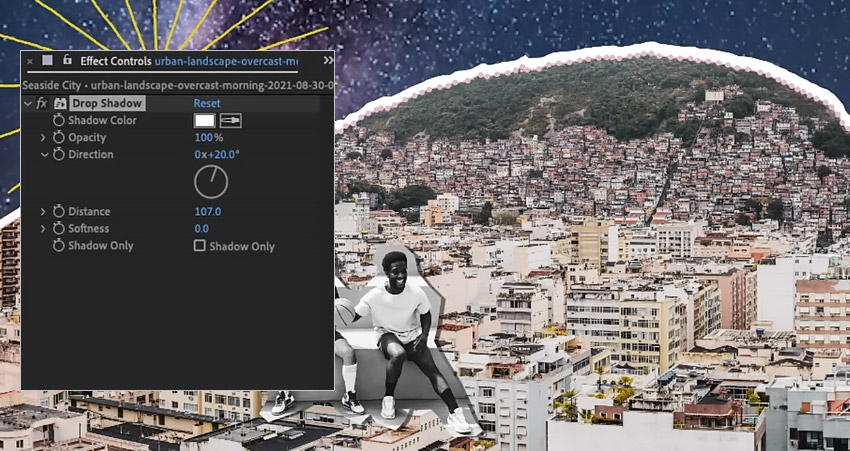
To create that ‘paper reduce out’ impact for the panorama we’ll want to use a Drop Shadow impact on the layer. Then go to the Impact Controls panel and modify the next:
-
Shadow Shade:
ffffff - Opacity: 100%
- Path: 20°
- Distance: 107
- Softness: 0


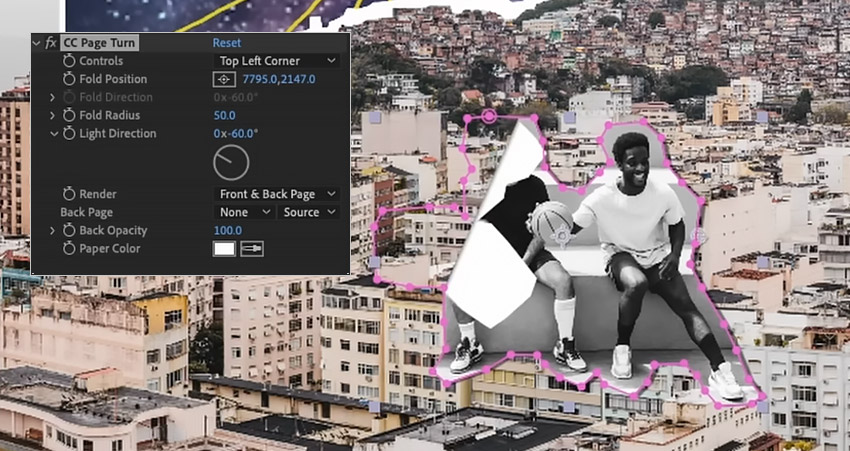
Let’s create a sticker impact for our two basketball gamers right here by going to the Impact & Presets panel and seek for ‘CC Web page Flip’.
Apply CC Web page Flip to the layer after which modify the next:
- Controls: Prime Left Nook
- Fold Radius: 50
- Gentle Path: 60°
- Render: Entrance 7 Again Web page
- Again Opacity: 100
- Paper Shade:
ffffff


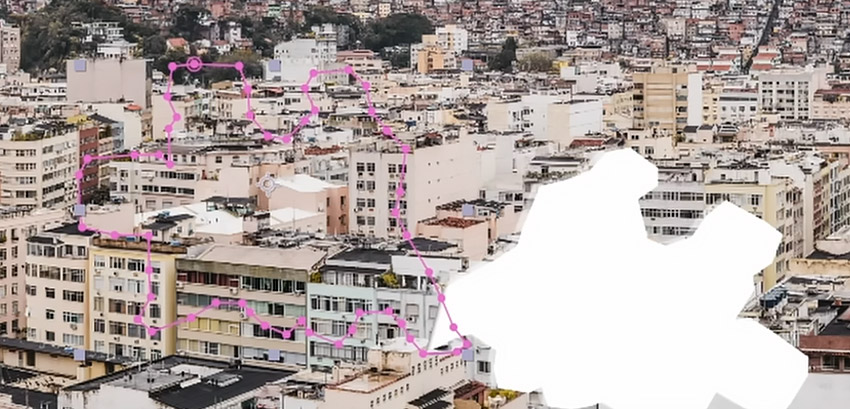
To animate the sticker we might want to modify the Fold Place. These values management the angle of the fold. So change the variety of the primary worth in order that the sticker seems just like the picture beneath and create a keyframe for it.

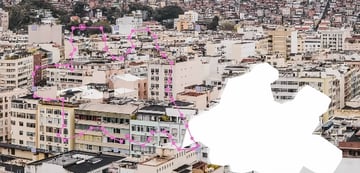
Then transfer ahead within the timeline to the second the place you need the sticker to seem and create a brand new keyframe for the Fold Place and modify the worth in order that the picture is totally shaped.


Straightforward ease the keyframes and apply movement blur so as to add some last touches to this explicit animation.
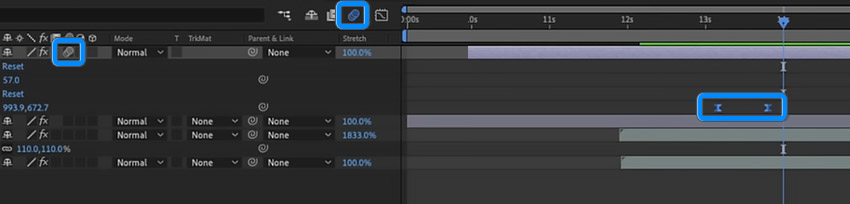
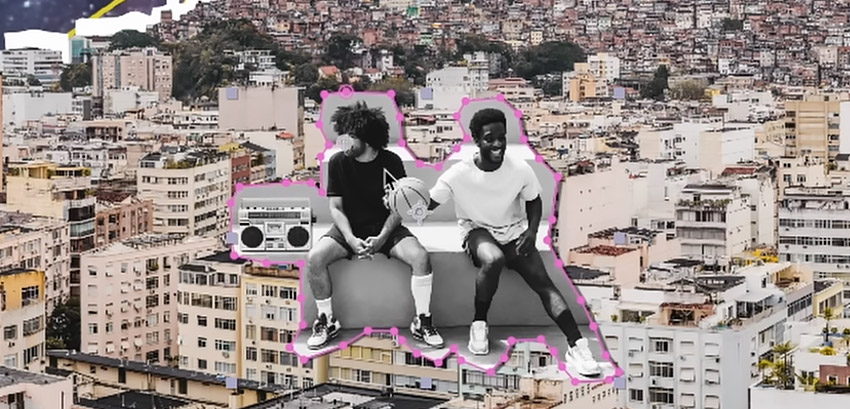
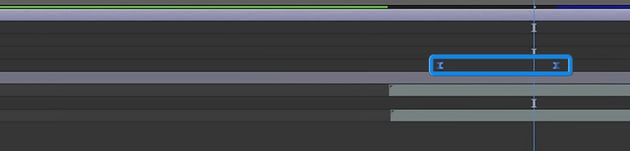
Bear in mind to return into the primary composition to see what it appears like after which make any changes to the place and timing of the animation if wanted. For instance, we will improve the space between the 2 keyframes right here for our sticker animation to be able to make it slower.

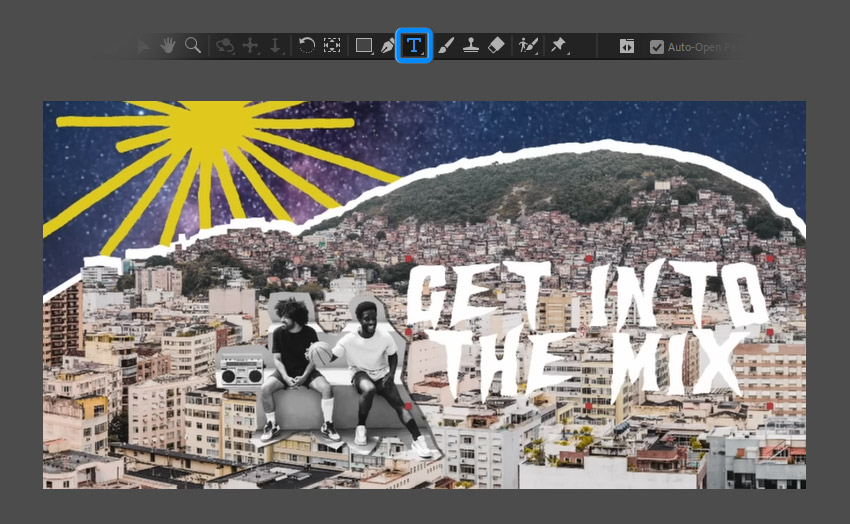
Now let’s add the textual content to this composition. Merely click on on the Horizontal Sort Instrument (Management – T) after which click on on the composition to start out typing.

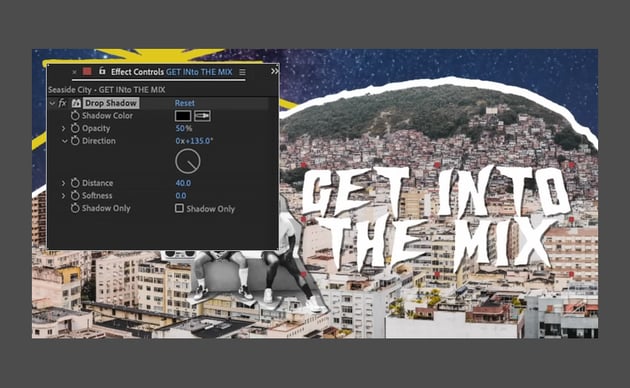
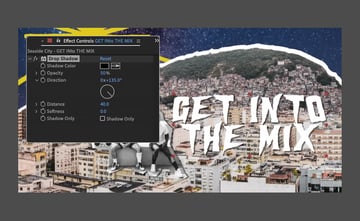
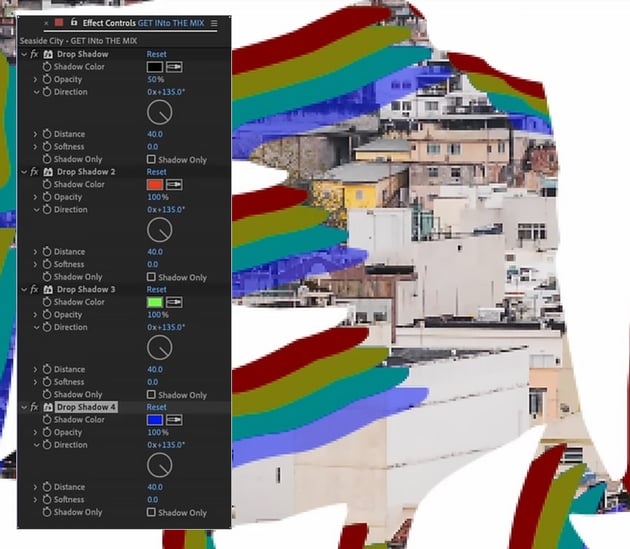
Then add a Drop Shadow impact to the textual content with the next settings:
- Shadow Shade: 000000
- Opacity: 50%
- Path: 135°
- Distance: 40

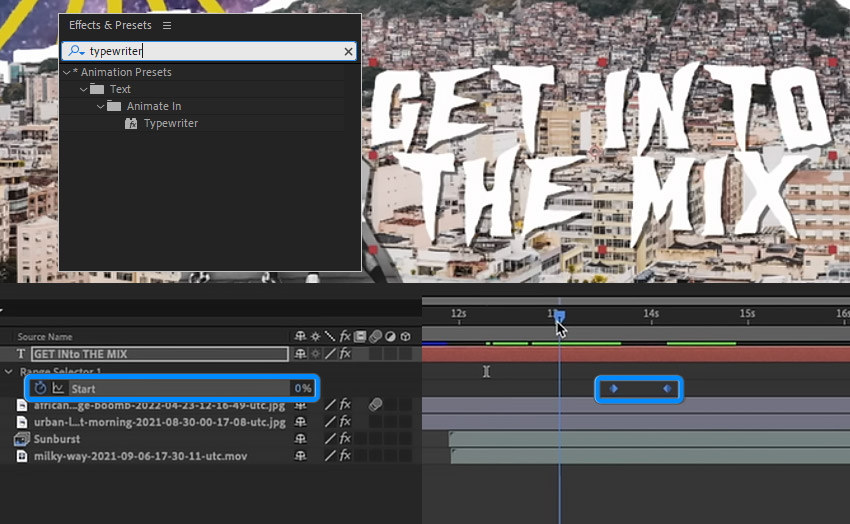
Go to the Results & Presets panel and seek for the Typewriter impact. Add the impact on to the textual content and modify the velocity utilizing the keyframes for the Vary Selector.


Duplicate the drop shadow impact on the textual content 3 times after which change the colour for each to create this type of RGB impact you’ll be able to see right here.
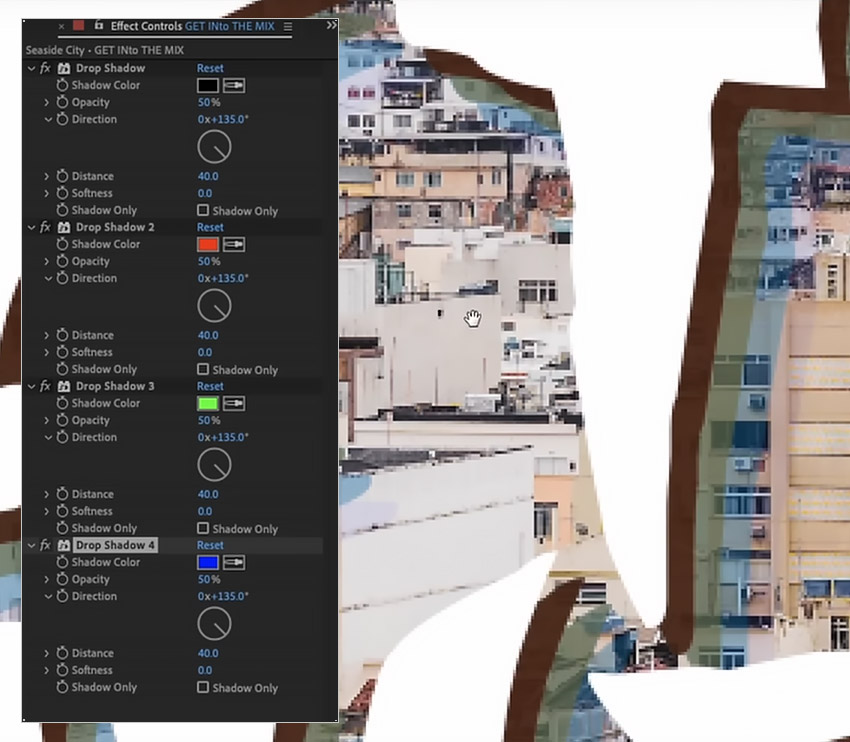

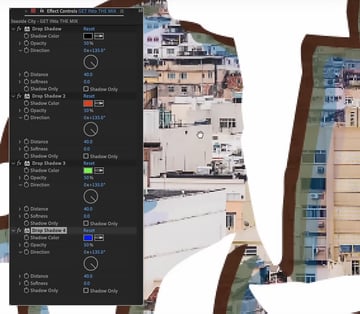
Change the opacity of every of the drop shadow results to 100%


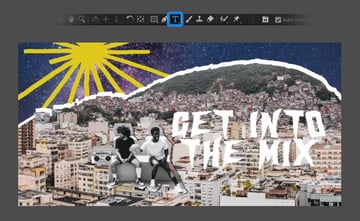
Then return to the primary composition to see what it appears like and make any last changes that could be wanted.


In order that’s how you can create a call-to-action finish display animation in After Results. I hope you discovered this tutorial useful and that you’ve got realized some new ideas and methods that you should use on your personal tasks. See you subsequent time!
-


Create Cinematic Lighting in After Results


-
Important After Results Keyboard Shortcuts: Fast Information

-
Tips on how to Make a Double-Publicity Impact Video in After Results
-
Tips on how to Use Direct Daylight in Environmental Lighting and Portrait Images
-
Tips on how to Add Gentle Rays in Photoshop With Your Personal Brushes
-
Collage Animation in After Results


