
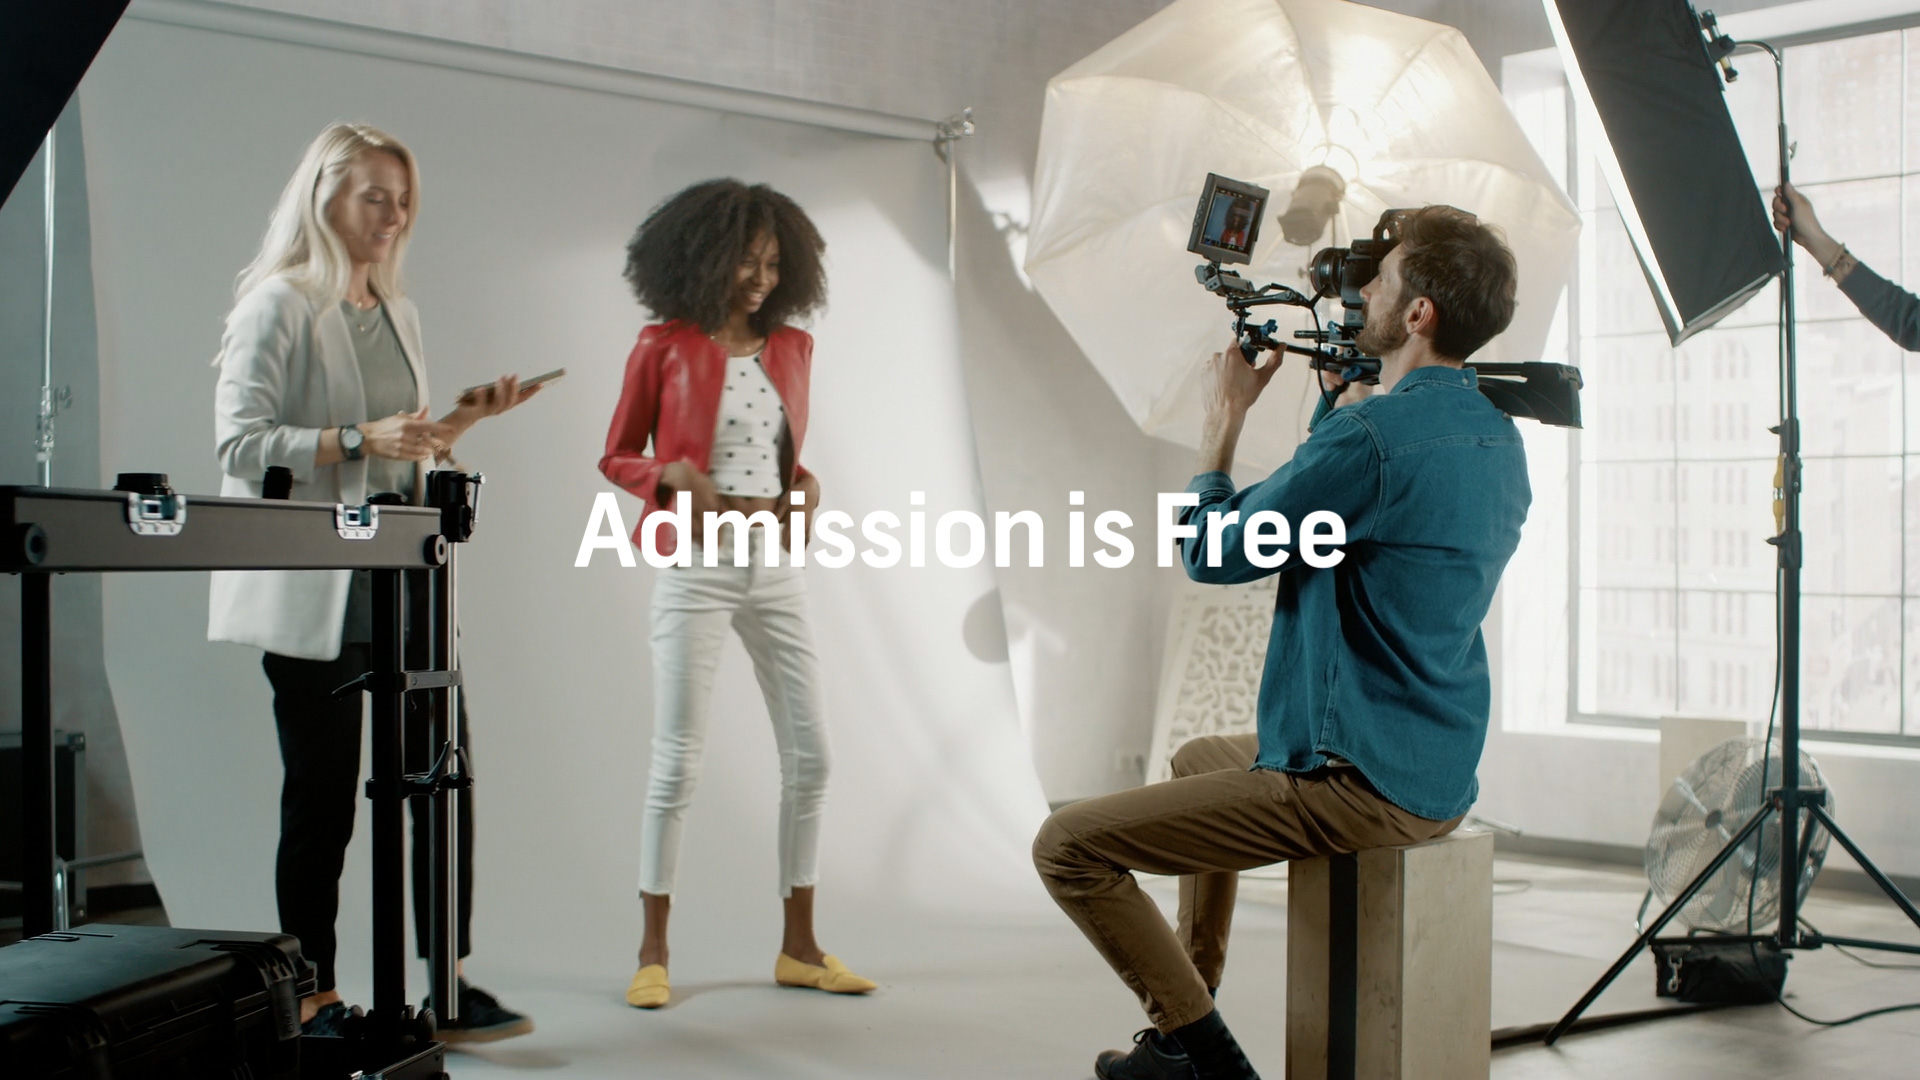
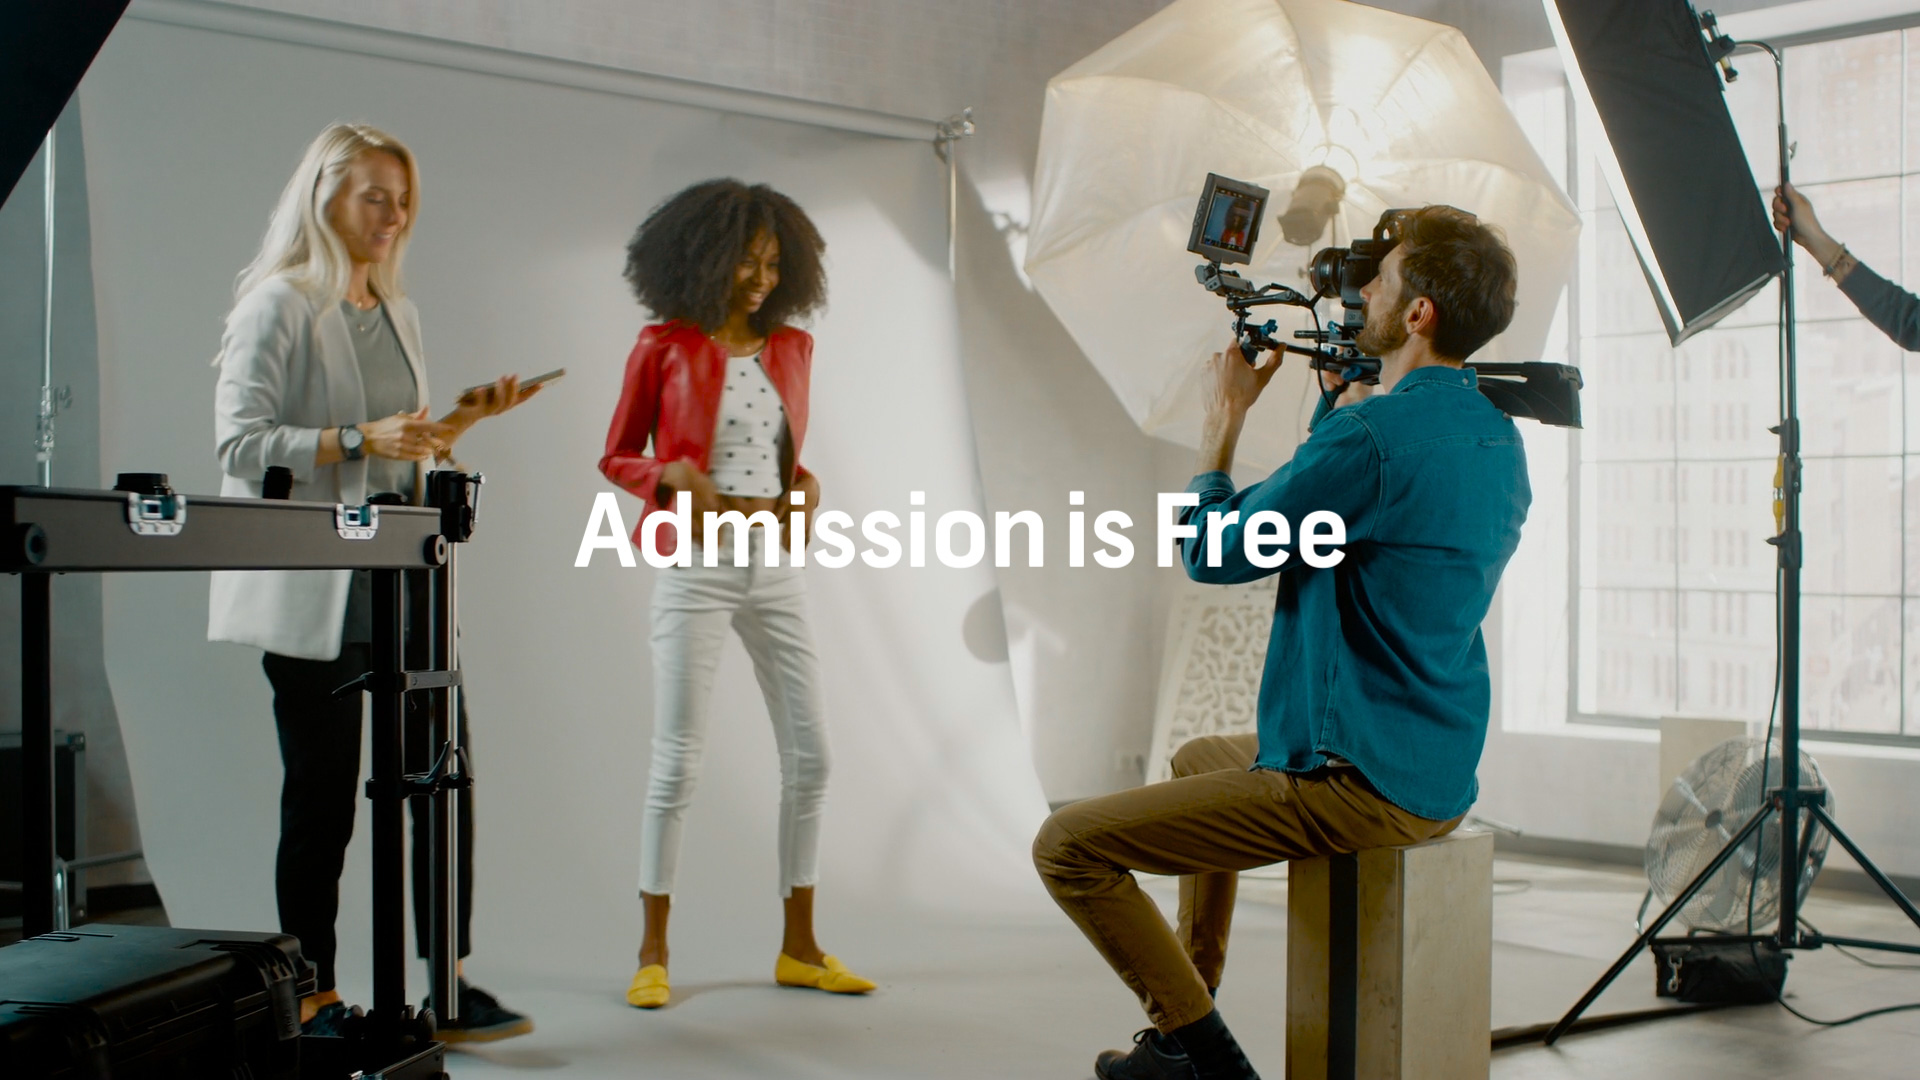
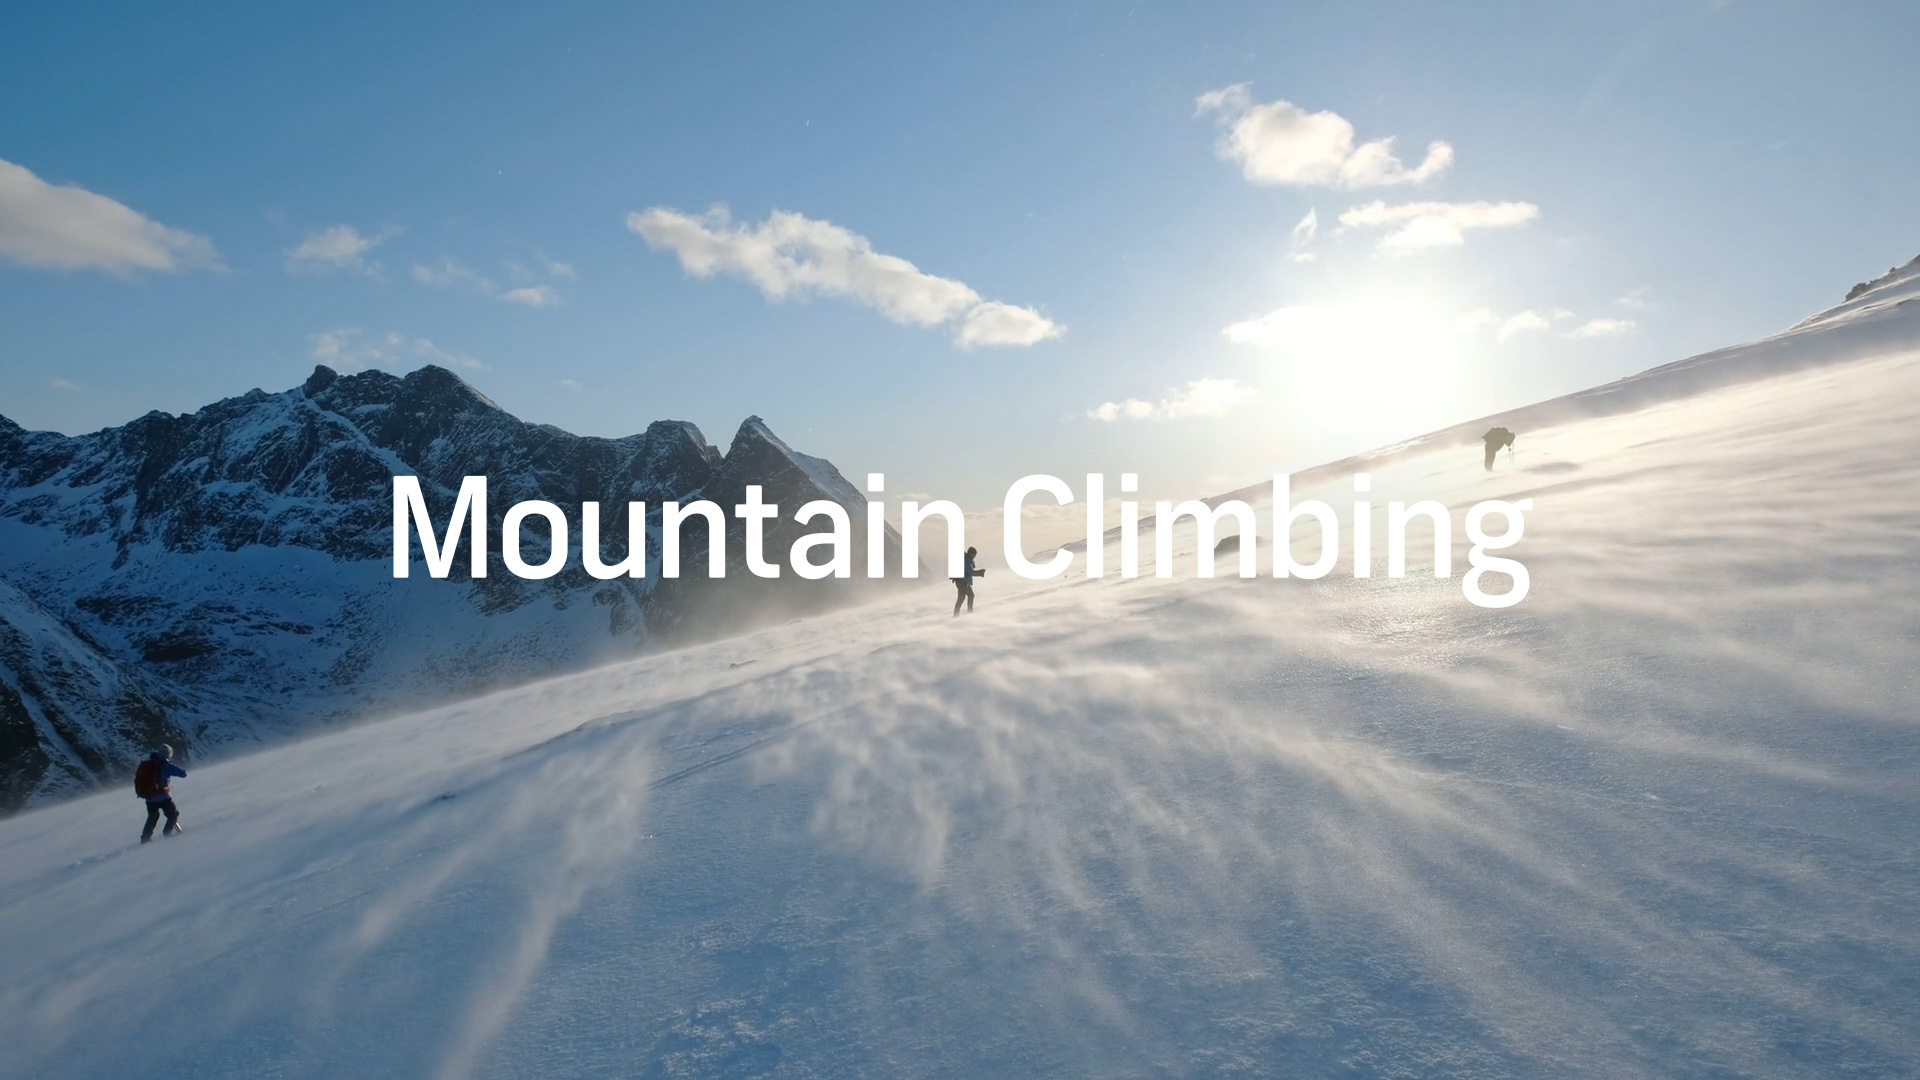
Putting easy white textual content graphics over footage can create an undeniably clear look—so long as the textual content doesn’t wash out and change into tough to see. When this occurs, it’s often as a result of the background footage is just too shiny or has plenty of white in it.
Excellent news—this may be mounted! Try these three fast ideas for utilizing white textual content over shiny footage.
1. Use the Curves Impact
Including the Curves impact to your background footage may also help make your white textual content stand out. What we’re going to do is alter the impact’s White Level.
Merely seize the highest level on the Curves impact—situated within the upper-right aspect—and drag it downward a bit.
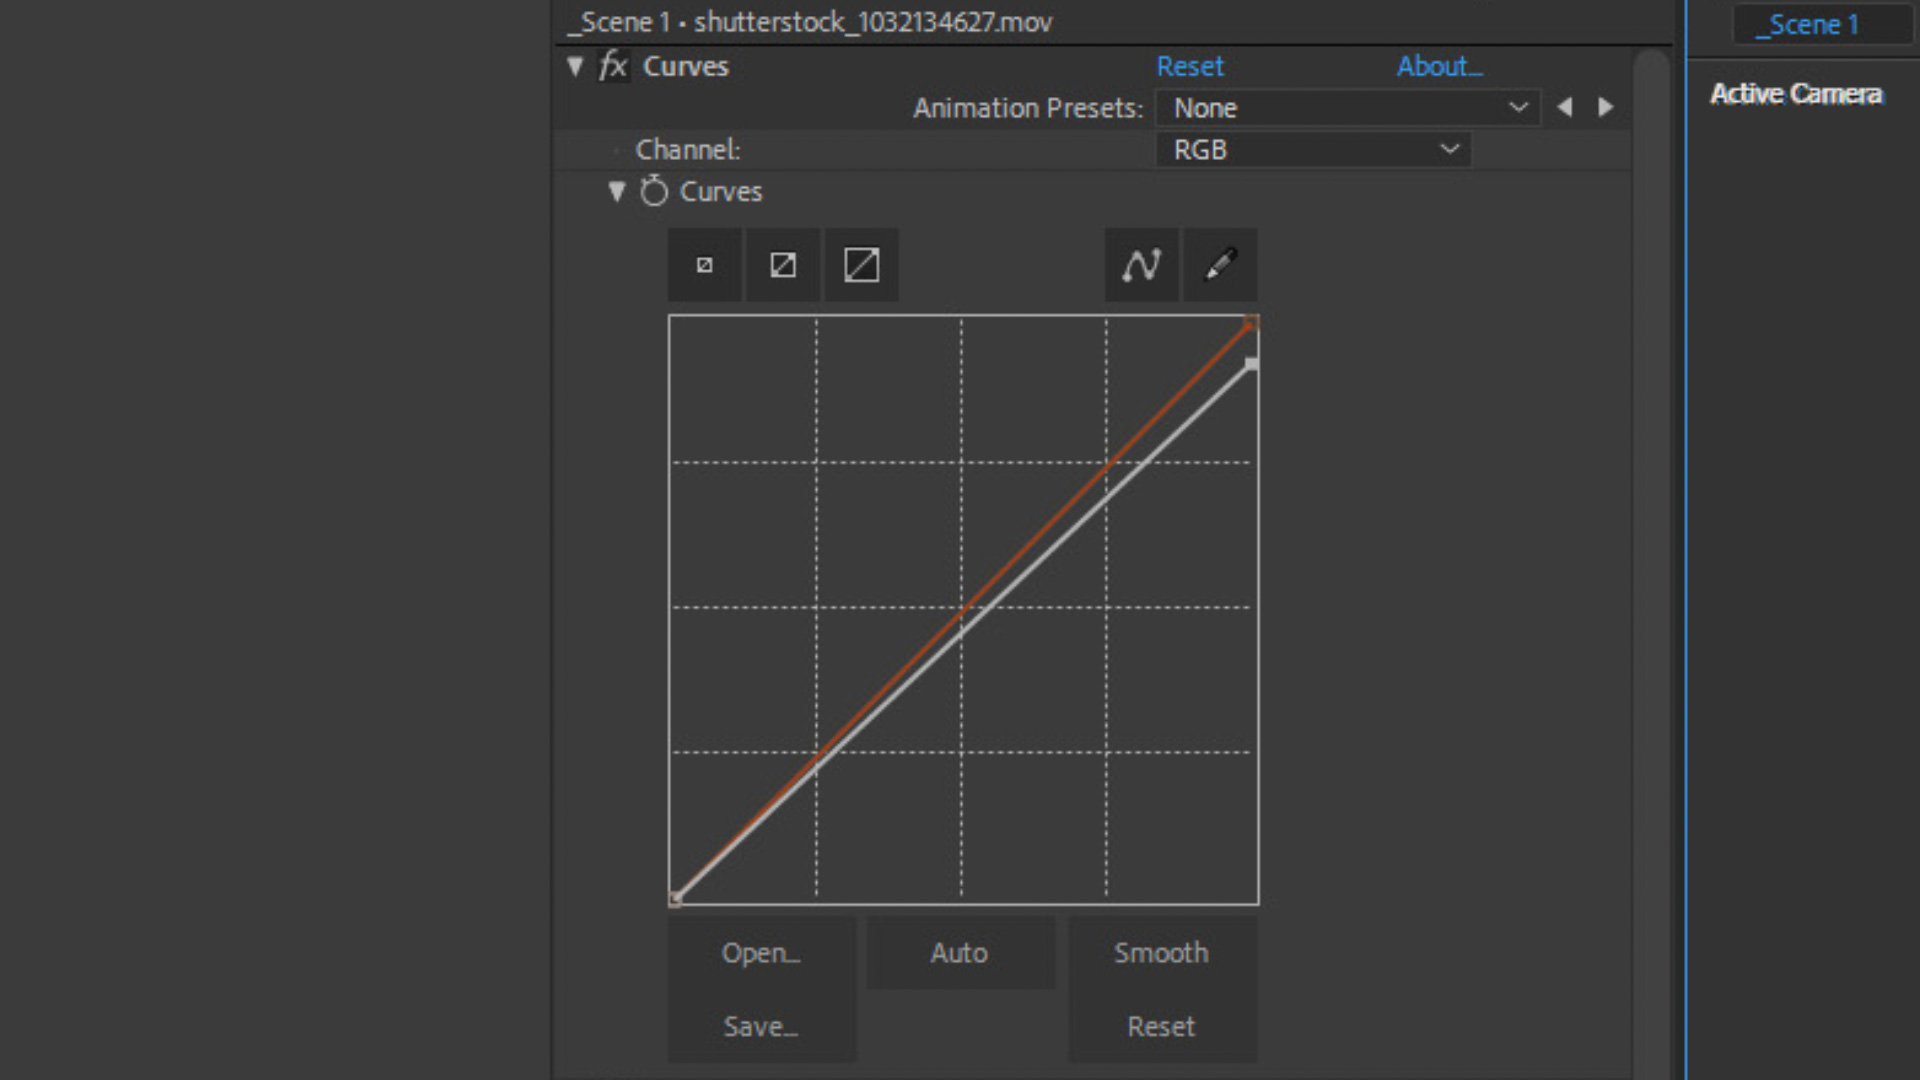
It will successfully decrease the brightness of the footage. It received’t be that noticeable visually, however it’ll go a good distance towards serving to your white textual content pop in opposition to the background.
2. Use Masks Over Shiny Spots

Generally, solely components of your background footage are shiny. In these instances, create an adjustment layer and masks across the shiny areas of your background footage. (You could must keyframe the motion of the masks in case your background footage is transferring.)
Then add a feather to the masks, round 20 to 40 pixels.

Now, merely apply the Curves impact to the adjustment layer and, such as you did earlier than, decrease the White Level on the impact.
You may push the White Level even decrease with this methodology, because it doesn’t have an effect on your complete background shot.

3. Use a Drop Shadow
One other manner to make sure your eye-catching white textual content isn’t misplaced to the background—apply the Drop Shadow impact to the textual content layer.
Have in mind, you don’t need the drop shadow to be noticeable, as a result of that may change the general look of your “clear” textual content.
So, on the Drop Shadow impact, set the Distance to 0, set the Softness to 200, and set the Opacity between 20-50%.
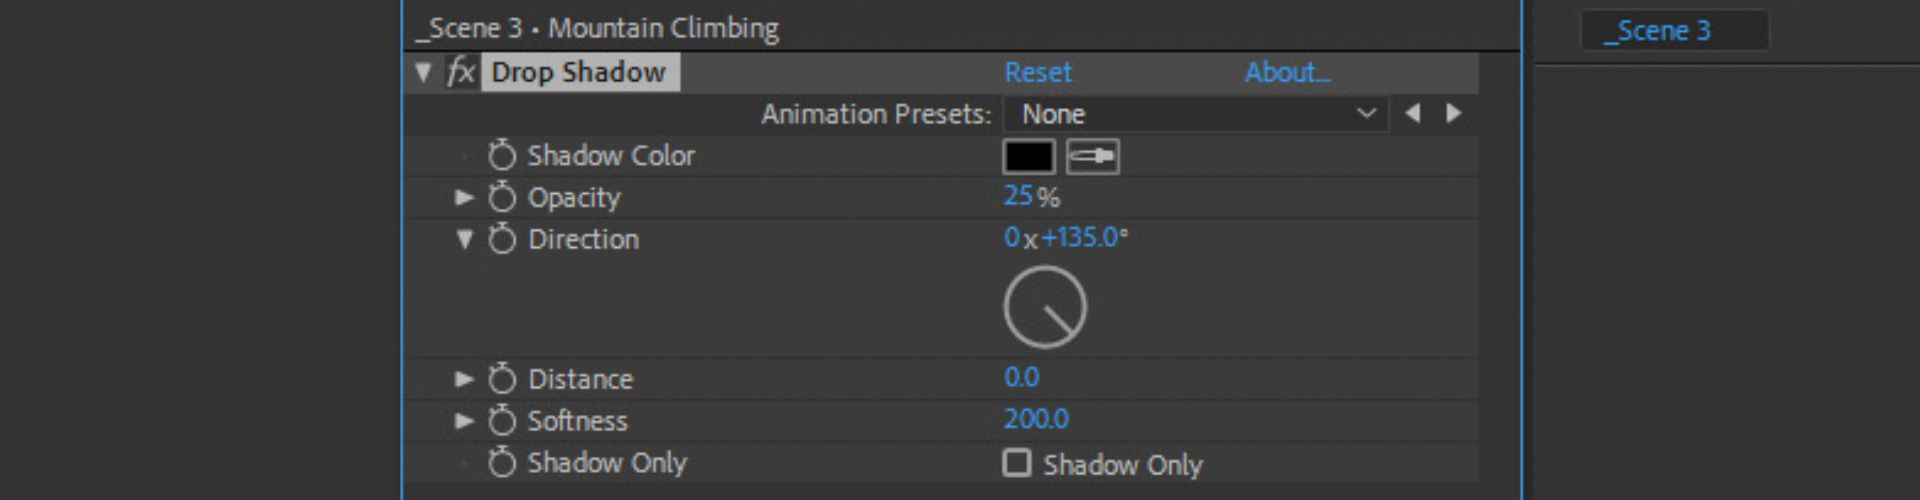
It will add an oh-so-subtle, barely there quantity of darkish shading across the white textual content that makes it stand out from the brilliant background footage.
Searching for Extra Textual content Results?
Should you’re searching for extra cool textual content results to strive, try our tutorial on Tips on how to Create Glass and Iced Textual content Results in After Results.
within the royalty-free tracks we used to make this video? Give them one other pay attention:
License this cowl picture through Master1305.