INTRODUCTION
Hello, my identify is Sonja Christoph, and I’m a Senior 3D Generalist and a Schoolism teacher. I’m initially from Germany, however my household emigrated to the US once I was sixteen. I spent the vast majority of my life there till we determined to return to Europe just a few years in the past.
I went to Gnomon College of VFX in Los Angeles to study 3D. This was earlier than Gnomon grew to become a totally accredited college, and I used to be enrolled of their two-year certificates program, selecting the generalist observe.
INSPIRATION
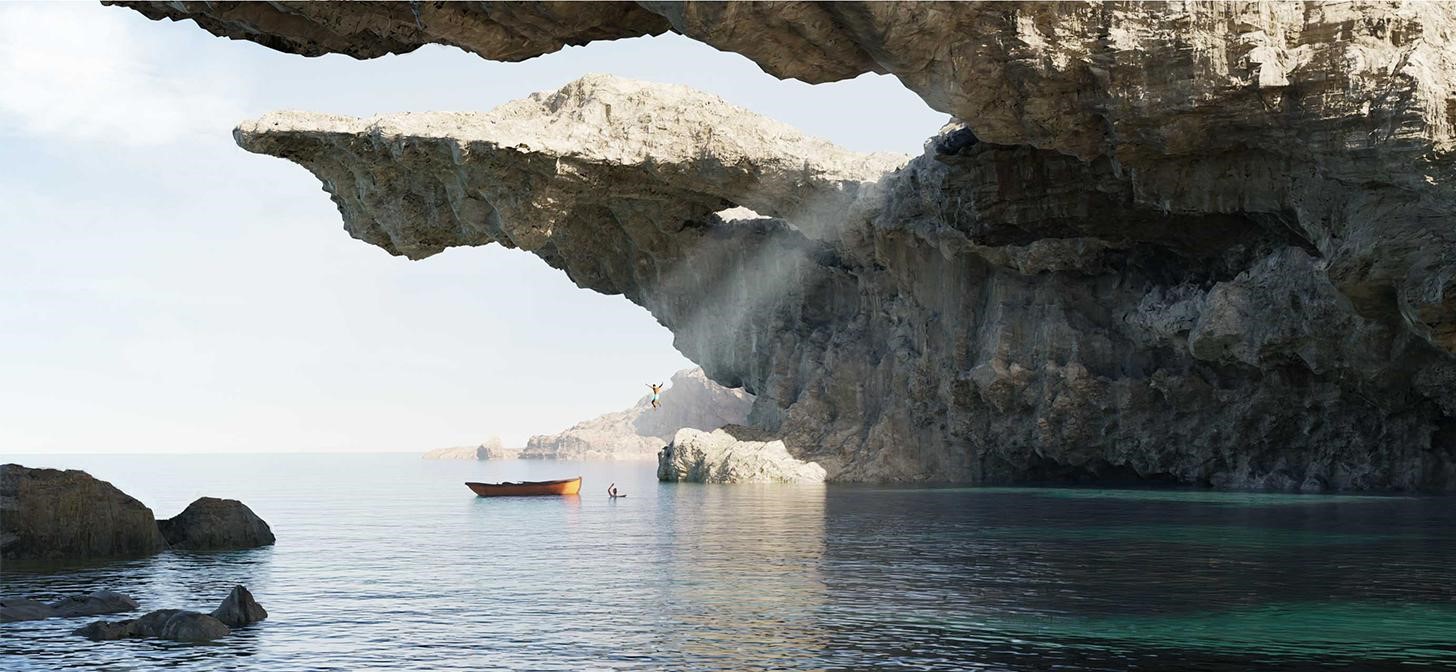
We at present dwell in Sweden, and it’s a stunning nation, however the winters are usually lengthy, darkish, chilly, and wet. Yearly, come January (and particularly February), I begin dreaming about touring to heat, tropical places and swimming in turquoise waters, which is the place my preliminary inspiration for this piece got here from.
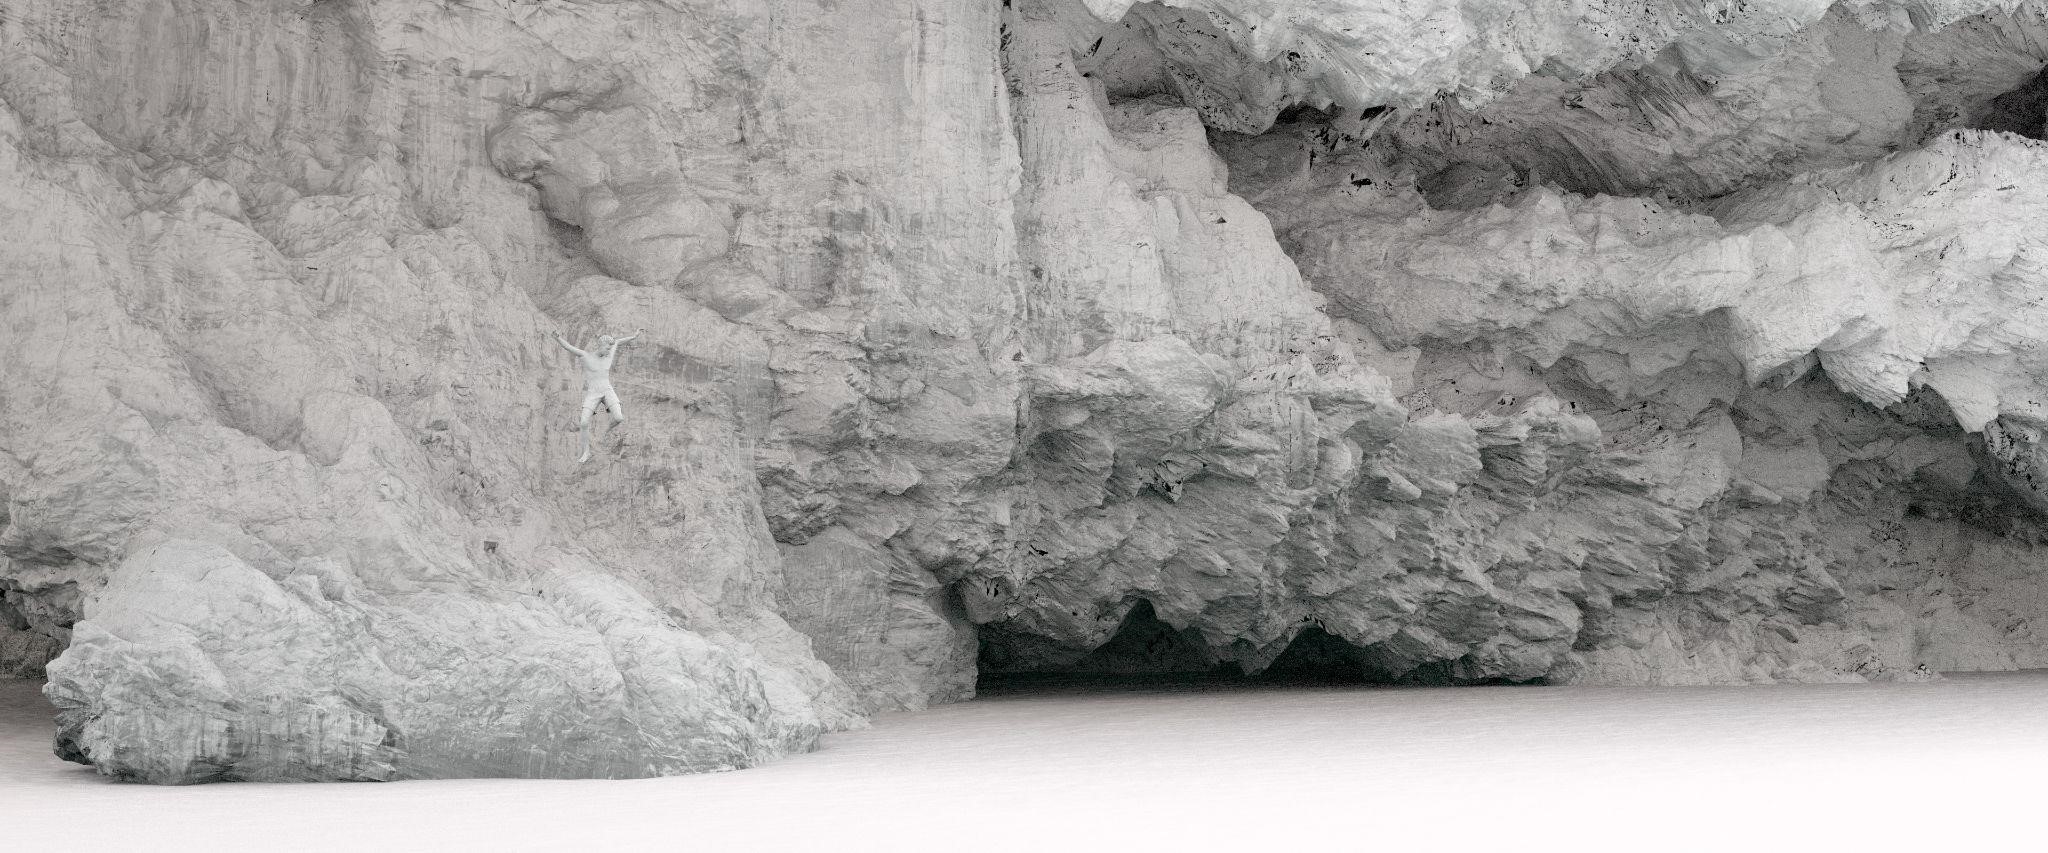
I needed to create a chunk that captured a way of journey and the fearlessness and carefree nature I felt as a child and teenager. these large cliff buildings now, my instincts inform me to maintain a protected distance. You by no means know what might be hiding in these caves. However not these two youngsters in my picture. They haven’t any worries on this planet, and attempting to think about how they’d expertise the world round them is what impressed me.
PROCESS
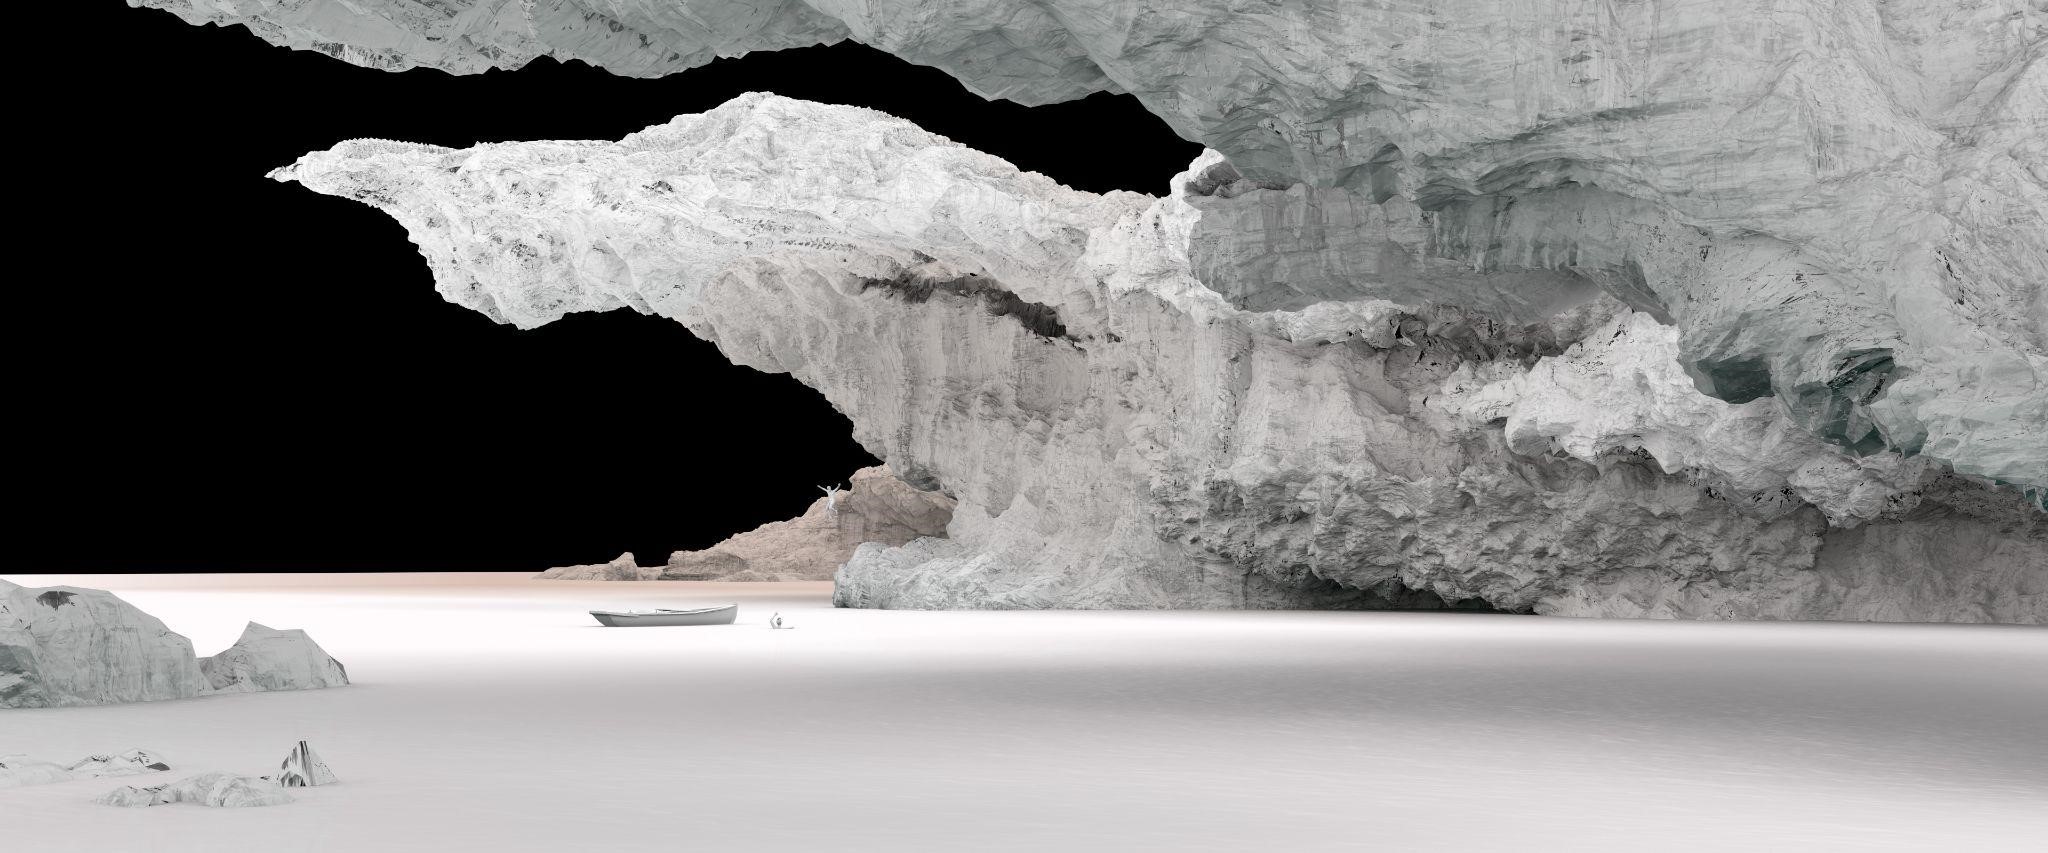
The creation of this piece was relatively easy, actually. I began by blocking out my fundamental cliff/cave form with cubes. I scaled, rotated, and moved the cubes round till I arrived at a form I favored. Then I joined all of the cubes collectively and remeshed them earlier than doing a little bit of sculpting on them. I solely centered on adjusting the bigger shapes throughout my sculpting since I knew I used to be going to make use of a rock texture and displacement for the smaller particulars.
As soon as I used to be pleased with the refinements I had made, I began to assemble my scene. I prefer to arrange my cameras and determine my composition first.
I used a fundamental digicam and aligned it so my cliff mannequin took up about two-thirds of the body. Subsequent, I added a airplane to characterize the water. Then I wanted so as to add extra rocks to my scene, so I duplicated my preliminary cliff mannequin, rotated, scaled, and moved it round till the shapes began to return collectively and create an fascinating composition.
LIGHTING
Now that my fundamental setting was arrange, it was time so as to add some lighting to my scene. For my lighting, I used the Nishita mannequin within the Sky texture that comes natively with Blender. I believe it provides a very nice, life like consequence and look. It’s value noting that the Nishita mannequin solely works with Cycles, not with Eevee. I knew I needed to make use of Cycles for this piece, so this was not a problem for me.
I needed the sunshine to shine via the openings of the cliffs onto the water. I attempted just a few totally different lighting instructions and eventually settled on a excessive three-quarters entrance lighting setup for this scene. To create some delicate god rays, I merely used a dice with a Quantity scatter materials.
MODELS
With my lighting arrange and the god rays pointing straight at my focus, I simply wanted so as to add the 2 teenagers and their boat. I used Daz3D to create and pose the 2 youngsters. I then exported them and positioned them in Blender. I downloaded the boat mannequin from Sketchfab, modeled by J.J.West.
TEXTURE
The boat and characters already had supplies utilized, so all that was left to texture had been the cliffs and water. For the cliffs, I used rock textures from Quixel and arrange the fabric to make use of triplanar mapping, eliminating the necessity for UV mapping. I additionally used displacement within the materials so as to add smaller crevices and particulars to the rock floor.
To create the water materials, I blended a Glass BSDF materials with a Clear BSDF materials. Then, I used a noise and wave texture, multiplied every of them, and blended them collectively to drive the displacement of the water materials. Lastly, I added a lightweight sand-colored airplane beneath the water airplane to create pockets of sunshine turquoise water.
After finishing the scene, I rendered every little thing and made last changes in Photoshop. I painted in clouds, added edge breakup, and darkened the youngsters to make sure visibility from a distance.
SIMPLE JOYS


That concludes the mission. I hope you loved it and thanks for studying this text.
In regards to the Artist

Sonja Christoph, a Senior 3D Generalist based mostly in Sweden. She is at present working as a contract artist and a Schoolism teacher the place she teaches an Introduction to Blender course.