
All the pieces you possibly can probably must find out about shade correcting and grading in Premiere Professional!

Leap to content material on this part
What You will Study: Colour Grading in Premiere Professional
- The idea behind shade correcting and shade grading
- Methods to shade appropriate and grade each from scratch and with LUTs
- Methods to use Scopes
- Methods to appropriate pores and skin tone
1. Introduction
1.1 Study Highly effective Colour Grading Expertise
Watch video lesson (2 minutes) ↗
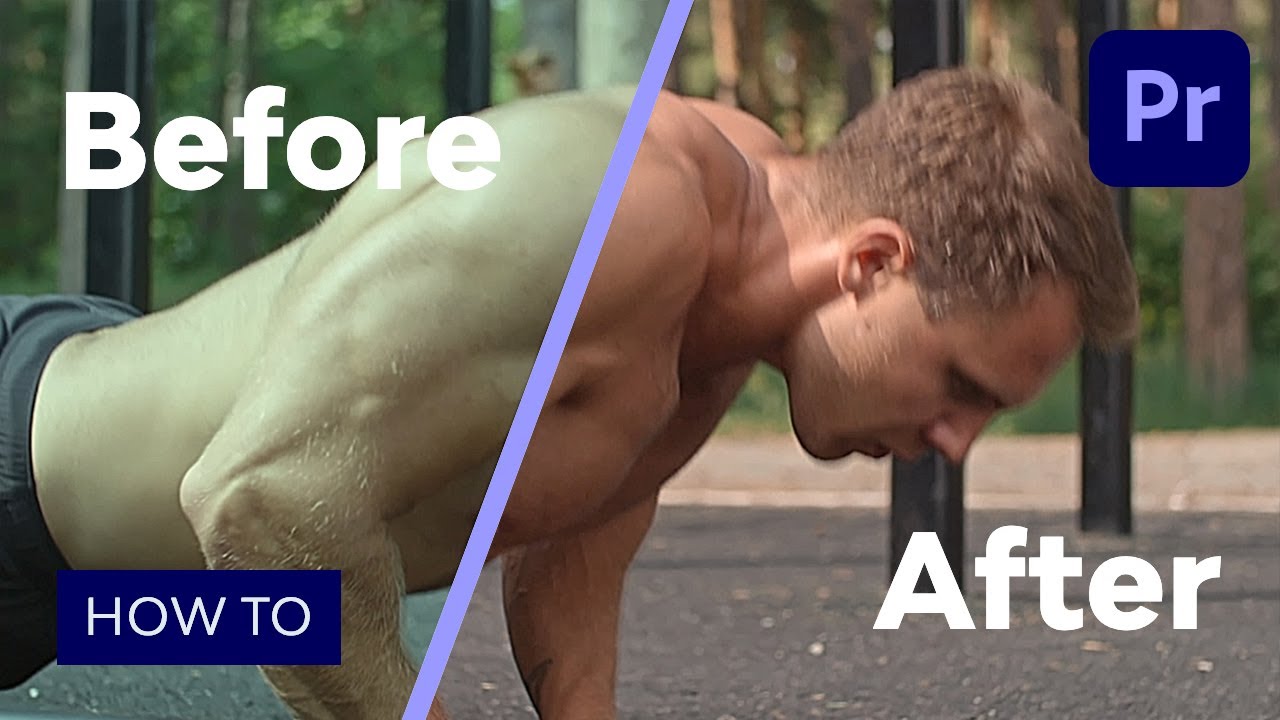
On this course, we’ll have a look at completely every part you’ll want to know in terms of shade grading your footage utilizing the Lumetri shade impact in Adobe Premiere Professional. We’ll have a look at the speculation behind correcting and grading, after which leap into Premiere to discover ways to appropriate our footage from scratch, and with LUTs.
“It is time to take your footage from boring to dramatic by studying shade grade in Premiere Professional!”

3. Scopes
3.1 Scopes: Why to Use Them
Scopes can appear a bit of intimidating, however don’t fret. On this brief video I will clarify how they symbolize your visible information in a constant method that your monitor cannot do as reliably.
3.2 Scopes: Methods to Use Them
Watch video lesson (2 minutes) ↗
Within the final lesson we checked out what scopes are and why you want them, and on this lesson I will go into extra depth and present you interpret that information in order that it turns into significant to you once you’re making coloring selections.


3.3 Pores and skin Tone
Watch video lesson (2 minutes) ↗
Pores and skin tone is commonly missed but it surely’s actually necessary to get it proper. The vectorscope has a pores and skin tone indicator and you will need your pores and skin tone to fall inside a selected vary on this graph. I will clarify the place that needs to be on this fast video lesson.


Scopes in Premiere Professional
1
Vectorscope
Shows saturation ranges in footage in a polar coordinate format. You’ll be able to measure and modify the colour stability and saturation in your footage.
2
Parade
Just like Waveform, but it surely seperates the purple, inexperienced, and blue channels and shows them in seperate graphs.
3
Histogram
A graphic illustration of the tonal rage of your picture.
4
Waveform
A software that shows luminance ranges of your footage in a graph format to assist make sure the picture is correctly uncovered.
“It pays to know the place the footage you are working with, got here from and the way it was captured.”
5. Colour Correction
5.1 Colour Correcting With LUTs
Watch video lesson (5 minutes) ↗
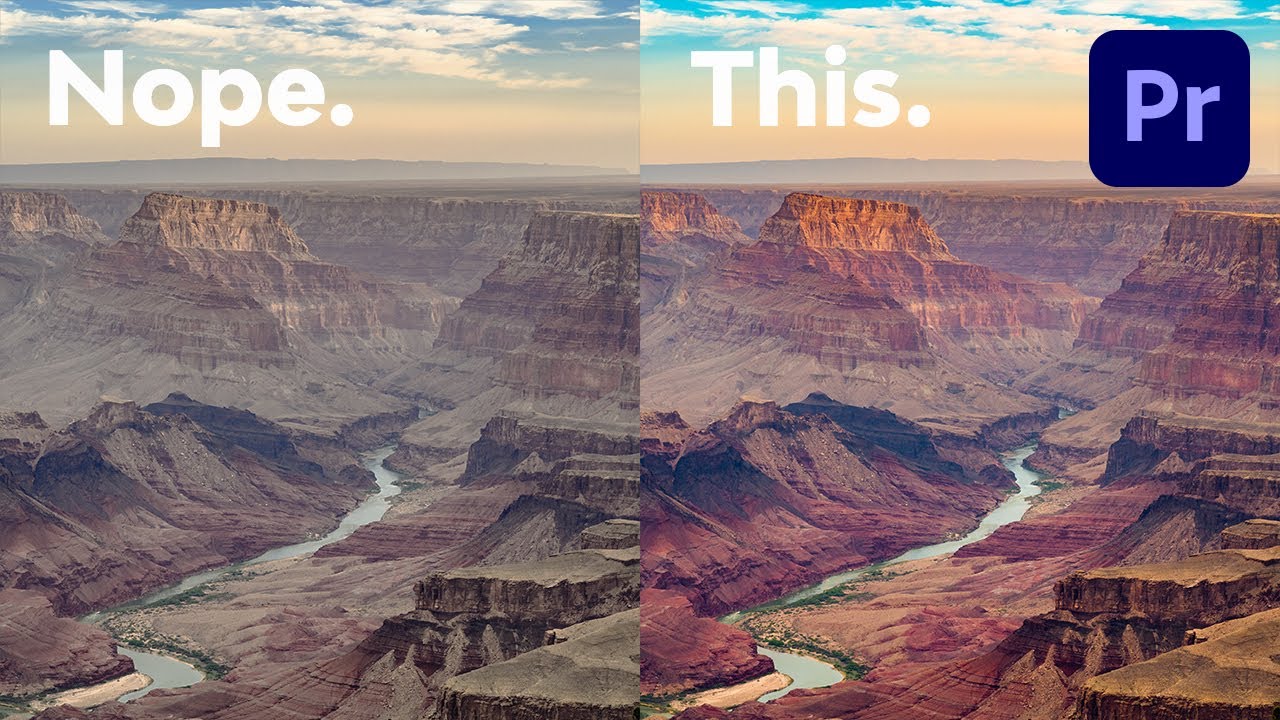
This lesson is the place we’ll get began with sensible shade correcting, utilizing LUTs. A LUT is a Look Up Desk with set values designed to vary the colour of your footage. A few of these are camera-specific, so you may get a really exact correction on your imagery, to get it trying proper.


5.2 Colour Correcting From Scratch
Watch video lesson (2 minutes) ↗
In the event you do not need to use LUTs, how do you shade appropriate? I will undergo some important steps in Premiere with you.
6. Colour Grading
6.1 Colour Grading With LUTs
Watch video lesson (9 minutes) ↗
You have realized shade appropriate your footage, so subsequent we’ll transfer on to paint grading in Premiere, beginning with LUTs once more. You want to have corrected your footage earlier than you progress on to grading it. I will present you use your scopes to interpret what you are seeing within the preview, once you apply your LUT.
6.2 Colour Grading From Scratch
Watch video lesson (9 minutes) ↗
Now we will have a look at shade grade your footage from scratch. Within the earlier lesson you may have realized what the LUTs do and customise that, and this data goes to place you in an important place to raised perceive obtain this impact your self, with out the assistance of a LUT. We’ll do loads of work within the shade wheels right here and I will take you thru every part step-by-step.


Cinematic Colour Grading in Premiere Professional! | 3 Easy Strategies
Study three easy strategies for superb shade grading in Premiere Professional! On this video, Cristi Kerekes breaks every methodology down for you.
7. Adjusting and Matching
7.1 Pores and skin Tone Adjustment
Watch video lesson (2 minutes) ↗
Beginning with the eyedropper software, I will present you ways to select the pores and skin shade out of your footage after which isolate that out as a way to appropriate it and protect these pure tones.


7.2 Matching A number of Clips
Watch video lesson (7 minutes) ↗
You will want consistency throughout your numerous clips in order that they do not jar when put collectively. There are a number of methods to do that and I will speak you thru a few of them, together with export your grade as a LUT that you may then reuse.


7.3 Adjustment Layer Grades
Watch video lesson (1 minutes) ↗
An adjustment layer means you can also make modifications with out instantly affecting your footage. You’ll be able to apply a LUT to an adjustment layer above a number of items of footage and it’ll apply to all of them. You’ll be able to then flip on and off the adjustment layer to see its impact. I will present you ways on this lesson.
8. Ending Results
8.3 Creating Cinematic Black Bars
Watch video lesson (5 minutes) ↗
You will have seen the standard ‘cinematic widescreen’ black bars once you’ve watched movies. I will present you add your individual right here in our final lesson of this course, and if you would like to study extra about facet ratios and their fascinating historical past, I’ve made a bit of video for you on that too.

Study Extra Premiere Professional Expertise
If you would like to enhance your filmmaking abilities take a look at a few of our greatest free Premiere Professional video tutorials and programs!
Or if you happen to want to observe together with one thing written that will help you study, we have got an enormous library of free Premiere Professional tutorials and template ideas.